Air Fryer Fried Chicken
Buttermilk-brined thighs in a craggy seasoned crust, crisp all over in 25 minutes without a pot of hot oil.
- Prep
- 20 min
- Cook
- 25 min
- Rest
- 4 hr
- Makes
- Serves 4
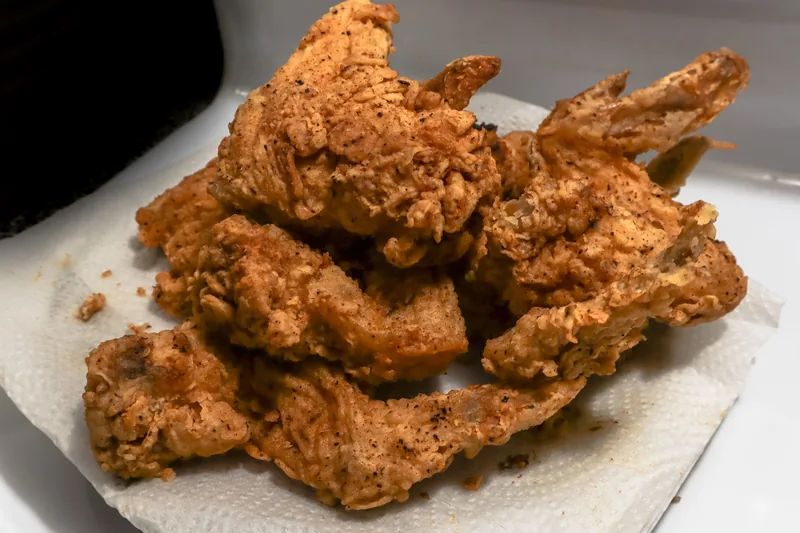
An air fryer is a small convection oven, and that one fact explains everything that goes right and wrong with fried chicken in it. There is no oil to conduct heat into the crust, so the crust has to be built to brown on its own. Get that part right and the result is genuinely close to fried. Get it wrong and you have baked chicken wearing pale flour.
Three things do the work. The buttermilk brine, which seasons the meat and leaves a tacky surface for flour to grip. The drizzle of oil into the flour, which makes lumps — and lumps are what fry into the craggy bits everyone picks off first. And the spray of oil before cooking, which is not optional: dry flour in dry heat turns chalky and stays chalky.
The brine is doing more than flavoring. Buttermilk is mildly acidic, and mild is the point — it loosens the protein structure at the surface without turning the meat mealy the way a lemon or vinegar marinade does after a few hours. The salt travels further in, which is why four hours beats one. Past about twelve hours you stop gaining anything, and past a day the texture starts to go soft in a way no amount of crust will hide.
Thighs, not breasts. Twenty-five minutes at 375°F (190°C) is long enough to dry out a breast and exactly right for a thigh. Thigh meat carries enough fat and connective tissue to stay juicy across a wide window, so a few minutes of inattention cost you nothing. A breast has about a three-minute window and punishes you for missing it. If breasts are what is in the refrigerator, give them a glaze and an oven instead — honey dijon chicken is built around that narrow window rather than fighting it.
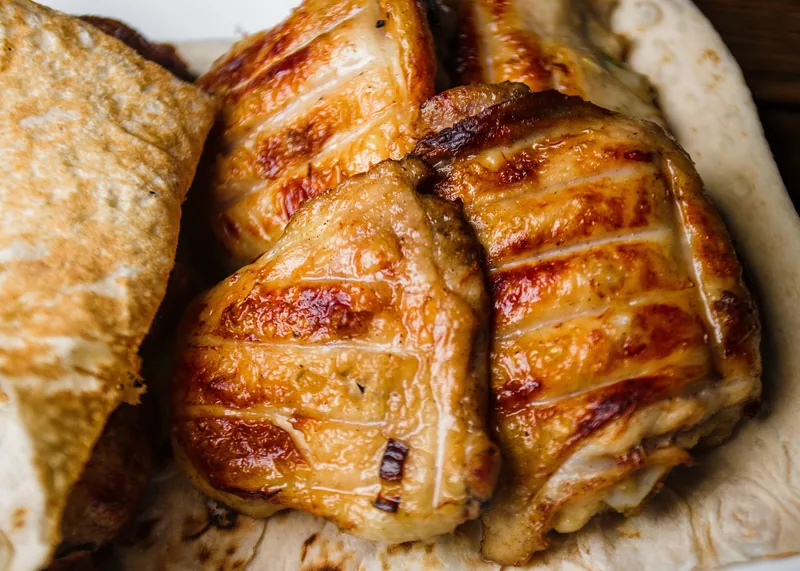
Watch the color rather than the clock. The coating goes from white to blond at around eight minutes, and from blond to a deep, uneven brown by the end. Uneven is correct — those darker ridges are the lumps you built on purpose. If the whole surface is still one flat tan at twenty minutes, the basket is too full or the machine is running cool, and neither of those is fixed by waiting longer.
The one mistake worth naming: crowding the basket. Air fryers cook by moving hot air across a surface, and pieces touching each other have no surface for it to move across. Two batches with space beats one batch jammed in, every time.
Rest on a rack, never a plate. A plate traps the steam coming off the underside, and five minutes of that undoes the crust you spent twenty-five minutes building. It is the most common reason good air fryer chicken arrives at the table disappointing.
Serve it with homemade barbecue sauce or, if you want the whole plate from this site, crispy breakfast potatoes alongside.
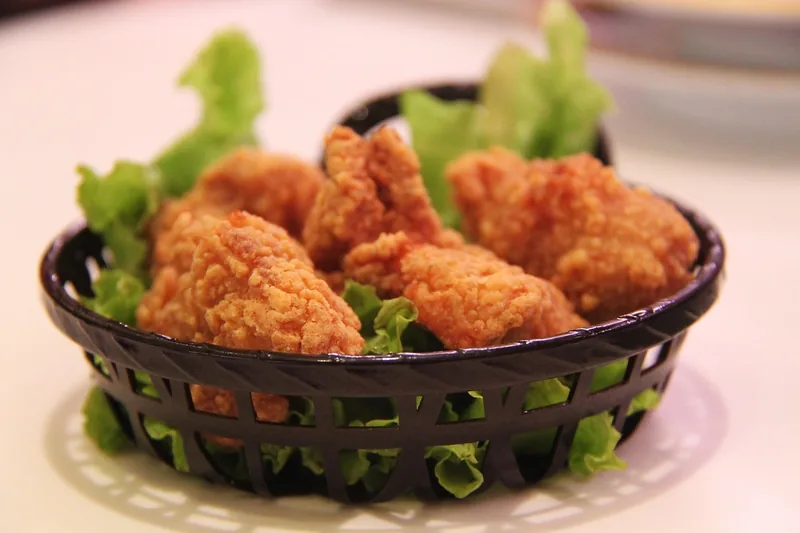
Crispy air fryer chicken, printed
Buttermilk-brined thighs in a craggy seasoned crust, crisp all over in 25 minutes without a pot of hot oil.
What goes into the brine and the crust
For the brine
- 2 lb (900 g) bone-in, skin-on chicken thighs
- 2 cups (480 ml) buttermilk
- 2 tsp fine salt
- 1 tsp hot sauce
For the coating
- 1½ cups (190 g) all-purpose flour
- 2 tsp smoked paprika
- 2 tsp garlic powder
- 1 tsp onion powder
- 1 tsp fine salt
- 1 tsp black pepper
- ½ tsp cayenne
- 2 tbsp neutral oil, plus oil spray
How to make fried chicken in an air fryer
- 1 Whisk the buttermilk, salt and hot sauce in a bowl. Add the thighs, turn to coat, cover and refrigerate for at least 4 hours and up to overnight.
- 2 Mix the flour with all the seasonings. Drizzle in the 2 tablespoons of oil and rub it through with your fingers until the flour is pebbly and clumping — those lumps become the crisp bits.
- 3 Lift each thigh straight from the buttermilk without wiping it and press it hard into the flour, turning twice. Set the coated pieces on a rack and leave them 10 minutes; the coating goes from powdery to slightly damp and stops falling off.
- 4 Heat the air fryer to 375°F (190°C). Spray the basket, arrange the thighs skin side down with space between them, and spray the tops generously until no dry flour is visible.
- 5 Cook 14 minutes. Turn, spray again, and cook 10–12 minutes more, until deep golden and 165°F (75°C) at the bone.
- 6 Rest 5 minutes on a rack, not a plate — a plate traps steam and softens the underside you just spent 25 minutes crisping.
Swaps and storage
- No buttermilk: 2 cups (480 ml) milk with 1 tablespoon lemon juice, left 10 minutes.
- Boneless thighs work and take about 16 minutes total. Bone-in tastes better and is harder to overcook.
- Brine up to a day ahead, but coat only just before cooking. A coated thigh left in the fridge goes gummy rather than crisp.
- Cooking in two batches: hold the first on a rack in a 250°F (120°C) oven. It stays crisp for about 20 minutes.
- Leftovers reheat properly at 350°F (180°C) for 5 minutes. A microwave undoes all of it.
Getting a crispy chicken crust right
Not enough oil spray. Anywhere still white and dry when it goes in will still be white and dry when it comes out — dry flour has nothing to fry in. Spray until the whole surface looks damp.
You can, and it will be noticeably drier and blander. If you are short of time, even 45 minutes in the buttermilk is worth more than none.
Only if you skip the 10-minute rest after coating, or turn the pieces before the first side has set. Give it the rest and turn once.
Yes, and you will need to watch them. Cut them into even pieces, keep the temperature at 375°F (190°C), and start checking at 16 minutes. Pull them the moment they read 165°F (75°C) — a breast goes from done to dry in about three minutes, which is why this recipe is written for thighs.
Fat is rendering out of the skin and hitting the hot drawer underneath the basket. Pour a tablespoon of water into the drawer before you start, or wipe it out between batches. It is not the coating burning, and turning the heat down will only cost you the crust.
What to serve alongside
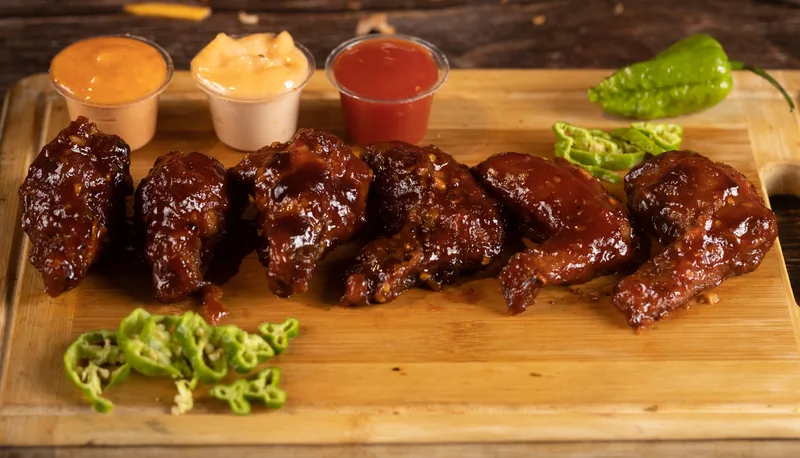
Homemade Barbecue Sauce
A thick Kansas City-style sauce built on tomato, molasses and smoked paprika. Twenty minutes on the stovetop and it keeps a month.
- Total time
- 35 min
- Yield
- Makes about 2½ cups (600 ml)
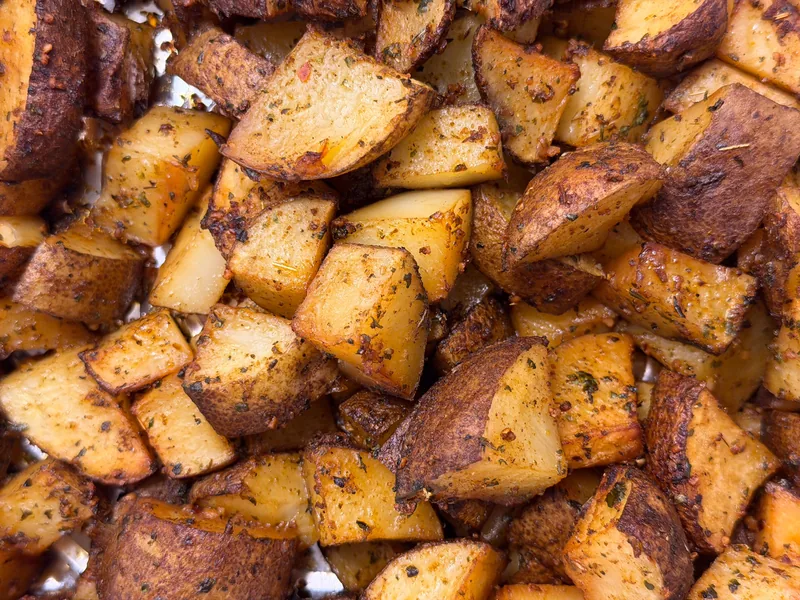
Crispy Air Fryer Breakfast Potatoes
Parboiled, roughed up, then air-fried hard. Craggy outside, fluffy inside, twenty minutes.
- Total time
- 32 min
- Yield
- Serves 4
Baked Honey Dijon Chicken
Chicken breasts baked plain, glazed in the last ten minutes with honey, two mustards and cider vinegar, then flashed under the broiler.
- Total time
- 45 min
- Yield
- Serves 4