
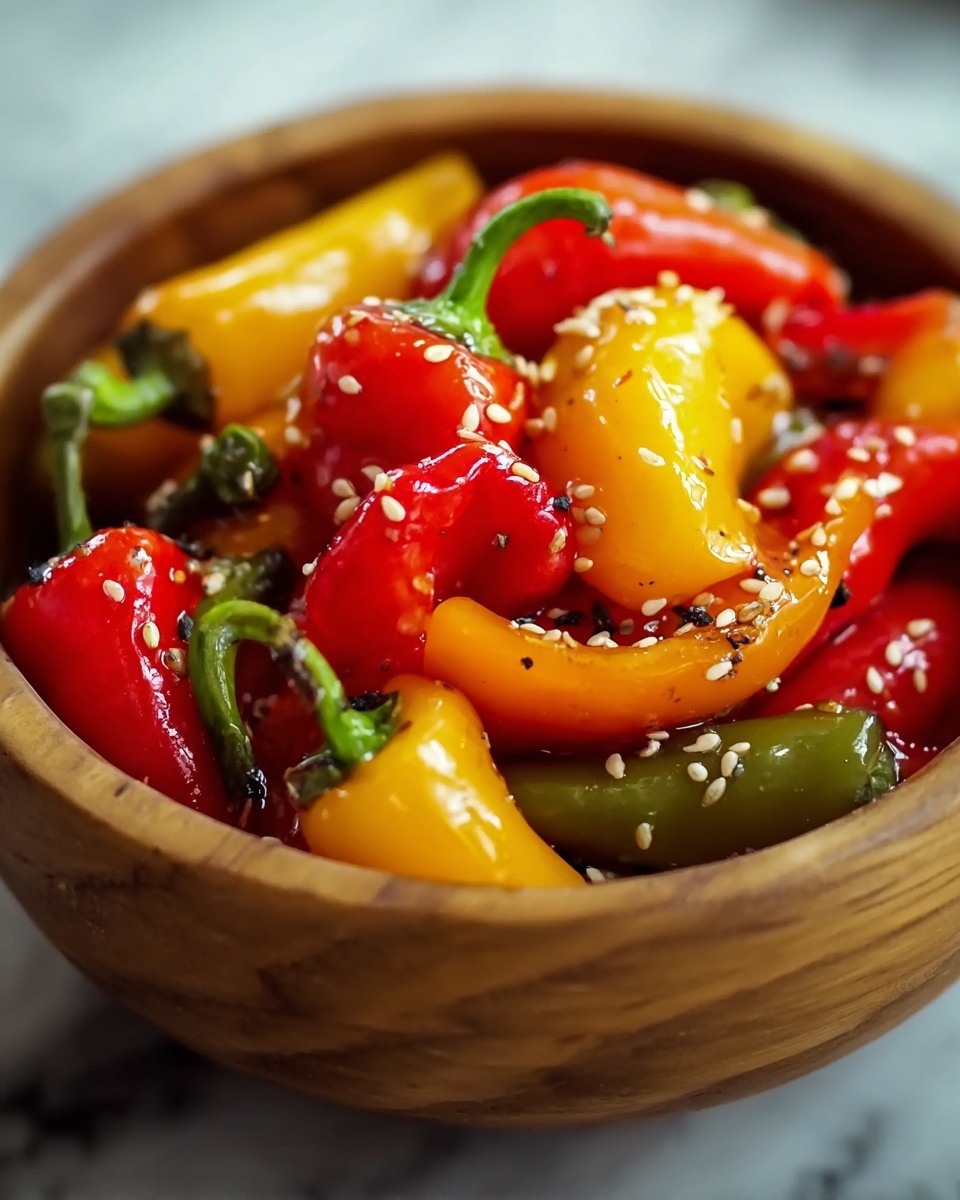
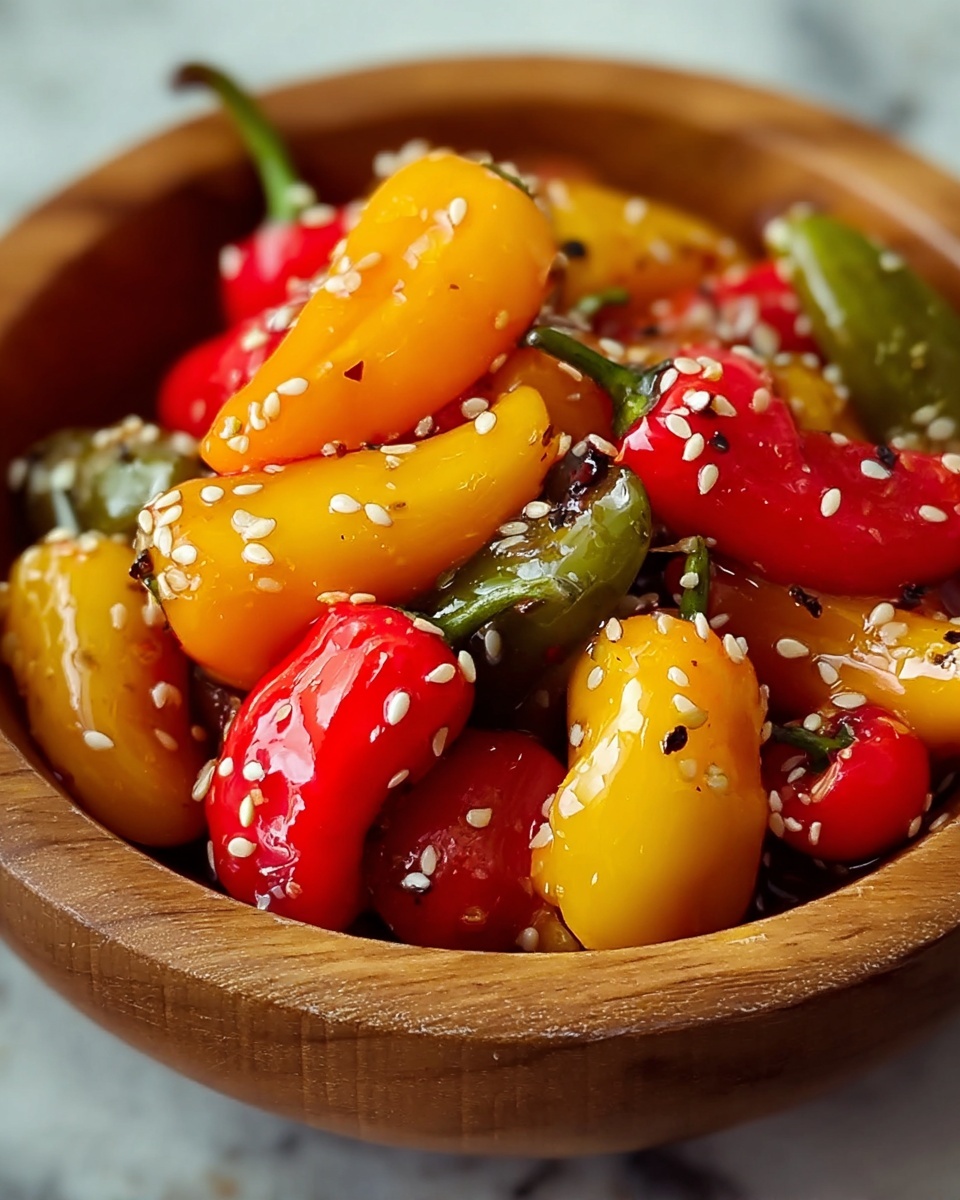
If you are looking to add a zingy, vibrant burst of flavor to your meals, my Pickled Peppers Recipe is an absolute must-try. This delightful concoction combines an assortment of fresh peppers with a tangy, slightly sweet brine that perfectly balances heat and acidity. Whether you love the mellow crunch of bell peppers or crave the fiery kick of jalapeños, this recipe brings all those flavors together in a jar bursting with personality and freshness. It’s simple, quick to make, and transforms everyday peppers into a snack or topping that elevates everything from sandwiches to salads.
Ingredients You’ll Need
This Pickled Peppers Recipe relies on straightforward, pantry-friendly ingredients that work harmoniously to create vibrant pickled goodness. Each element plays a vital role, from the fresh peppers providing bold flavor and texture to the vinegar and spices that create that signature tangy zip.
- 1 lb fresh peppers: A colorful mix of jalapeños, banana peppers, and bell peppers gives your pickles a variety of textures and heat levels.
- 1 cup white vinegar (or apple cider vinegar): This sharp, acidic base preserves the peppers and adds essential tang.
- 1/2 cup water: Helps balance the vinegar’s intensity for a milder, pleasant bite.
- 1 tbsp sugar: A touch of sweetness to soften the vinegary punch and enhance flavor depth.
- 1 tbsp salt: Key to drawing out moisture and boosting the savory profile.
- 2 cloves garlic, smashed: Adds aromatic warmth and a subtle kick.
- 1 tsp black peppercorns: Provide a gentle peppery undertone that complements the peppers.
- 1/2 tsp mustard seeds (optional): For a slightly nutty, tangy crunch that elevates the overall taste.
- 1/2 tsp coriander seeds (optional): Contributes a cassia-like, citrusy note to the brine.
- 1 bay leaf (optional): Infuses a herbal earthiness that rounds out the flavor.
- 1 small onion, thinly sliced (optional): Adds subtle sweetness and texture contrast.
How to Make Pickled Peppers Recipe
Step 1: Prepare the Peppers
Start by giving your peppers a thorough wash to remove any dirt or residue. Depending on how you want your pickled peppers to look and taste, either slice them into rings for easy eating or leave them whole for a bold presentation. If you opt to keep them whole, poking a few tiny holes with a fork helps the brine penetrate deeply, ensuring each bite bursts with flavor.
Step 2: Prepare the Pickling Brine
In a medium saucepan, combine your vinegar, water, sugar, and salt, along with the smashed garlic, black peppercorns, mustard seeds, coriander seeds, and bay leaf if you’re using them. Gently bring the mixture to a simmer over medium heat, stirring often so the sugar and salt fully dissolve. This is where the magic happens—the perfect balance of acidity and seasoning that transforms those fresh peppers.
Step 3: Pack the Jars
Sterilize your glass jars to keep your pickles fresh and safe. Then fill them with the prepared peppers and, if desired, thinly sliced onions for an added layer of flavor and crunch. You can use one large jar or several smaller ones depending on your batch size.
Step 4: Pour the Brine
Carefully pour the hot brine over the peppers, ensuring they are completely submerged. Press the peppers down gently with a spoon to remove any air bubbles and make sure everything is covered. Leave about half an inch of space at the top so the brine can circulate properly.
Step 5: Seal and Cool
Seal the jars tightly with airtight lids and allow them to cool down at room temperature. This gentle cooling step sets the stage for the flavors to meld beautifully. Once cooled, pop the jars into the refrigerator and let them sit for at least 24 hours before digging in.
Step 6: Serve
After allowing a full day for pickling, your Pickled Peppers Recipe is ready to brighten up your meals. These zesty, crunchy delights will keep well in the fridge for up to two weeks, meaning you can enjoy them on demand whenever you crave a tangy treat.
How to Serve Pickled Peppers Recipe
Garnishes
Pickled peppers make fantastic garnishes! Sprinkle them on tacos, burgers, and salads for an instant pop of color and flavor. They also jazz up cheese boards or charcuterie platters, adding a delightful acidic counterpoint that cuts through rich, creamy elements.
Side Dishes
These peppers are perfect companions to grilled meats, roasted veggies, or even rice bowls. Their bright acidity helps balance hearty dishes and adds a playful crunch that keeps your palate interested meal after meal.
Creative Ways to Present
Don’t just settle for tossing them on sandwiches—try stuffing pickled peppers with cream cheese or goat cheese for a tasty appetizer. Or rotate them into your breakfast routine by tossing them into scrambled eggs or avocado toast for a delightful tangy twist.
Make Ahead and Storage
Storing Leftovers
This Pickled Peppers Recipe keeps beautifully in airtight jars in the refrigerator for up to two weeks. Make sure the peppers remain submerged in the brine to maintain their crispness and flavor. As the days go by, the flavors deepen, so you might find leftovers even more delicious a few days later.
Freezing
Freezing pickled peppers is not generally recommended as the texture can become mushy upon thawing. To preserve their crunch and vibrant flavor, it’s best to enjoy them fresh from the fridge within the suggested timeframe.
Reheating
Pickled peppers are typically enjoyed cold or at room temperature to preserve their crispness and fresh acidity. If you want to add them to hot dishes, toss them on at the very end of cooking or use them as a fresh garnish to maintain their best texture and flavor.
FAQs
Can I use different types of peppers in this Pickled Peppers Recipe?
Absolutely! This recipe is incredibly versatile, and you can mix and match any fresh peppers you like. Combining sweet bell peppers with spicy jalapeños creates a well-rounded flavor and heat profile.
How long do pickled peppers last in the refrigerator?
When stored properly in a sealed jar and kept submerged in the brine, pickled peppers will keep their flavor and crunch for up to two weeks in the fridge.
Do I need to sterilize the jars before pickling?
Yes, sterilizing jars helps prevent contamination and extends the shelf life of your pickled peppers. Simple boiling or using a dishwasher cycle on high heat does the trick.
Can I make this recipe sugar-free or use a substitute?
Yes! You can omit the sugar if you prefer, or use natural sweeteners like honey or agave syrup. Just keep in mind that sugar balances the acidity and enhances flavor complexity.
How soon can I eat my pickled peppers after making them?
While you can technically enjoy them soon after pickling, the flavors really develop after resting for at least 24 hours in the refrigerator, making your pickled peppers tastier and more balanced.
Final Thoughts
I can’t recommend this Pickled Peppers Recipe enough if you want a simple yet impactful way to jazz up your meals. It’s quick, easy, and results in a jar full of bright, tangy, and crunchy peppers that bring excitement to every bite. Give it a try and watch how these little jars of flavor become your new kitchen favorite.
Print
Pickled Peppers Recipe
- Prep Time: 10 minutes
- Cook Time: 5 minutes
- Total Time: 15 minutes plus 24 hours refrigeration
- Yield: 2 servings
- Category: Condiment
- Method: Stovetop
- Cuisine: American
Description
This quick and easy recipe for pickled peppers uses a simple vinegar-based brine infused with spices and garlic to create tangy, flavorful peppers perfect for adding a zesty kick to any meal. Whether you prefer jalapeños, banana peppers, bell peppers, or a combination, these pickled peppers are ready to enjoy after just 24 hours of refrigeration.
Ingredients
Peppers
- 1 lb fresh peppers (jalapeños, banana peppers, bell peppers, or a mix)
Pickling Brine
- 1 cup white vinegar (or apple cider vinegar)
- 1/2 cup water
- 1 tbsp sugar
- 1 tbsp salt
- 2 cloves garlic, smashed
- 1 tsp black peppercorns
- 1/2 tsp mustard seeds (optional)
- 1/2 tsp coriander seeds (optional)
- 1 bay leaf (optional)
Additional
- 1 small onion, thinly sliced (optional)
Instructions
- Prepare the Peppers: Wash the peppers thoroughly. Slice them into rings or leave them whole depending on your preference. If leaving whole, poke a few small holes with a fork for better brine penetration.
- Prepare the Pickling Brine: In a medium saucepan, combine vinegar, water, sugar, salt, smashed garlic, black peppercorns, mustard seeds, coriander seeds, and bay leaf. Heat over medium heat and bring to a simmer, stirring occasionally until sugar and salt dissolve. Remove from heat and allow to cool slightly.
- Pack the Jars: Place the sliced peppers and optional sliced onions into clean, sterilized glass jars. Use one large jar or several smaller jars depending on quantity.
- Pour the Brine: Pour the hot pickling brine over the peppers ensuring they are completely submerged. Use a spoon to gently press peppers down if necessary. Leave about 1/2 inch of headspace at the top of the jars.
- Seal and Cool: Seal the jars tightly with airtight lids and let cool to room temperature.
- Refrigerate and Serve: Refrigerate the sealed jars for at least 24 hours to develop flavor. The pickled peppers can be enjoyed after this period and will keep refrigerated for up to 2 weeks.
Notes
- For spicier peppers, leave jalapeños whole with holes poked to retain more heat.
- Use sterilized jars to extend shelf life and maintain food safety.
- The pickled peppers taste better after at least 24 hours but will intensify in flavor over several days.
- You can substitute apple cider vinegar for white vinegar for a slightly different flavor profile.
- Store in the refrigerator and consume within two weeks for optimal freshness and safety.

