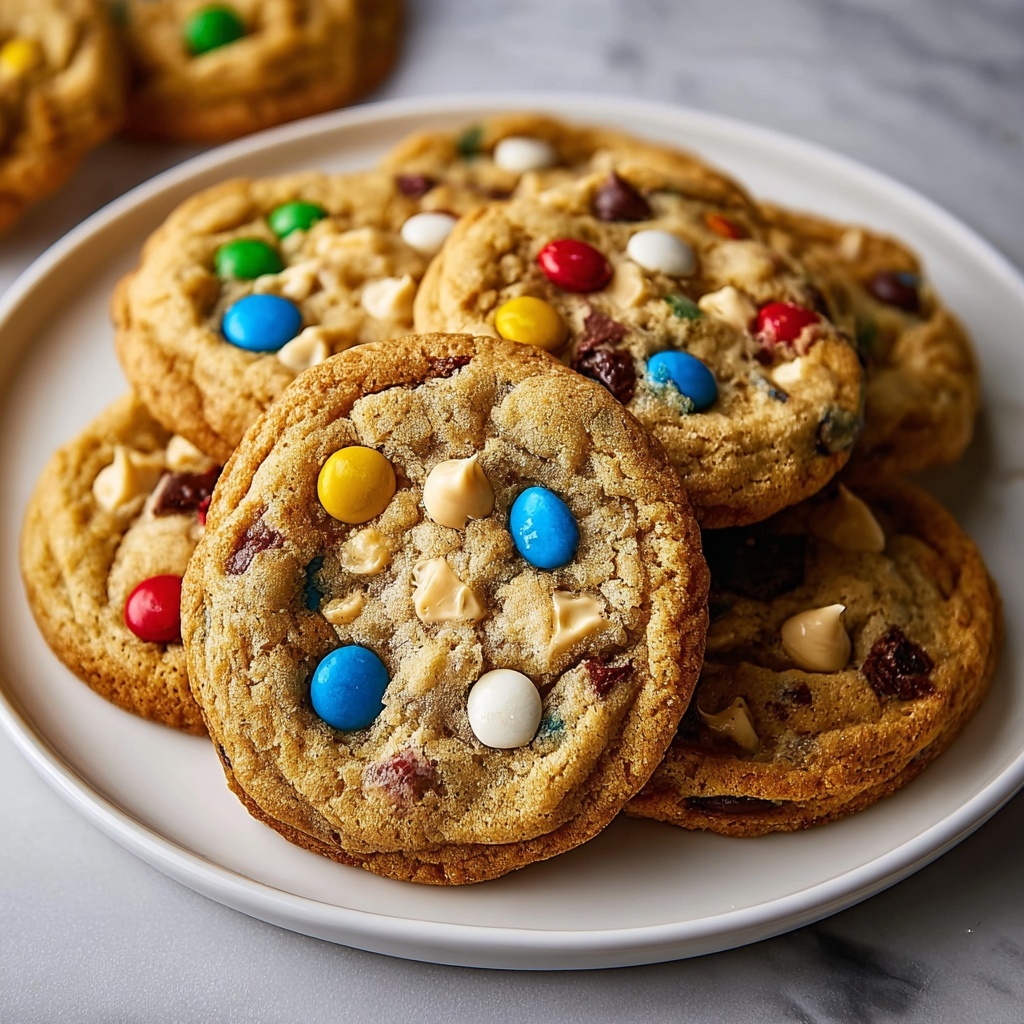
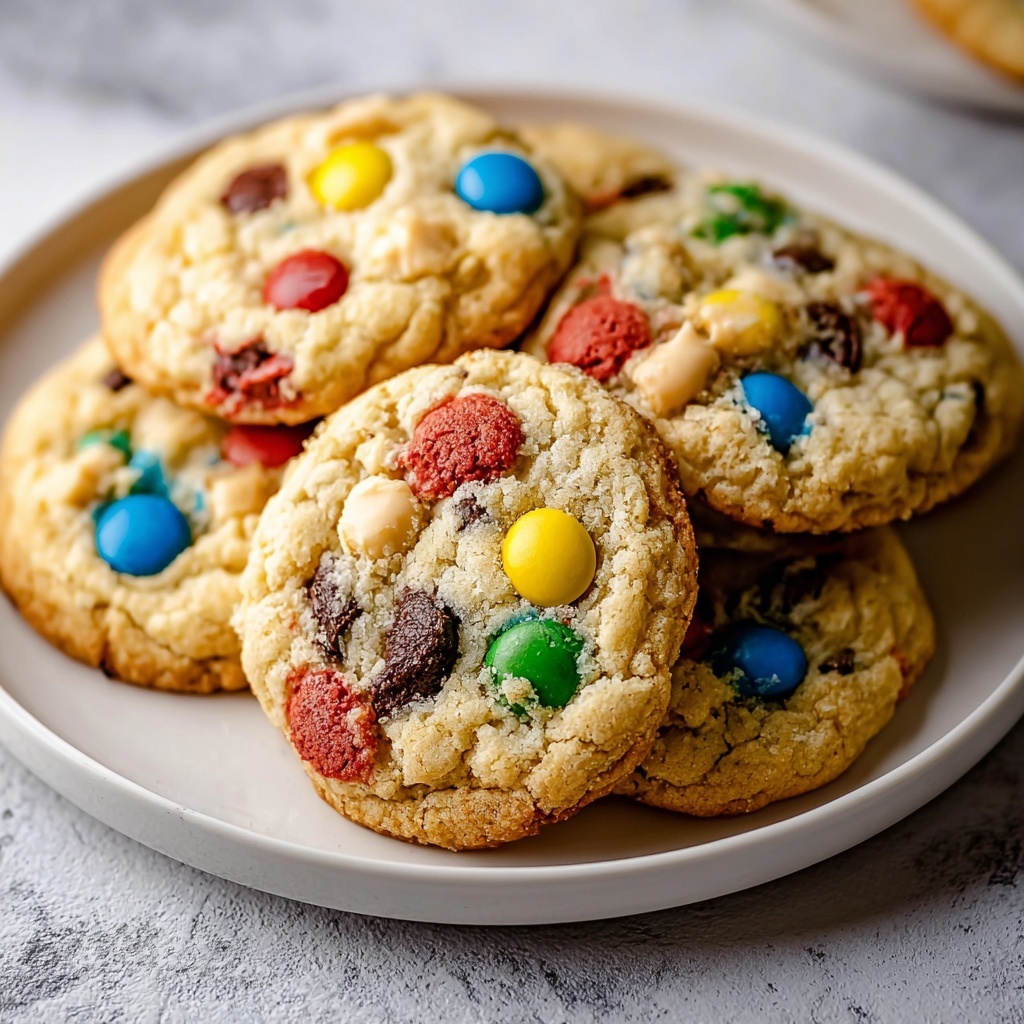
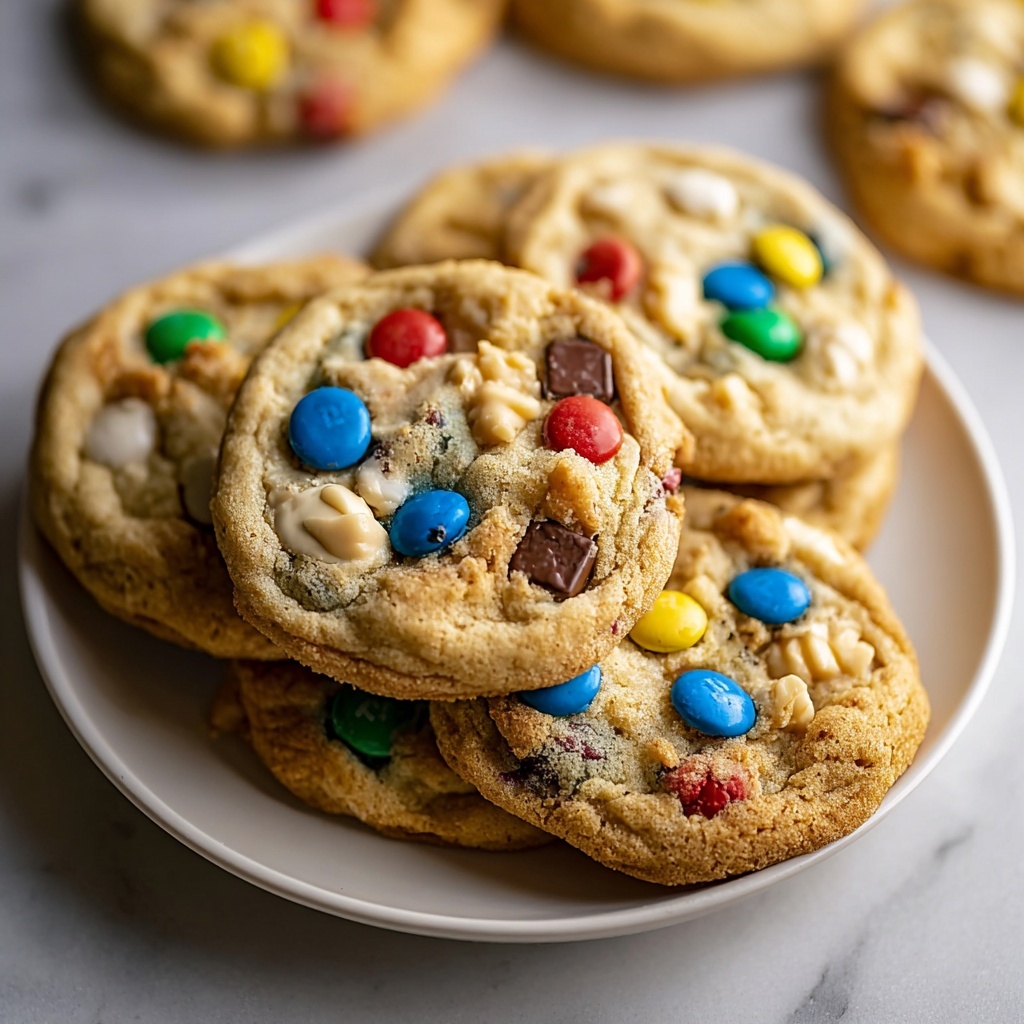
If you’ve ever wished for a cookie that captures all your favorite flavors and textures in one bite, you’re going to adore this Kitchen Sink Cookies Recipe. Named for its delightful mishmash of ingredients, this cookie brings together everything from rich chocolate chips to crunchy pretzels, chewy dried fruit, and toasted nuts, creating an irresistible symphony of taste and texture. Whether you’re baking for a crowd or just craving a personalized treat, these cookies promise a familiar yet exciting experience with every mouthful.
Ingredients You’ll Need
These ingredients are the heart and soul of your Kitchen Sink Cookies Recipe. Each one plays a crucial role: the butter and sugars create that perfect chewy-sweet base, the nuts and pretzels add crunch, and the dried fruits offer a burst of natural sweetness, giving you a cookie that’s anything but ordinary.
- Unsalted butter, 1 cup: Softened for easy creaming, it brings rich moisture and tenderness to the dough.
- Brown sugar, 1 cup: Adds deep molasses flavor and helps keep the cookies chewy.
- Granulated sugar, 1/2 cup: Provides balanced sweetness and helps the edges crisp up.
- Large eggs, 2: Bind the dough and add structure without toughness.
- Vanilla extract, 1 tsp: Elevates the flavors with a warm, aromatic touch.
- All-purpose flour, 2 1/2 cups: The main dry ingredient that holds everything together.
- Baking soda, 1 tsp: Leavens the dough, giving just the right spread and lift.
- Salt, 1/2 tsp: Enhances the sweetness and balances all flavors.
- Chocolate chips, 1 cup: Classic, melty pockets of sweetness in every bite.
- Chopped nuts, 1/2 cup: Choose walnuts, pecans, or almonds to add crunch and nuttiness.
- Dried cranberries or raisins, 1/2 cup: Little bursts of chewy, tangy sweetness.
- Shredded coconut, 1/2 cup (optional): Adds a tropical flavor and extra chew.
- Crushed pretzels or potato chips, 1/2 cup (optional): For an unexpected salty crunch that ties the whole cookie together.
How to Make Kitchen Sink Cookies Recipe
Step 1: Preheat and Prepare
The foundation of a great cookie begins in the oven. Preheat your oven to 350°F (175°C) and line your baking sheets with parchment paper. This prevents sticking and helps the cookies bake evenly into golden, chewy treats.
Step 2: Cream the Butter and Sugars
In a large mixing bowl, cream the softened butter with brown and granulated sugars until the mixture is light and fluffy. This step incorporates air into the dough, resulting in a tender cookie that’s both rich and satisfying.
Step 3: Add Eggs and Vanilla
Beat in the eggs one at a time, mixing thoroughly after each addition to ensure a smooth batter. Stir in the vanilla extract to infuse the dough with its fragrant warmth—this subtle flavor makes the cookie irresistible.
Step 4: Combine Dry Ingredients
In a separate bowl, whisk together the flour, baking soda, and salt. Mixing these together first ensures even distribution, which means your cookies will rise evenly and taste perfectly balanced.
Step 5: Mix Dry into Wet Ingredients
Gradually add the dry flour mixture to the wet ingredients, mixing just until combined. Be careful not to overmix here—overworking the dough can make your cookies tough instead of tender and chewy.
Step 6: Stir in the Mix-ins
This is the fun part! Fold in your chocolate chips, nuts, dried fruit, shredded coconut, and crushed pretzels or potato chips if using. Each ingredient contributes its unique texture and flavor, creating those “kitchen sink” surprises in every bite.
Step 7: Scoop the Dough
Using a rounded tablespoon, drop the dough onto your prepared baking sheets, spacing each cookie about 2 inches apart. This spacing helps them bake evenly without merging into one giant cookie.
Step 8: Bake to Perfection
Bake the cookies for 10 to 12 minutes or until the edges are golden and the centers still look soft. They’ll continue to set as they cool, giving you that perfect chewy center contrasted by crisp edges.
Step 9: Cool Before Enjoying
Allow the cookies to cool on the baking sheet for five minutes before transferring them to a wire rack to cool completely. This cooling time is essential for setting the cookies’ structure and making them easier to handle—or devour!
How to Serve Kitchen Sink Cookies Recipe
Garnishes
While these cookies are fabulous straight from the oven, a small dusting of powdered sugar or a drizzle of melted chocolate can add an extra layer of festive flair and indulgence. For a fun twist, sprinkle a little sea salt on top before baking to enhance the sweet and salty balance.
Side Dishes
Kitchen Sink Cookies are wonderful paired with a tall glass of cold milk or a warm mug of coffee or tea. The richness of these beverages complements the cookie’s complex flavors and makes snack time feel just a bit more special.
Creative Ways to Present
If you’re serving these at a party or gathering, arrange them on a rustic platter with small bowls of extra mix-ins like nuts, dried fruit, or chocolate chips, letting guests customize their treats. You can also sandwich two cookies together with a generous scoop of vanilla ice cream for an instant ice cream sandwich.
Make Ahead and Storage
Storing Leftovers
After baking, keep any leftover Kitchen Sink Cookies in an airtight container at room temperature. They’ll stay fresh and chewy for up to a week, making them perfect for snacking or sharing throughout the week.
Freezing
You can freeze unbaked cookie dough balls or baked cookies. For dough, freeze on a baking sheet before transferring to a freezer-safe bag for up to three months. For baked cookies, wrap tightly in plastic wrap and store in a freezer container to maintain freshness.
Reheating
To revive the chewy warmth of your cookies, pop them in the microwave for 10 to 15 seconds or warm briefly in a preheated oven at 300°F. This brings back that just-baked feeling in no time.
FAQs
Can I substitute the nuts or dried fruit in the Kitchen Sink Cookies Recipe?
Absolutely! Feel free to swap in your favorites or exclude ingredients based on your preferences or allergies. Pumpkin seeds, sunflower seeds, or different dried fruits like cherries or apricots work beautifully.
What makes these cookies chewy instead of crunchy?
The combination of brown sugar, butter, and careful baking time helps keep these cookies delightfully chewy. Avoid overbaking and don’t skimp on the molasses-rich brown sugar!
Can I make this cookie dough ahead of time?
Yes! The dough can be made up to 24 hours in advance and refrigerated. Chilling enhances the flavors and texture, often producing an even better cookie.
Are these cookies gluten-free?
This Kitchen Sink Cookies Recipe calls for all-purpose flour, which contains gluten. However, you can experiment with a gluten-free flour blend designed for baking to make them gluten-free.
Can I add other mix-ins beyond the recipe?
Of course! The charm of the Kitchen Sink Cookies Recipe is its flexibility. Dark chocolate chunks, toffee bits, or even mini marshmallows can add exciting flavors and textures.
Final Thoughts
There’s something truly joyful about biting into a cookie packed with all sorts of delicious surprises, and this Kitchen Sink Cookies Recipe delivers exactly that. It’s a trusty classic that invites creativity and guarantees smiles every time you bake it. So gather those ingredients, warm up your oven, and enjoy the sweet, crunchy, chewy goodness that only these cookies can bring to your kitchen.
Print
Kitchen Sink Cookies Recipe
- Prep Time: 15 minutes
- Cook Time: 12 minutes
- Total Time: 27 minutes
- Yield: 24 servings
- Category: Dessert
- Method: Baking
- Cuisine: American
Description
Delightfully chewy and packed with a variety of mix-ins, these Kitchen Sink Cookies combine chocolate chips, nuts, dried fruits, coconut, and crunchy pretzels or potato chips for a deliciously textured treat perfect for any occasion.
Ingredients
Main Ingredients
- 1 cup unsalted butter, softened
- 1 cup brown sugar
- 1/2 cup granulated sugar
- 2 large eggs
- 1 tsp vanilla extract
- 2 1/2 cups all-purpose flour
- 1 tsp baking soda
- 1/2 tsp salt
Mix-Ins
- 1 cup chocolate chips
- 1/2 cup chopped nuts (walnuts, pecans, or almonds)
- 1/2 cup dried cranberries or raisins
- 1/2 cup shredded coconut (optional)
- 1/2 cup crushed pretzels or potato chips (optional)
Instructions
- Preheat Oven: Preheat your oven to 350°F (175°C) and prepare baking sheets by lining them with parchment paper to ensure the cookies don’t stick and bake evenly.
- Cream Butter and Sugars: In a large bowl, cream together the softened unsalted butter, brown sugar, and granulated sugar until the mixture is light and fluffy, which incorporates air for a tender cookie texture.
- Add Eggs and Vanilla: Beat in the eggs one at a time, making sure each is fully incorporated before adding the next. Stir in the vanilla extract for flavor enhancement.
- Combine Dry Ingredients: In a separate bowl, whisk together the all-purpose flour, baking soda, and salt to evenly distribute the leavening agent and seasoning.
- Mix Dry Into Wet: Gradually add the dry ingredients into the wet ingredients, mixing just until combined to avoid overworking the dough which can result in tough cookies.
- Fold in Mix-Ins: Gently fold in the chocolate chips, nuts, dried fruit, shredded coconut (if using), and crushed pretzels or potato chips (if using) for added texture and flavor.
- Shape Cookies: Drop rounded tablespoons of dough onto the prepared baking sheets, spacing them about 2 inches apart to allow for spreading as they bake.
- Bake: Bake the cookies for 10–12 minutes or until the edges are golden but the centers still look soft, achieving a perfect chewy texture.
- Cool: Let the cookies cool on the baking sheet for 5 minutes to firm up before transferring them to a wire rack to cool completely, preventing breakage and ensuring a perfect finish.
Notes
- You can customize the mix-ins depending on your preference or what you have on hand, such as swapping nuts or dried fruit.
- For a dairy-free version, substitute the butter with a vegan butter alternative.
- If you prefer crispier cookies, extend the baking time by 1-2 minutes but watch closely to avoid burning.
- Store cookies in an airtight container at room temperature for up to one week to maintain freshness.
- Adding pretzels or potato chips introduces a delightful salty crunch but is optional depending on taste.


