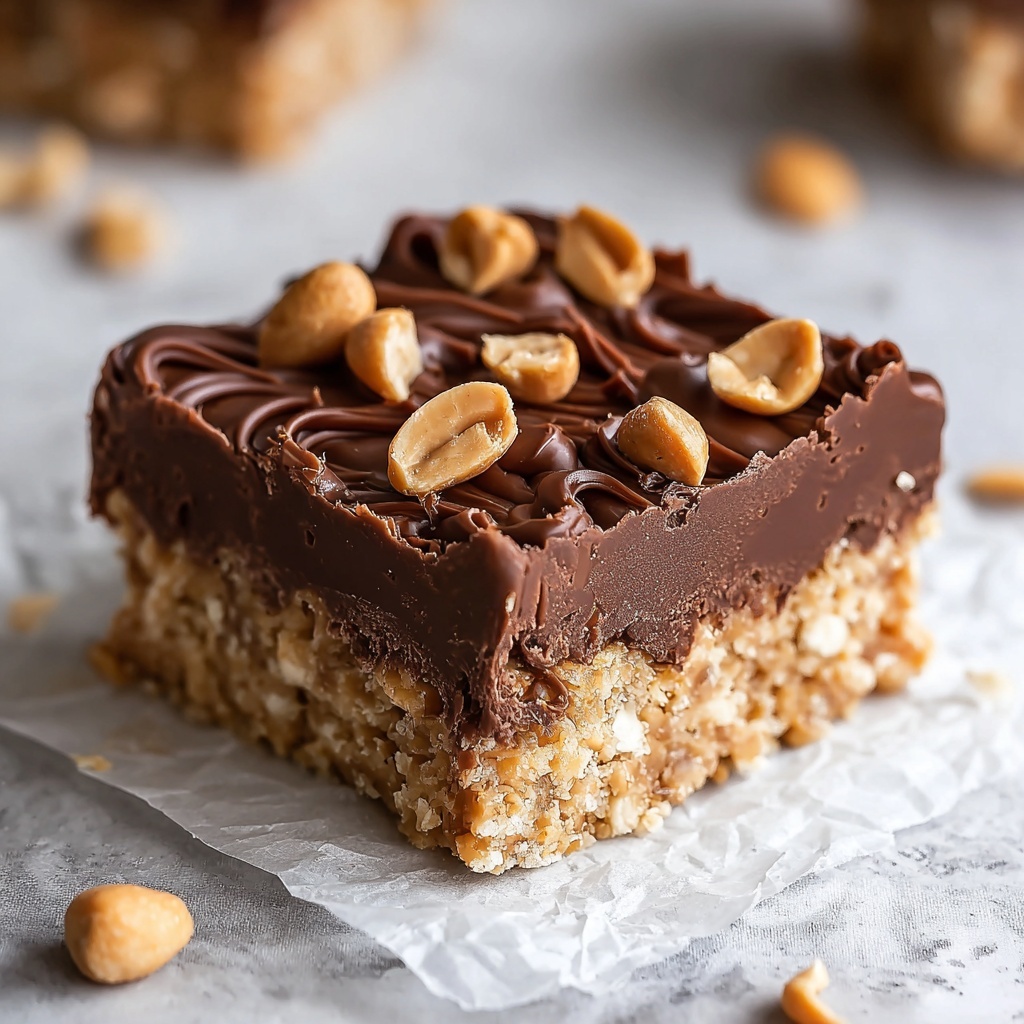
If you’re on the lookout for a snack that hits all the right notes—crunchy, creamy, chocolatey, and irresistibly nutty—then this Healthy No-Bake Chocolate Peanut Butter Crunch Bars Recipe is exactly what you need in your life. It’s the perfect blend of wholesome ingredients like smooth peanut butter and crispy rice cereal, coming together in a no-fuss, no-oven-required treat that satisfies your sweet tooth without the guilt. Whether you need a quick afternoon pick-me-up or a make-ahead snack for busy days, these bars are guaranteed to become your new favorite craving buster.
Ingredients You’ll Need
Simple pantry staples come together to create these divine bars. Each ingredient plays a crucial role—the peanut butter lends richness and protein, the maple syrup adds natural sweetness, while the crispy rice cereal provides that delightful crunch you’ll love with every bite.
- 1 cup smooth peanut butter: The creamy base that binds everything together and adds a rich, nutty flavor.
- 1/2 cup maple syrup or agave nectar: A natural sweetener that keeps the bars moist and lightly sweet without refined sugar.
- 1/4 cup coconut oil: Adds smoothness and helps achieve the perfect texture when melted.
- 1 teaspoon vanilla extract: Enhances the flavors with a warm, aromatic note.
- 3 cups crispy rice cereal: Delivers the irresistible crunch that contrasts beautifully with the creamy peanut butter.
- 1 1/2 cups dairy-free chocolate chips: For a silky chocolate layer that’s completely dairy-free but oh-so-decadent.
- 1/4 cup peanut butter (for topping): To drizzle and swirl on top for extra peanut buttery goodness and an eye-catching finish.
How to Make Healthy No-Bake Chocolate Peanut Butter Crunch Bars Recipe
Step 1: Prepare Your Pan
First, line an 8×8-inch baking pan with parchment paper. This step makes sure your bars pop out easily once they’re set, saving you from a sticky situation and ensuring perfect squares every time.
Step 2: Melt Peanut Butter Mixture
In a large microwave-safe bowl, combine the smooth peanut butter, maple syrup, and coconut oil. Microwave this in 20-second increments, stirring well between each until the mixture becomes smooth and fully combined. This warm, velvety base will coat the cereal beautifully later on.
Step 3: Add Vanilla Extract
Stir in the vanilla extract thoroughly to infuse your mixture with a subtle yet balancing depth of flavor. This little touch takes the bars from good to unforgettable.
Step 4: Mix in the Crispy Rice Cereal
Gently fold in the crispy rice cereal, making sure each piece is fully coated in the luscious peanut butter blend. The cereal’s crunch is what brings that satisfying texture you’ll enjoy bite after bite.
Step 5: Press Mixture into Pan
Transfer your cereal mixture into the prepared pan, firmly pressing it down into an even layer. Compacting it well is key to keeping the bars together once they’re set.
Step 6: Melt Chocolate Chips
In a microwave-safe bowl, melt the dairy-free chocolate chips in 20-second increments, stirring between each session until completely smooth and shiny—this elegance on top makes the bars a sheer delight.
Step 7: Spread Chocolate Over Bars
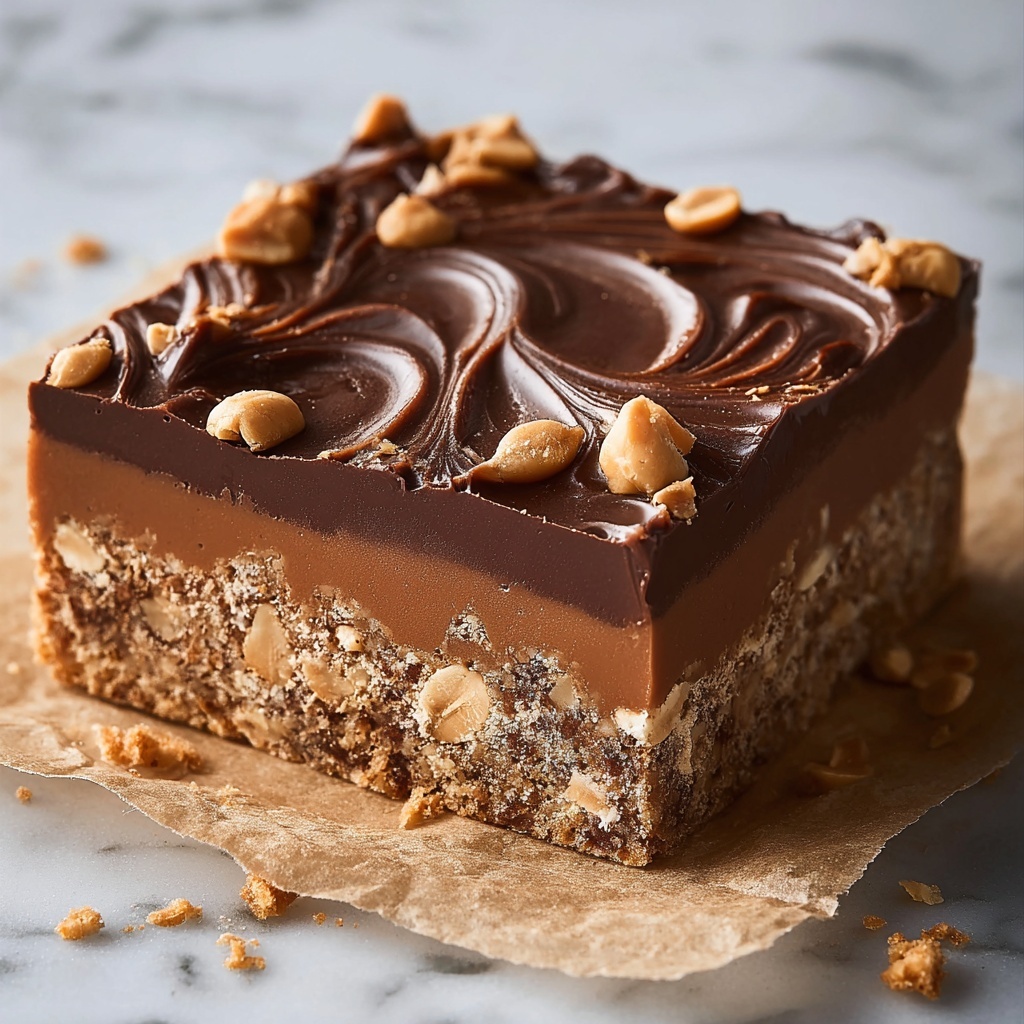
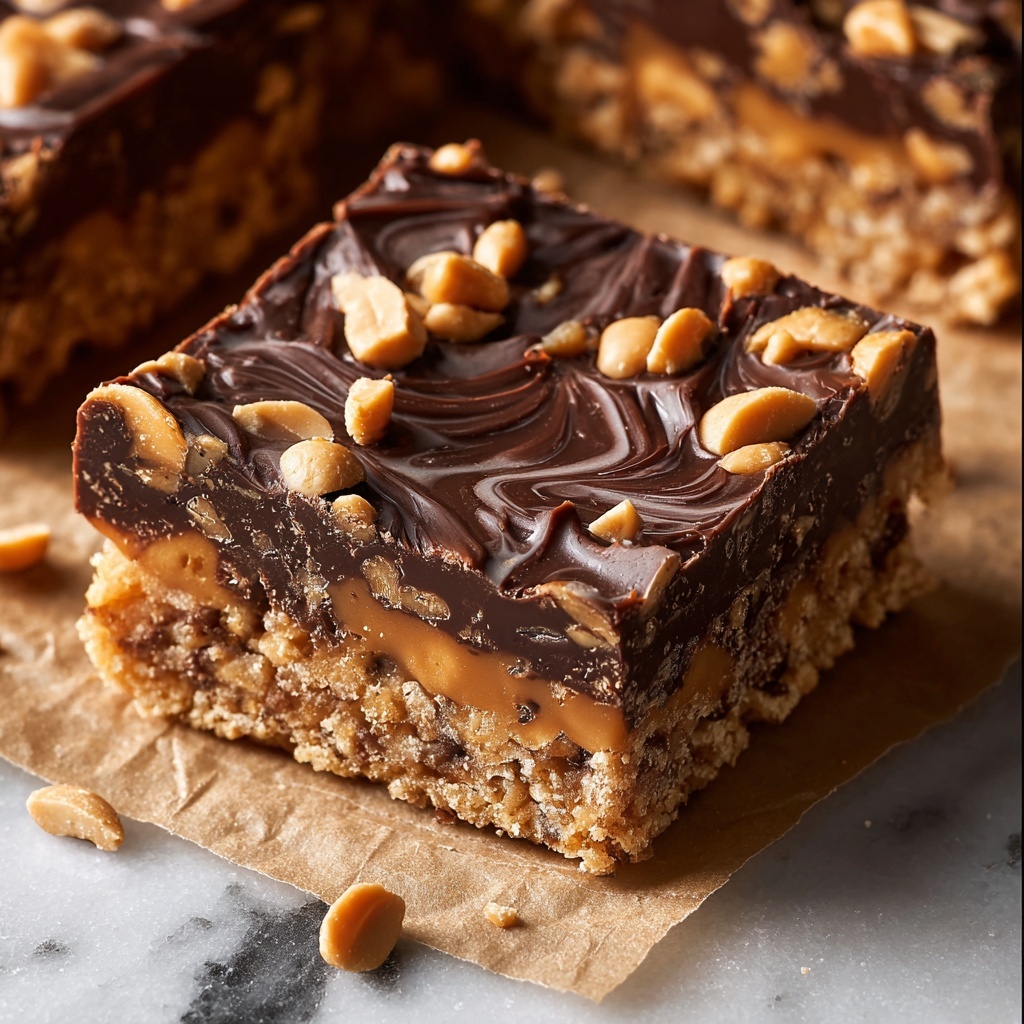
Pour the melted chocolate over your pressed cereal base, spreading it evenly with a spatula. This luscious chocolate layer seals everything in and adds that classic peanut butter and chocolate combo you can’t resist.
Step 8: Drizzle Peanut Butter and Swirl
Warm the remaining 1/4 cup of peanut butter slightly so it’s pourable, then drizzle it over the chocolate layer. Use a knife or toothpick to create whimsical swirls for a beautiful marbled effect that looks as good as it tastes.
Step 9: Refrigerate Until Set
Place the pan in the refrigerator and chill for at least one hour, allowing the chocolate to harden and everything to come together for that perfect bar consistency.
Step 10: Cut and Serve
Once set, lift the bars from the pan using the parchment paper edges and slice into 16 squares. This Healthy No-Bake Chocolate Peanut Butter Crunch Bars Recipe yields an easy-to-share treat that’s begging to be enjoyed right away.
How to Serve Healthy No-Bake Chocolate Peanut Butter Crunch Bars Recipe
Garnishes
Add a sprinkle of toasted chopped peanuts or a few flakes of sea salt on top to add contrasting flavors and textures. A dusting of cocoa powder or a few mini chocolate chips can also elevate the presentation and taste.
Side Dishes
Pair these bars with a tall glass of almond milk or a hot cup of coffee for a satisfying snack break. They also complement fresh fruit like sliced bananas or berries to balance the indulgence with some natural freshness.
Creative Ways to Present
Serve these bars on a rustic wooden board for a cozy vibe at gatherings, or wrap individual pieces with parchment and twine to create charming little gifts. Layering crumbled bars over oatmeal or yogurt can be an exciting twist for breakfast or dessert.
Make Ahead and Storage
Storing Leftovers
Keep any leftover bars in an airtight container in the refrigerator to maintain their freshness and firmness. They typically stay delicious for up to a week—perfect for snacking throughout the week without any fuss.
Freezing
This recipe freezes beautifully. Wrap individual bars or a whole batch tightly in plastic wrap and store in a freezer-safe container. When you want a quick treat, just thaw at room temperature for 10-15 minutes or enjoy them chilled straight from the freezer.
Reheating
Since these bars are best served cold or at room temperature, reheating is usually unnecessary. However, if you find them too firm, letting them sit on the counter for a bit softens the texture without losing the crunch or flavor.
FAQs
Can I use crunchy peanut butter instead of smooth?
Yes! Crunchy peanut butter will add even more texture to these bars, giving them an extra nutty bite. Just be sure to stir well to get an even coating on the cereal.
Are these bars vegan and dairy-free?
Absolutely. By using dairy-free chocolate chips and plant-based ingredients like coconut oil and maple syrup, these bars fit perfectly into a vegan and dairy-free lifestyle.
Can I substitute the crispy rice cereal with something else?
If you don’t have crispy rice cereal, puffed quinoa or crushed cornflakes can be fun alternatives. The key is to use something light and crunchy to maintain that signature texture.
How sweet are these bars?
They have a gentle sweetness from the maple syrup, balanced by the natural saltiness of peanut butter and slight bitterness in chocolate. If you prefer them sweeter, you can increase the syrup slightly but keep in mind the bars may become softer.
Is it possible to add protein powder or other supplements?
Definitely! Adding a couple of tablespoons of your favorite protein powder can boost the nutritional value without compromising taste. Just mix it with the peanut butter before adding the cereal to ensure even distribution.
Final Thoughts
This Healthy No-Bake Chocolate Peanut Butter Crunch Bars Recipe is a total game-changer when you want a quick, tasty, and wholesome treat that doesn’t require turning on your oven. It’s a joy to make and even more fun to share with friends and family. Seriously, once you try these bars, they’ll quickly become your go-to snack for all occasions. So go ahead, treat yourself—you deserve it!
Print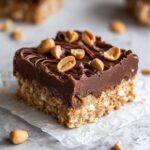
Healthy No-Bake Chocolate Peanut Butter Crunch Bars Recipe
- Prep Time: 15 minutes
- Cook Time: 5 minutes
- Total Time: 1 hour 20 minutes
- Yield: 16 servings
- Category: Dessert
- Method: No-Cook
- Cuisine: American
- Diet: Gluten Free, Low Lactose
Description
These Healthy No-Bake Chocolate Peanut Butter Crunch Bars are a delicious and easy-to-make treat that combines creamy peanut butter, crispy rice cereal, and a smooth dairy-free chocolate topping. Sweetened naturally with maple syrup or agave nectar, this recipe is perfect for a quick snack or dessert without turning on the oven. Ready in just over an hour, these bars are perfect for anyone seeking a wholesome, satisfying, gluten-free, and dairy-free indulgence.
Ingredients
Base Mixture
- 1 cup smooth peanut butter
- 1/2 cup maple syrup or agave nectar
- 1/4 cup coconut oil
- 1 tsp vanilla extract
- 3 cups crispy rice cereal
Chocolate Topping
- 1 1/2 cups dairy-free chocolate chips
- 1/4 cup peanut butter (for topping)
Instructions
- Prepare Pan: Line an 8×8-inch baking pan with parchment paper and set it aside to prevent sticking and to make lifting the bars easier after chilling.
- Melt Peanut Butter Mixture: In a large microwave-safe bowl, combine smooth peanut butter, maple syrup, and coconut oil. Heat in 20-second increments, stirring between each, until everything is fully melted and well combined.
- Add Vanilla: Stir in the vanilla extract thoroughly to infuse the mixture with flavor.
- Combine with Cereal: Add the crispy rice cereal to the peanut butter mixture and mix well, ensuring all cereal pieces are evenly coated with the peanut butter blend.
- Press Mixture: Transfer the coated cereal mixture to the prepared pan. Press it down firmly and evenly to create a solid base layer.
- Melt Chocolate Chips: In a separate microwave-safe bowl, melt the dairy-free chocolate chips in 20-second increments, stirring in between until smooth and creamy.
- Spread Chocolate: Pour the melted chocolate evenly over the pressed cereal base, spreading it gently with a spatula to cover the entire surface.
- Add Peanut Butter Swirl: Drizzle the remaining 1/4 cup peanut butter on top of the chocolate layer. Use a knife or toothpick to swirl the peanut butter into the chocolate for a decorative effect.
- Chill Bars: Refrigerate the pan for at least 1 hour or until the chocolate topping has fully set and the bars are firm to the touch.
- Cut and Serve: Once set, lift the bars out of the pan using the parchment paper. Cut into 16 equal squares and serve for a delightful, healthy treat.
Notes
- You can substitute maple syrup with agave nectar for a different natural sweetener.
- Ensure peanut butter is smooth for easier mixing and better texture.
- The use of dairy-free chocolate chips makes this recipe suitable for those with lactose intolerance or following a dairy-free diet.
- Press the mixture firmly in the pan to help the bars hold together well after chilling.
- Store leftover bars in an airtight container in the refrigerator for up to one week.


