“`html
There is something truly magical about baking bread at home, especially when it’s as simple and rewarding as this No-Knead Artisan Bread Recipe. With just a handful of ingredients and little effort, you can create a crusty, golden loaf that rivals anything from a bakery. This bread boasts a perfectly chewy interior with an irresistibly crisp crust, making it a versatile staple to elevate any meal or snack. Whether you are new to baking or a seasoned pro, this recipe invites you to enjoy the cozy, hands-off joy of homemade artisan bread without the fuss of kneading.
Ingredients You’ll Need
These few but carefully chosen ingredients come together to create the foundation for your delectable No-Knead Artisan Bread Recipe. Each one plays a crucial role, from building structure to developing flavor and that beautiful golden crust.
- 3 cups (375g) all-purpose flour: The base of your dough, providing structure and the perfect balance of protein for chewiness.
- 1 1/2 cups (355ml) warm water: Activates the yeast and hydrates the flour to create that airy crumb.
- 1 teaspoon (3g) active dry yeast or instant yeast: The magical agent that makes your dough rise and develop flavor over time.
- 1 teaspoon (5g) salt: Enhances the bread’s flavor and strengthens the gluten network for texture.
How to Make No-Knead Artisan Bread Recipe
Step 1: Mix the Dough
Start by combining the flour, yeast, and salt in a large bowl. You want to stir them just enough to distribute everything evenly before pouring in the warm water. Use a spoon or your hands to mix until you have a shaggy, sticky dough. The beauty here is that you don’t need to knead at all — the long resting time will take care of gluten development naturally.
Step 2: Let the Dough Rise
Cover the bowl with plastic wrap or a clean towel and leave it at room temperature for 12 to 18 hours. During this period, the dough will transform, becoming bubbly, soft, and doubled in size. This slow fermentation is what gives the bread its deep flavor and light texture, so trust the process even if it feels like a long wait.
Step 3: Shape the Dough
Once your dough has risen beautifully, lightly flour your hands and a work surface. Gently shape the dough into a round loaf without pressing out too many air bubbles. Place it on a piece of parchment paper and let it rest, covered, for 30 minutes up to an hour. This final rise helps the dough relax and develop a lovely shape before baking.
Step 4: Preheat the Oven and Dutch Oven
Set your oven to 450°F (230°C) and place a Dutch oven inside to preheat for at least 30 minutes. This step is crucial because the hot Dutch oven will create the steam environment needed for the bread’s signature crust. A well-heated vessel ensures your loaf bakes evenly and develops that artisan crunch.
Step 5: Bake the Bread
Carefully transfer the dough, along with the parchment paper, into the scorching Dutch oven. Cover with the lid and bake for 30 minutes. Then, remove the lid and bake for an additional 10 to 15 minutes to allow the crust to brown beautifully and crisp up perfectly. The smell alone at this point is a reason to get your apron on any day.
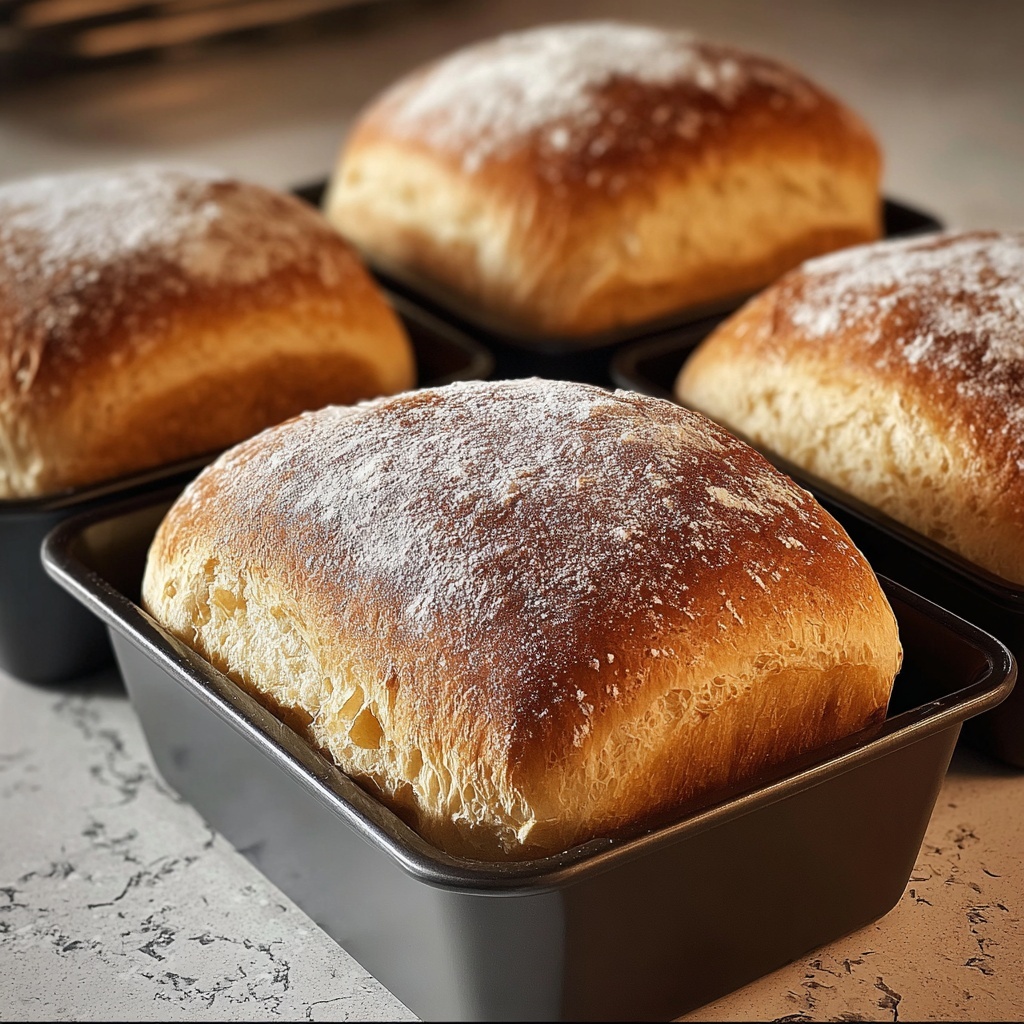
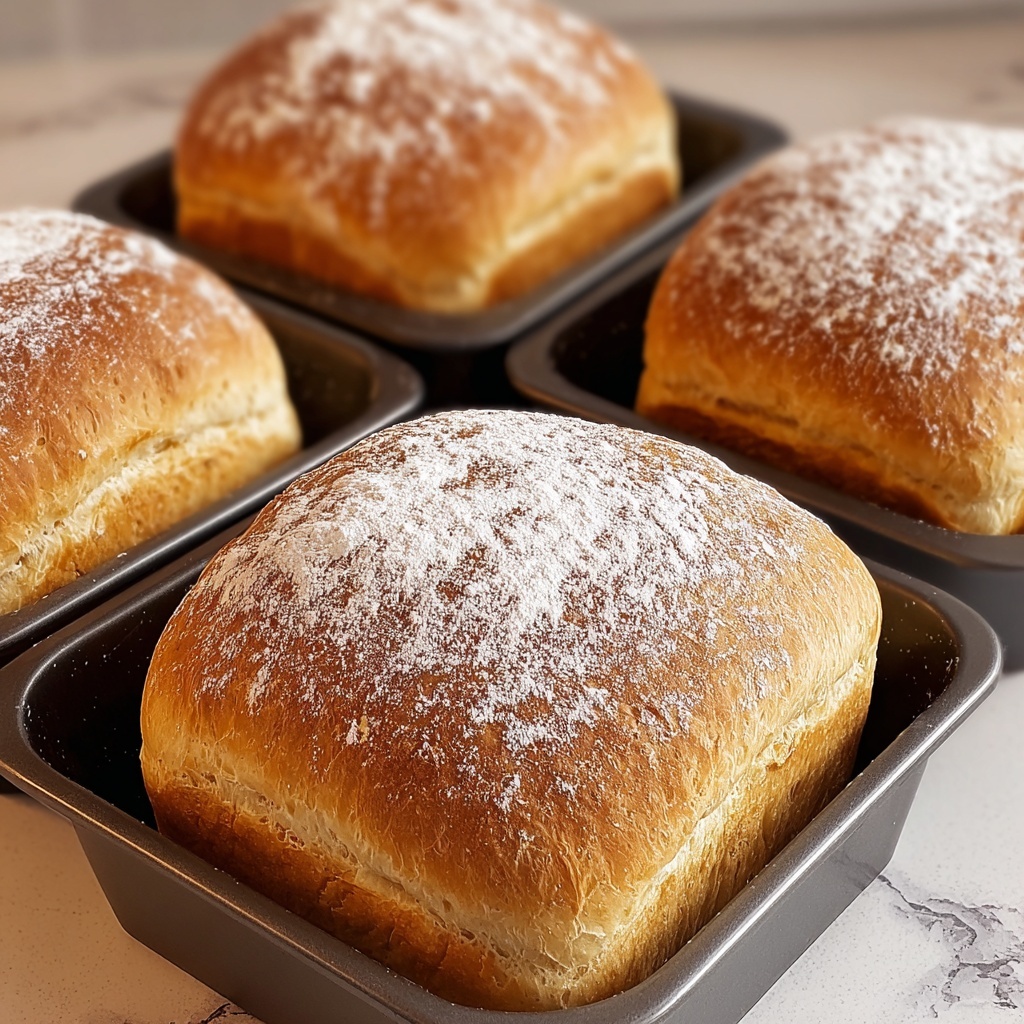
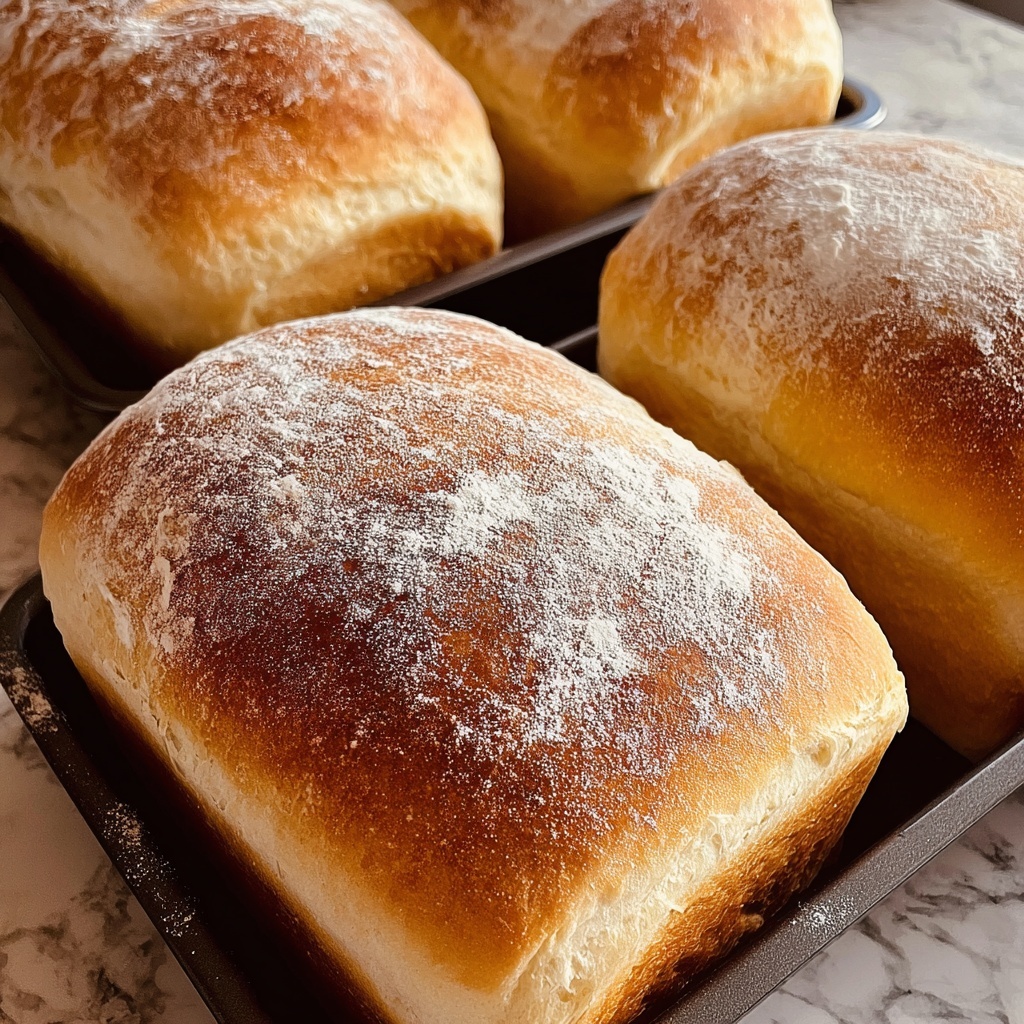
Step 6: Cool and Enjoy
After baking, let your loaf cool on a wire rack for at least one hour. This step is essential as it lets the steam inside the bread settle and the crumb finish setting. Once cooled, slice it up and bask in the joy of homemade artisan bread that you made with ease and love.
How to Serve No-Knead Artisan Bread Recipe
Garnishes
A simple brush of olive oil mixed with fresh herbs on warm slices can elevate the flavor beautifully. Sprinkle a touch of flaky sea salt or toasted garlic powder for added depth. You might also try a dab of softened butter sprinkled with freshly ground black pepper for a cozy, comforting bite.
Side Dishes
The No-Knead Artisan Bread Recipe shines alongside a variety of dishes — from rich stews and hearty soups to fresh garden salads. Its crusty exterior and tender interior make it perfect for soaking up sauces or serving as a base for gourmet sandwiches. Don’t forget a smear of creamy cheese or tangy spreads to complement its rustic flavor.
Creative Ways to Present
Turn this beautiful bread into eye-catching appetizers by slicing it into thick rounds and topping with a medley of ingredients like roasted tomatoes, basil, and mozzarella for bruschetta, or smoked salmon with dill cream cheese. You can also make a rustic bread basket for gatherings, tearing pieces off to share and enjoy the authentic artisan experience.
Make Ahead and Storage
Storing Leftovers
If you have any leftover bread, store it in a paper bag or loosely wrapped in a linen cloth at room temperature. This will help maintain the crust’s crispness for up to two days. Avoid plastic bags unless you want a soft crust; the goal is to preserve that wonderful crunchy texture as long as possible.
Freezing
The No-Knead Artisan Bread Recipe also freezes beautifully. Wrap your cooled loaf tightly in plastic wrap and then in foil or a freezer-safe bag to prevent freezer burn. When you’re ready to enjoy it again, thaw at room temperature and then refresh in the oven for just a few minutes to bring back the fresh-baked magic.
Reheating
To bring your bread back to life, preheat your oven to 350°F (175°C). Sprinkle the loaf lightly with water and place it directly on the oven rack for 10 to 15 minutes. This will revive the crust’s crackle and warm the inside without drying it out, giving you that fresh-from-the-oven feel anytime.
FAQs
Can I use whole wheat flour in the No-Knead Artisan Bread Recipe?
Absolutely! You can substitute up to half of the all-purpose flour with whole wheat flour for a nuttier flavor and denser crumb. Just keep in mind the dough might absorb more water, so you may need to adjust the liquid slightly.
How important is the long rise time in this recipe?
The long rise is essential because it allows gluten to develop gradually without kneading and helps the yeast create complex flavors and the perfect airy texture. Skipping or shortening this time will result in a denser, less flavorful bread.
What if I don’t have a Dutch oven?
If you don’t have a Dutch oven, try baking your loaf on a heavy baking sheet with a metal bowl or roasting pan inverted over it to trap steam. Alternatively, use a pizza stone with a pan of water in the oven to create steam — this helps achieve that signature crust.
Can I add herbs or other ingredients to the dough?
Yes! Feel free to mix in fresh herbs like rosemary or thyme, garlic, or even olives into the dough during Step 1. This adds exciting flavor dimensions while keeping the process straightforward.
How do I know when the bread is fully baked?
Look for a deep golden-brown crust and a hollow sound when you tap the bottom of the loaf. If you have a thermometer, an internal temperature of about 200°F (93°C) means it’s perfectly baked and ready to cool.
Final Thoughts
Making bread at home has never been more approachable or satisfying than with this No-Knead Artisan Bread Recipe. Its simplicity lets you focus on enjoying the process and the wonderful results rather than stressing over complicated techniques. So go ahead, try your hand at this recipe, and treat yourself and your loved ones to the warm, comforting pleasure of fresh, homemade artisan bread. You’ll wonder how you ever lived without it.
“`
Print
No-Knead Artisan Bread Recipe
- Prep Time: 20 minutes
- Cook Time: 45 minutes
- Total Time: 13 hours 5 minutes
- Yield: 1 loaf (12 slices)
- Category: Baking
- Method: Baking
- Cuisine: American
- Diet: Vegetarian
Description
This no-knead artisan bread recipe creates a crusty, flavorful loaf with minimal effort. Using only a few simple ingredients like flour, yeast, salt, and water, this bread requires no kneading and relies on a long rise time for perfect texture. Baked in a preheated Dutch oven, the bread develops a beautiful golden crust and an airy interior, making it an ideal homemade staple for sandwiches, toasts, or accompanying meals.
Ingredients
Dry Ingredients
- 3 cups (375g) all-purpose flour
- 1 teaspoon (3g) active dry yeast or instant yeast
- 1 teaspoon (5g) salt
Wet Ingredients
- 1 1/2 cups (355ml) warm water
Instructions
- Mix the Dough: In a large bowl, combine the flour, yeast, and salt. Stir well to distribute the ingredients evenly. Add the warm water and mix until a shaggy, sticky dough forms. No kneading is necessary for this dough.
- Let the Dough Rise: Cover the bowl with plastic wrap or a damp cloth and leave it at room temperature for 12 to 18 hours. The dough will bubble and double in size, developing flavor and texture.
- Shape the Dough: After the long rise, lightly flour your hands and a clean surface. Gently shape the dough into a round loaf without punching out too much air. Place the loaf on parchment paper and let it rest for 30 minutes to 1 hour, allowing it to relax and puff up slightly.
- Preheat the Oven and Dutch Oven: Heat your oven to 450°F (230°C). Place a Dutch oven with its lid inside the oven while it preheats for about 30 minutes. This ensures the Dutch oven is very hot for baking.
- Bake the Bread: Carefully transfer the dough with the parchment paper into the preheated Dutch oven. Cover with the lid and bake for 30 minutes to create steam and a crusty shell. Then remove the lid and bake for an additional 10 to 15 minutes, or until the crust is deep golden brown and crisp.
- Cool and Enjoy: Remove the bread from the oven and place it on a wire rack to cool completely before slicing. Cooling helps finish the cooking and sets the crumb.
Notes
- The long rise time is key to developing flavor and gluten without kneading.
- Make sure the water is warm, not hot, to properly activate the yeast without killing it.
- A Dutch oven traps steam which helps develop a crunchy crust.
- If you don’t have a Dutch oven, use a heavy oven-safe pot with a lid or a baking stone with a pan of water to create steam.
- Allow the bread to cool fully for best texture and easier slicing.


