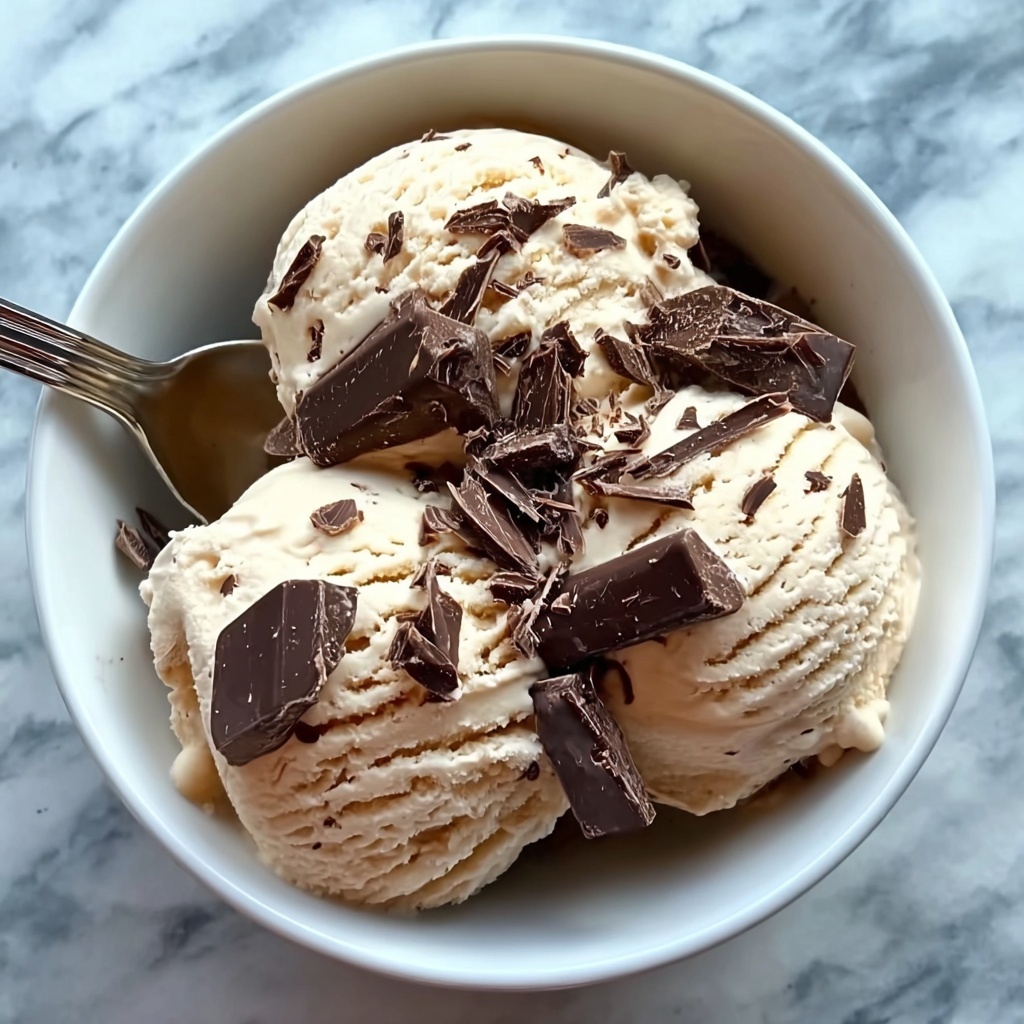
If you have a sweet tooth that craves something creamy, rich, and utterly satisfying, then you’re in for a treat with this Homemade Delicious Chocolate Ice Cream Bars Recipe. It’s a delightful way to enjoy the lusciousness of homemade ice cream paired with a crisp, chocolatey shell that cracks perfectly with every bite. This recipe brings together simple ingredients and straightforward steps to create a dessert that feels gourmet but comes together like a breeze—you’re going to love making and sharing these bars as much as eating them!
Ingredients You’ll Need
Every ingredient in this Homemade Delicious Chocolate Ice Cream Bars Recipe plays an essential role in achieving that perfect texture and flavor balance. From the richness of heavy cream to the sweetness of condensed milk and the luxurious chocolate coating, each component ensures your ice cream bars turn out irresistible.
- 2 cups heavy cream: The base of your ice cream, providing a creamy and velvety texture that melts beautifully.
- 1 cup sweetened condensed milk: Adds sweetness and a silky consistency without the need for extra sugar.
- 1 teaspoon vanilla extract (optional): A subtle boost that enhances the overall flavor depth of the ice cream.
- 300g dark or milk chocolate: Your choice here determines the final chocolate flavor—dark for richness, milk for a sweeter touch.
- 2 tablespoons coconut oil: Helps the chocolate shell harden smoothly and gives it that perfect glossy finish.
- Optional toppings such as chopped nuts, caramel sauce, crushed cookies, and sea salt: These add fun textures and bursts of flavor, letting you customize each bar to your liking.
How to Make Homemade Delicious Chocolate Ice Cream Bars Recipe
Step 1: Whip the Heavy Cream
Start by whipping the heavy cream until it forms soft peaks. This incorporates air, giving the ice cream bars a light, airy texture while still being decadently creamy.
Step 2: Fold in Sweetened Condensed Milk and Vanilla
Gently fold the sweetened condensed milk and vanilla extract into the whipped cream. This step is crucial because it blends in the sweetness and rich flavor without deflating your whipped cream’s fluffiness.
Step 3: Pour Into Molds and Insert Popsicle Sticks
Once your ice cream mixture is well combined, pour it into ice cream molds or a small loaf pan. Insert popsicle sticks evenly so they will stand straight when frozen, setting the stage for the classic ice cream bar shape.
Step 4: Freeze Until Firm
Freeze the mixture for at least 4 to 6 hours. Patience here guarantees that your ice cream bars have the right firmness for the upcoming chocolate dip without melting or becoming soggy.
Step 5: Melt the Chocolate and Coconut Oil
While the ice cream is setting, melt your chocolate together with coconut oil over a gentle heat or in a microwave, stirring frequently. The coconut oil smooths out the chocolate, making it perfect for dipping your frozen bars.
Step 6: Prepare for Dipping
Allow the melted chocolate to cool slightly, but keep it liquid. This prevents the cold bars from cracking your chocolate shell unevenly and helps create that alluring crisp coating.
Step 7: Dip the Frozen Bars in Chocolate
Remove the ice cream bars from the molds and quickly dip each bar into the melted chocolate, ensuring an even, complete coating. This step is where your bars start to look professionally finished.
Step 8: Add Optional Toppings
Before the chocolate hardens, drizzle caramel sauce, sprinkle chopped nuts, crushed cookies, or a pinch of sea salt to enhance flavor and add delightful texture contrasts. These toppings make each bite exciting and new.
Step 9: Freeze Again Until Chocolate is Set
Place the dipped bars back into the freezer for a few minutes to allow the chocolate shell to harden completely. This final chill guarantees that each bite will have that satisfying chocolate snap you love.
How to Serve Homemade Delicious Chocolate Ice Cream Bars Recipe
Garnishes
Enhancing your Homemade Delicious Chocolate Ice Cream Bars Recipe with garnishes like fresh mint leaves, a dusting of cocoa powder, or even edible gold flakes can turn a simple dessert into an eye-catching centerpiece for any occasion.
Side Dishes
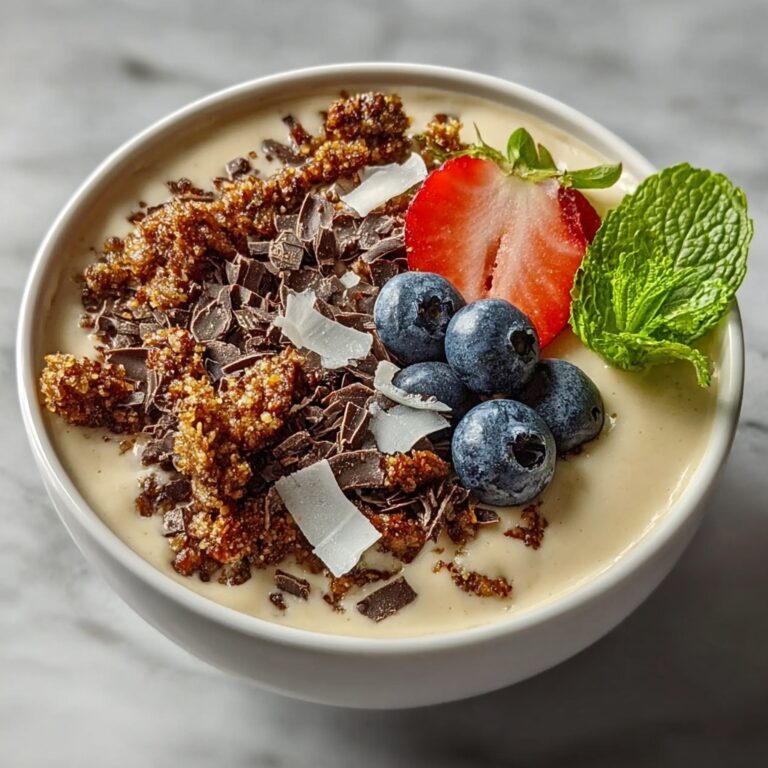
Pair these ice cream bars with fresh berries, a warm fruit compote, or even a small scoop of your favorite sorbet to introduce contrasting flavors and temperatures that elevate the entire dessert experience.
Creative Ways to Present
Consider serving your bars on a wooden board lined with parchment paper, or stick them upright in a glass filled with colored sugar or sprinkles for a playful, party-ready presentation that will charm both kids and adults alike.
Make Ahead and Storage
Storing Leftovers
If you manage to resist devouring all your bars at once (which is no small feat!), wrap them individually in parchment paper and place them in an airtight container. This preserves their texture and prevents freezer burn for up to two weeks.
Freezing
The Homemade Delicious Chocolate Ice Cream Bars Recipe is perfect for freezing well in advance. Keep them tightly sealed, and when you want to enjoy one, just pull a bar out and let it sit a minute or two at room temperature for the ideal bite.
Reheating
Since these bars are best enjoyed frozen, reheating does not apply. Instead, allow the bars to soften just slightly before eating to enhance the creamy taste without losing the chocolate crunch.
FAQs
Can I use low-fat cream for this recipe?
While you can substitute with lower-fat cream, the result may not be as creamy and rich. Heavy cream is recommended for that perfect balance of smoothness and structure.
Do I need to add sugar to the ice cream base?
No extra sugar is necessary because the sweetened condensed milk provides all the sweetness you need, keeping the texture smooth and delicious.
What if I don’t have ice cream molds?
No worries! You can pour the mixture into a small loaf pan and insert popsicle sticks after it begins to freeze. Then slice into bars once fully frozen.
Can I use white chocolate for the shell?
Absolutely! White chocolate can be used instead, but you may want to add a little coconut oil to ensure it hardens properly and gets that nice snap.
How long can I store these ice cream bars in the freezer?
For best taste and texture, consume within two weeks. Beyond that, they might lose some creaminess and develop freezer burn.
Final Thoughts
There is something so wonderfully satisfying about making your own frozen treats, especially when it’s a Homemade Delicious Chocolate Ice Cream Bars Recipe that delivers on both taste and fun. From the creamy core to the crisp chocolate coating, every bite feels like a little celebration. So go ahead, gather your ingredients, follow these delightful steps, and treat yourself and your loved ones to a dessert that’s sure to become a new favorite. You won’t regret it!
Print
Homemade Delicious Chocolate Ice Cream Bars Recipe
- Prep Time: 15 minutes
- Cook Time: 0 minutes
- Total Time: 4 hours 15 minutes
- Yield: 6-8 bars depending on mold size
- Category: Dessert
- Method: Freezing and Dipping
- Cuisine: American
Description
These homemade delicious chocolate ice cream bars are a creamy, indulgent treat perfect for cooling off on a warm day. Made with a rich ice cream base of heavy cream and sweetened condensed milk, and coated in a glossy, smooth chocolate shell infused with coconut oil for extra shine and snap. Customize with optional toppings like chopped nuts, caramel drizzle, crushed cookies, or a sprinkle of sea salt to add texture and flavor contrast. Simple to prepare without an ice cream machine and perfect for a refreshing dessert or snack.
Ingredients
Ice Cream Base
- 2 cups heavy cream
- 1 cup sweetened condensed milk
- 1 teaspoon vanilla extract (optional)
Chocolate Shell
- 300g dark or milk chocolate (your choice)
- 2 tablespoons coconut oil
Optional Toppings/Garnishes
- Chopped nuts (almonds, hazelnuts, etc.)
- Caramel sauce
- Crushed cookies
- Sea salt
Instructions
- Whip the Heavy Cream: In a large mixing bowl, whip 2 cups of heavy cream using an electric mixer or whisk until soft peaks form, creating a light and airy base for the ice cream.
- Fold in Sweetened Condensed Milk and Vanilla: Gently fold the 1 cup of sweetened condensed milk and 1 teaspoon vanilla extract into the whipped cream, being careful to maintain the airy texture without deflating the mixture.
- Pour into Molds: Pour the ice cream mixture into ice cream molds or a small loaf pan, then insert popsicle sticks into each mold or section of the pan.
- Freeze the Ice Cream: Place the molds in the freezer and freeze for at least 4 to 6 hours or until completely set and firm.
- Melt the Chocolate: Break 300g of your chosen dark or milk chocolate into small pieces and melt it gently along with 2 tablespoons of coconut oil in a microwave-safe bowl in short bursts or over a double boiler until smooth and slightly cooled but still liquid.
- Cool the Chocolate Slightly: Let the melted chocolate cool just enough so it remains liquid but isn’t too hot to melt the ice cream bars when dipped.
- Dip the Ice Cream Bars: Remove the ice cream bars from their molds or pan, then quickly dip each bar into the melted chocolate, coating it thoroughly from top to bottom.
- Add Optional Toppings: While the chocolate is still wet, drizzle caramel sauce, sprinkle chopped nuts, crushed cookies, or a pinch of sea salt to add delightful flavor and crunch.
- Set the Chocolate Coating: Place the dipped bars back onto a tray lined with parchment paper and return to the freezer for a few minutes until the chocolate shell is fully set and hardened.
Notes
- If you do not have molds, use a small loaf pan and cut into bars after freezing.
- For a dairy-free version, substitute heavy cream and condensed milk with coconut cream and a sweetened coconut milk alternative.
- The coconut oil in the chocolate shell helps the chocolate harden with a shiny finish and snap texture.
- Store the bars in an airtight container in the freezer to prevent ice crystals and maintain texture.
- To avoid cracking the bars while dipping, make sure the ice cream is well frozen and the chocolate is at the right temperature—not too hot.
