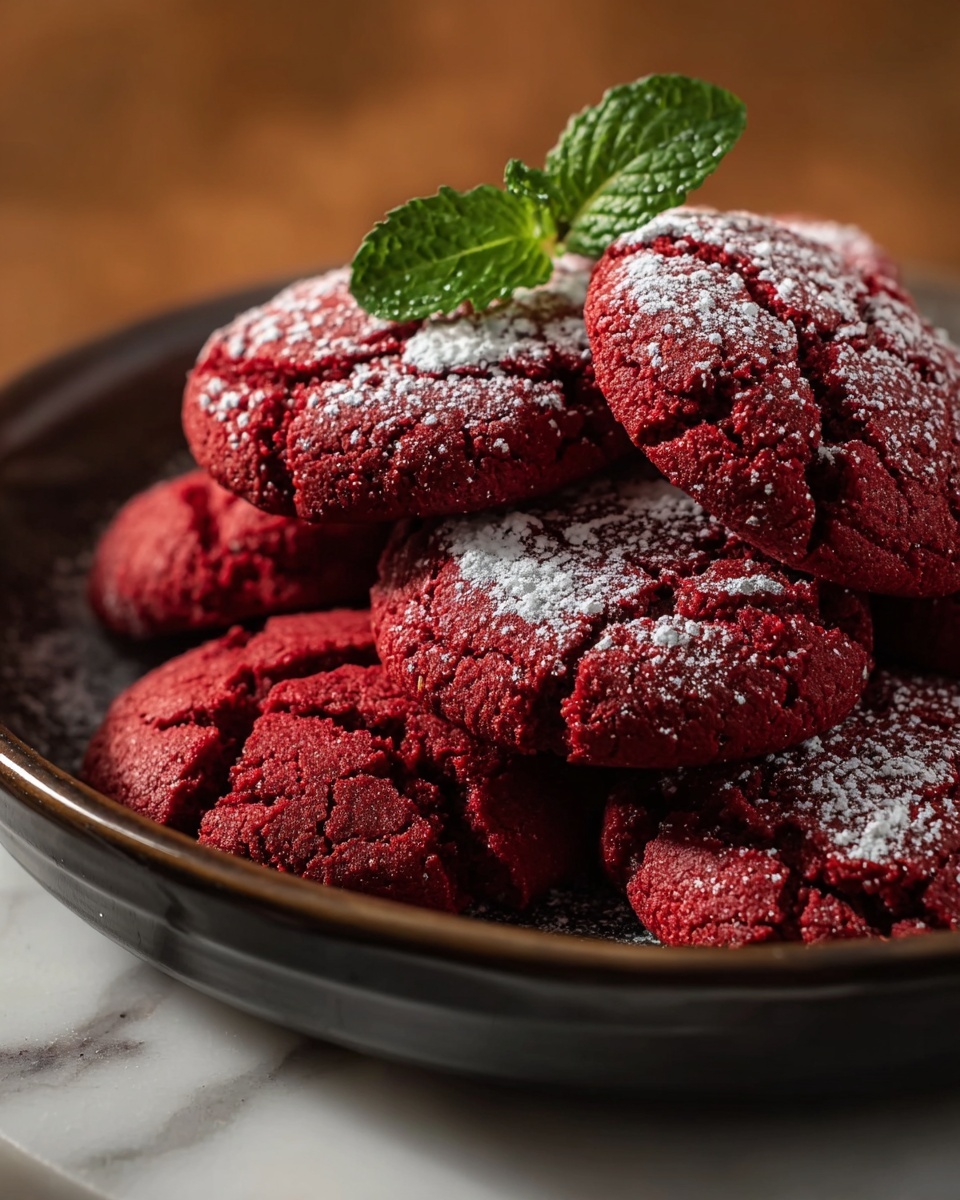
If you are on the hunt for a delightful, festive treat that makes any day feel special, this Red Velvet Crinkle Cookies Recipe is an absolute must-try. These cookies balance that classic red velvet flavor with a fudgy cocoa undertone and a soft, chewy interior, all wrapped in a charming powdered sugar crinkle coating. Every bite is a celebration of texture and taste, brightened by the vibrant red color that’s bound to catch eyes and hearts alike. Whether you’re sharing them at a holiday gathering or simply indulging your sweet tooth, these cookies bring warmth, joy, and a little bit of magic right to your kitchen.
Ingredients You’ll Need
These ingredients are simple pantry staples but each one plays a crucial role in creating the perfect Red Velvet Crinkle Cookies. From the rich cocoa powder to the luscious butter and the vibrant red food coloring, every item contributes to the taste, texture, and iconic look of these cookies.
- All-purpose flour (1 1/2 cups): Forms the sturdy yet tender base of your cookies, providing structure without toughness.
- Cocoa powder (1/4 cup): Adds a gentle chocolate depth that complements the red velvet flavor perfectly.
- Baking powder (1 tsp): Helps the cookies rise just enough for that soft, cakey texture.
- Salt (1/4 tsp): Enhances the other flavors and balances the sweetness beautifully.
- Unsalted butter, softened (1/2 cup): Brings richness and moisture, making each cookie melt-in-your-mouth delicious.
- Granulated sugar (1 cup): Sweetens and helps create the slight crisp edges on your cookies.
- Large eggs (2): Bind everything together and add to the cookie’s softness.
- Red food coloring (1 tbsp): Provides that signature, eye-catching red hue that makes these cookies unforgettable.
- Vanilla extract (1 tsp): Adds warmth and depth, rounding out all the flavors beautifully.
- Powdered sugar (1/2 cup): Used for rolling the dough, creating the iconic crackle effect as the cookies bake.
How to Make Red Velvet Crinkle Cookies Recipe
Step 1: Prepare Your Oven and Baking Sheet
Begin by preheating your oven to a cozy 350°F (175°C). Line a baking sheet with parchment paper or a silicone baking mat to ensure your cookies won’t stick and bake evenly.
Step 2: Mix Dry Ingredients
In a medium bowl, whisk together the all-purpose flour, cocoa powder, baking powder, and salt. This helps evenly distribute the leavening agents and cocoa, so each cookie will have consistent flavor and texture.
Step 3: Cream Butter and Sugar
In a large bowl, beat the softened butter and granulated sugar together until light and fluffy. This aeration is key to giving your cookies that tender crumb and soft bite that we love.
Step 4: Add Eggs and Flavors
Add the eggs one at a time, beating well after each addition to incorporate them fully. Stir in the vanilla extract and the red food coloring. The red dye brightens up the dough, making these cookies truly iconic.
Step 5: Combine Wet and Dry Ingredients
Gradually fold the dry ingredients into the wet mixture until just combined. Be careful not to overmix—you want to keep the dough light and soft for those perfect crinkles.
Step 6: Chill the Dough (Optional but Recommended)
If you have time, chill the dough for about 30 minutes; this helps prevent excessive spreading and makes it easier to roll into neat balls.
Step 7: Roll Dough in Powdered Sugar
Shape the dough into small balls, about one tablespoon each, and roll each generously in powdered sugar. This step is crucial because it gives these cookies that beautiful crackled surface as they bake.
Step 8: Space and Bake
Place the dough balls on your prepared baking sheet, spaced about 2 inches apart to give them room to spread just right. Bake for 10-12 minutes, until the edges are set but the centers still look slightly soft for a chewy, luscious texture.
Step 9: Cool Your Cookies
Let the cookies rest on the baking sheet for 5 minutes to set up, then transfer them carefully to a wire rack to cool completely. This final step helps them firm up without losing their tender chew.
How to Serve Red Velvet Crinkle Cookies Recipe
Garnishes
These cookies shine on their own, but you can sprinkle a little extra powdered sugar on top for an extra festive look. Tiny white chocolate chips or a drizzle of cream cheese glaze also pair wonderfully, enhancing that classic red velvet flavor.
Side Dishes
A tall glass of cold milk or a warm cup of coffee or hot cocoa pairs perfectly with these cookies. Their richness and slight cocoa taste are balanced beautifully by creamy, smooth beverages.
Creative Ways to Present
Stack the cookies into a pretty jar or tie them with a festive ribbon for gifting. You could also layer them between sheets of parchment in a treat box to keep them fresh and ready for sharing at parties or cozy afternoons.
Make Ahead and Storage
Storing Leftovers
Keep your Red Velvet Crinkle Cookies in an airtight container at room temperature. They stay fresh and chewily perfect for up to a week, making them a great make-ahead treat.
Freezing
If you want to bake in advance, these cookies freeze beautifully. Place them in a single layer on a baking sheet to freeze initially, then transfer to a freezer-safe container or bag. They’ll keep well for up to three months.
Reheating
To refresh frozen or stored cookies, warm them for about 10 seconds in the microwave or briefly in a 300°F oven. This brings back that fresh-baked softness and makes them taste like they just came out of the oven.
FAQs
Can I use gel food coloring instead of liquid?
Absolutely! Gel food coloring tends to give a more vibrant and deeper red color with less liquid added to the dough, which can be helpful to maintain the right texture.
Do these cookies taste similar to classic red velvet cake?
They capture the essence beautifully with cocoa and vanilla, but the cookie’s texture is chewier and more crinkly compared to the soft crumb of cake, making them a unique twist on the flavor.
What if I don’t have cocoa powder?
You can’t achieve the true red velvet flavor without cocoa powder—it’s essential. A high-quality Dutch-processed cocoa yields the best results.
How do I prevent the cookies from spreading too much?
Chilling the dough before baking is key. Also, be careful not to use too much butter or let your dough get too warm.
Can I make these cookies gluten-free?
Yes! Try swapping all-purpose flour with a gluten-free blend designed for baking. Just ensure it contains xanthan gum for structure.
Final Thoughts
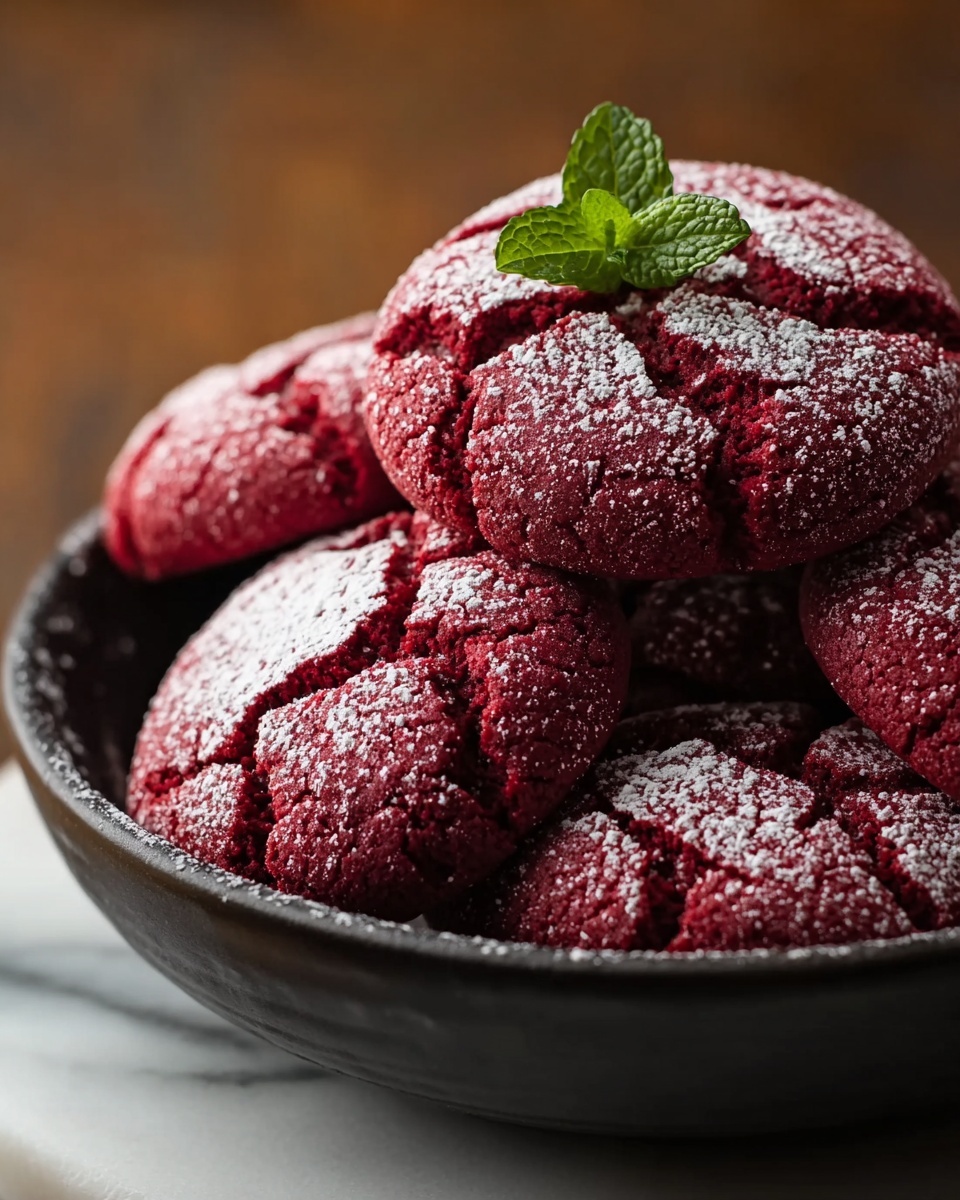
There’s something truly magical about a batch of Red Velvet Crinkle Cookies fresh from the oven. The way they balance rich cocoa flavor, that signature red hue, and a soft, cheat-worthy texture is nothing short of irresistible. I encourage you to try this Red Velvet Crinkle Cookies Recipe soon and share the joy with loved ones—baking and eating these cookies is pure happiness on a plate.
Print
Red Velvet Crinkle Cookies Recipe
- Prep Time: 15 minutes
- Cook Time: 10-12 minutes
- Total Time: 25-30 minutes (plus optional chilling time)
- Yield: 24 cookies
- Category: Dessert
- Method: Baking
- Cuisine: American
Description
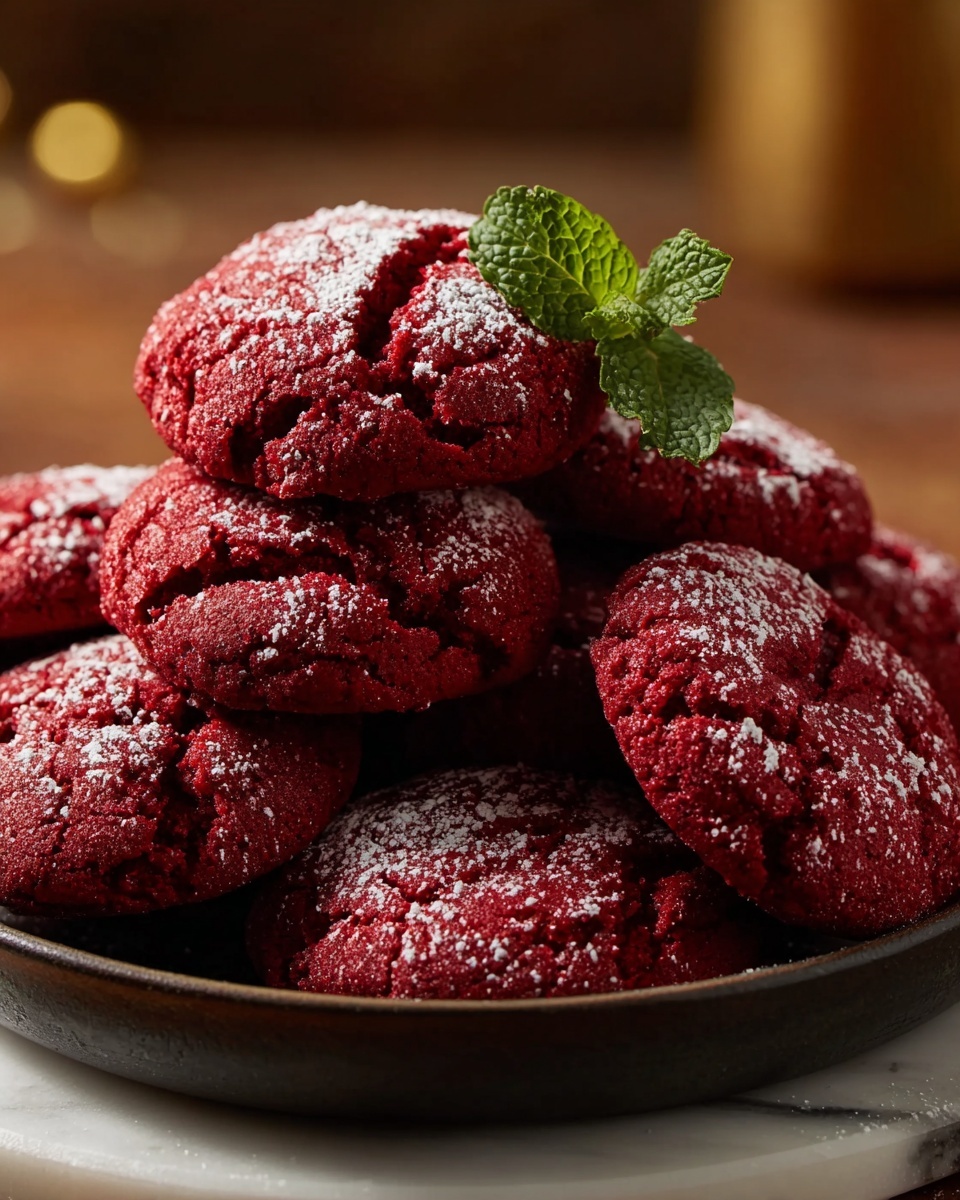
These Red Velvet Crinkle Cookies are soft, moist, and perfectly cracked with a vibrant red color and a subtle cocoa flavor. Rolled in powdered sugar before baking, they create a beautiful crinkled pattern on top. Ideal for holiday treats or any special occasion, these cookies combine classic red velvet flavors with an easy-to-follow baking method.
Ingredients
Dry Ingredients
- 1 1/2 cups all-purpose flour
- 1/4 cup cocoa powder
- 1 tsp baking powder
- 1/4 tsp salt
Wet Ingredients
- 1/2 cup unsalted butter, softened
- 1 cup granulated sugar
- 2 large eggs
- 1 tbsp red food coloring (or gel food coloring for a more vibrant color)
- 1 tsp vanilla extract
For Coating
- 1/2 cup powdered sugar (for rolling the dough)
Instructions
- Preheat Oven: Preheat your oven to 350°F (175°C). Line a baking sheet with parchment paper or a silicone baking mat to prevent sticking and ensure even baking.
- Prepare Dry Ingredients: In a medium bowl, sift together the all-purpose flour, cocoa powder, baking powder, and salt. This ensures even distribution of ingredients and a light, fluffy cookie texture.
- Cream Butter and Sugar: In a large bowl, use an electric mixer to cream the softened butter and granulated sugar together until the mixture becomes light and fluffy, about 2-3 minutes. This step incorporates air for a tender cookie.
- Add Eggs and Flavorings: Beat in the eggs, one at a time, ensuring each is fully incorporated before adding the next. Stir in the vanilla extract and red food coloring until the mixture is uniform in color.
- Combine Wet and Dry Ingredients: Gradually add the dry ingredients to the wet mixture, mixing gently just until combined. Overmixing can result in tougher cookies, so stop once the flour mixture is integrated.
- Chill Dough (Optional but Recommended): For easier handling and better cookie shape, chill the dough in the refrigerator for about 30 minutes to 1 hour. This step also helps intensify flavors.
- Roll in Powdered Sugar: Scoop tablespoon-sized portions of dough and roll each ball generously in powdered sugar. This coating creates the signature crackled look after baking.
- Arrange on Baking Sheet: Place the coated dough balls on the prepared baking sheet spaced about 2 inches apart to allow room for spreading.
- Bake Cookies: Bake in the preheated oven for 10-12 minutes or until the edges are set but the center remains slightly soft for a chewy texture.
- Cool: Let the cookies cool on the baking sheet for 5 minutes before transferring them to a wire rack to cool completely. This prevents breaking and helps set the texture.
Notes
- Using gel food coloring results in more vibrant color without affecting dough consistency.
- Chilling the dough makes it easier to roll and helps prevent excessive spreading during baking.
- For a richer flavor, substitute half a teaspoon of vanilla extract with almond extract.
- Store cookies in an airtight container at room temperature for up to 5 days.
- These cookies can be frozen after baking for up to 3 months; thaw at room temperature before serving.
