
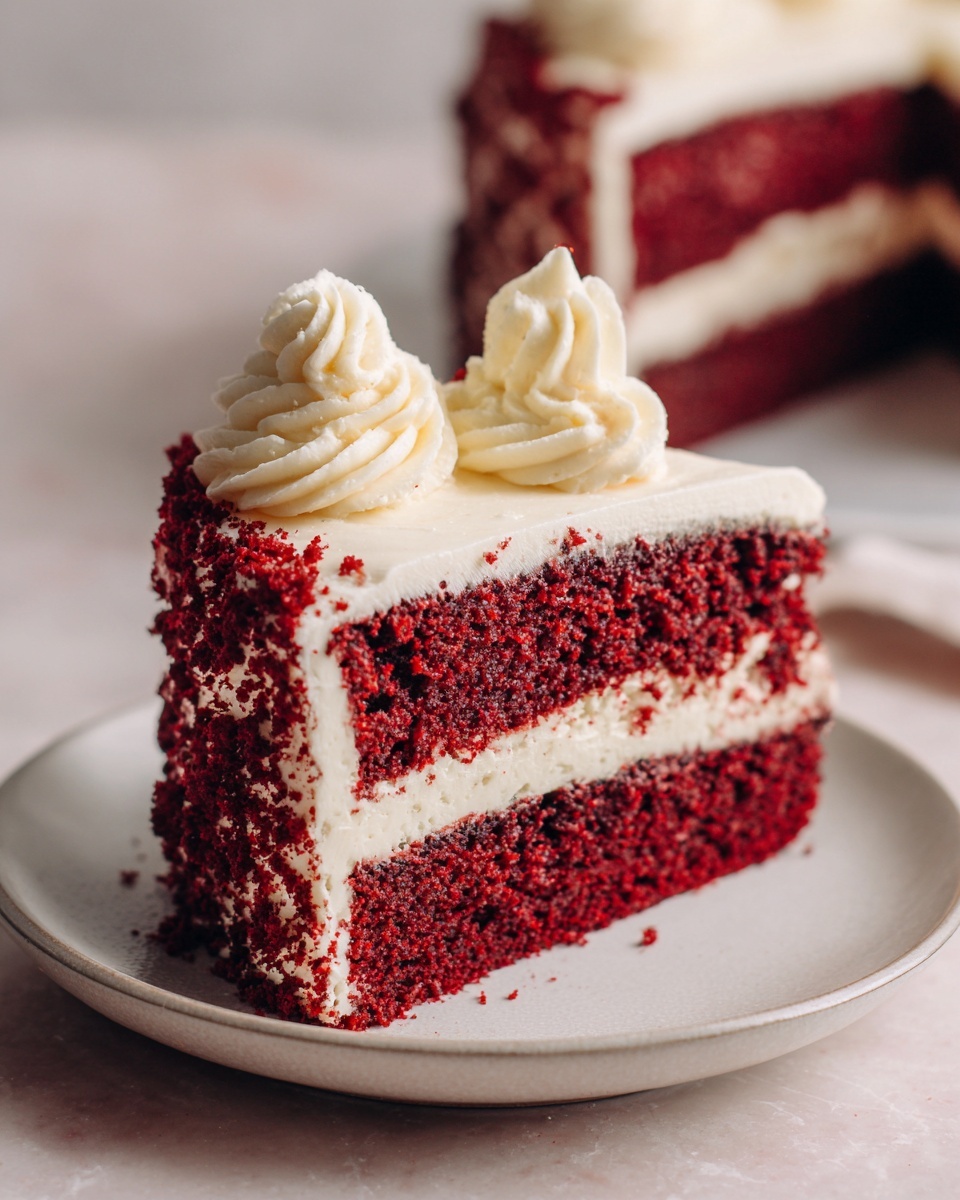
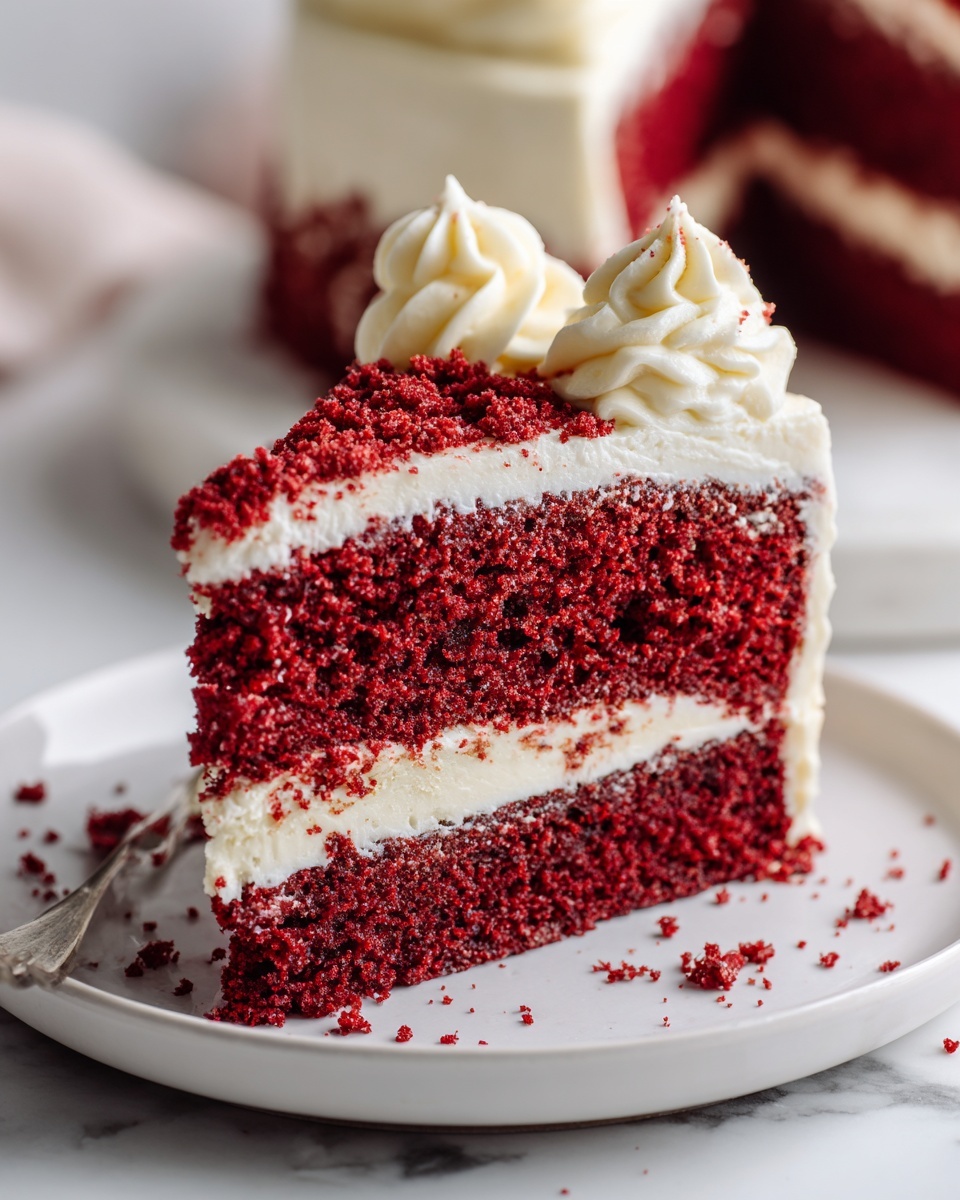
If you’ve ever dreamed of mastering a perfect dessert that feels like a hug in cake form, this Red Velvet Cake Recipe is your new best friend. Picture a moist, tender crumb with its signature vibrant red hue paired with that irresistibly creamy, tangy cream cheese frosting. This classic red velvet cake is deceptively simple to make but impressively indulgent in every bite, making it a showstopper for holidays, celebrations, or simply when you want to treat yourself and loved ones to something extraordinary. Trust me, once you try this Red Velvet Cake Recipe, it will earn a permanent spot in your baking lineup.
Ingredients You’ll Need
Every great recipe starts with the right ingredients, and this Red Velvet Cake Recipe is no exception. The ingredients list may seem straightforward, but each one plays a crucial role in delivering that signature flavor, texture, and stunning color that defines this cake.
- 2½ cups all-purpose flour: Provides structure and lightness to the cake, ensuring a tender crumb.
- 1½ cups granulated sugar: Sweetens the cake perfectly without overpowering the cocoa flavor.
- 1 teaspoon baking soda: Acts as the leavening agent to give the cake a gentle rise and airy texture.
- 1 teaspoon fine salt: Enhances all the flavors, balancing sweetness and richness.
- 1 teaspoon cocoa powder: Adds a subtle chocolate undertone essential to classic red velvet.
- 1½ cups vegetable oil: Keeps the cake moist and tender, giving it that melt-in-your-mouth feel.
- 1 cup buttermilk at room temperature: Provides acidity that reacts with baking soda for lift, plus a slight tang.
- 2 large eggs at room temperature: Bind ingredients together and add richness.
- 2 tablespoons red food coloring: The secret behind the cake’s unmistakable red appearance.
- 1 teaspoon vanilla extract: Adds warmth and depth to the overall flavor.
- 1 teaspoon white vinegar: Enhances the cake’s tender crumb and brightens the color.
- Cream cheese frosting ingredients: 8 oz cream cheese, ½ cup unsalted butter, 2½ cups powdered sugar, and 1 teaspoon vanilla extract for that luscious, creamy finish.
How to Make Red Velvet Cake Recipe
Step 1: Prepare Your Oven and Pans
Start by preheating your oven to 350°F (175°C) and greasing and flouring two 9-inch round cake pans. Properly preparing your pans is essential to ensure the cakes release easily and maintain their shape.
Step 2: Mix the Dry Ingredients
In a large bowl, whisk together the all-purpose flour, granulated sugar, baking soda, salt, and cocoa powder. This step ensures even distribution of leavening and cocoa, so every slice is perfectly balanced.
Step 3: Combine Wet Ingredients
In a separate bowl, beat the vegetable oil, buttermilk, eggs, red food coloring, vanilla extract, and white vinegar until everything is well combined. Bringing the eggs and buttermilk to room temperature first will create a smoother batter and a lighter cake.
Step 4: Bring It All Together
Gradually add the wet ingredients to the dry ingredients, mixing gently until the batter is smooth and fully incorporated. Avoid overmixing to keep the crumb delicate and tender.
Step 5: Bake the Cake Layers
Divide the batter evenly between the two prepared pans and bake for 30 to 35 minutes. You’ll know the cakes are ready when a toothpick inserted into the center comes out clean. Once baked, let the cakes cool in the pans for 10 minutes before turning out onto a wire rack to cool completely.
Step 6: Make the Cream Cheese Frosting
While the cakes cool, beat the cream cheese and unsalted butter together until smooth. Gradually add the powdered sugar and continue mixing until the frosting is fluffy and luscious. Finally, stir in the vanilla extract for that perfect hint of warmth.
Step 7: Assemble and Frost
Once your cakes are fully cooled, spread a generous layer of cream cheese frosting between the two layers, then frost the top and sides evenly. For best results, chill the assembled cake before slicing to let the frosting set beautifully.
How to Serve Red Velvet Cake Recipe
Garnishes
Adding garnishes to your Red Velvet Cake Recipe can elevate the presentation and add a delightful textural contrast. Consider decorating with fresh berries like raspberries or strawberries for a burst of freshness. A sprinkle of finely chopped pecans or walnuts adds a satisfying crunch that complements the smooth frosting perfectly.
Side Dishes
This cake pairs wonderfully with light accompaniments to balance its richness. Serve it alongside a scoop of vanilla bean ice cream or a dollop of lightly whipped cream. For a beverage pairing, a hot cup of coffee or a chilled glass of milk will harmonize beautifully with the cake’s sweet tanginess.
Creative Ways to Present
For special occasions, consider serving your red velvet cake as cut-out cake pops or layered parfaits with cake crumbs and frosting. You can also slice it into squares and dust with edible gold flakes or decorate with edible flowers to give your Red Velvet Cake Recipe a stunning, Instagram-worthy look.
Make Ahead and Storage
Storing Leftovers
After enjoying your delicious Red Velvet Cake Recipe, wrap any leftovers tightly with plastic wrap or store in an airtight container in the refrigerator. Proper storage keeps the cake moist and the frosting fresh, allowing you to savor every last crumb for up to 3 days.
Freezing
You can freeze your cake layers before frosting, wrapping them securely in plastic wrap and aluminum foil. This prevents freezer burn and preserves moisture. When ready, thaw the layers in the refrigerator overnight before frosting and assembling. This step is perfect for prepping ahead of big events.
Reheating
Since the cake is best served cool or at room temperature, reheating isn’t necessary for the cake itself. If you prefer slightly warmer slices, allow a refrigerated slice to sit at room temperature for about 30 minutes. Avoid microwaving, as this will melt the frosting and alter the texture.
FAQs
Can I substitute the red food coloring with natural alternatives?
Absolutely! You can use beet juice or powdered beetroot to achieve a natural red hue. Keep in mind that the color might be less vibrant, but it adds a lovely earthy sweetness and is a great option if you prefer to avoid artificial dyes.
What type of cocoa powder works best?
For the authentic flavor in this Red Velvet Cake Recipe, use natural unsweetened cocoa powder. Dutch-processed cocoa tends to be less acidic and may affect the rise and color of the cake.
Can I make this cake gluten-free?
Yes, you can substitute the all-purpose flour with a high-quality gluten-free baking blend, making sure it includes xanthan gum for structure. The texture might vary slightly, but it will still be delicious.
How do I prevent the cream cheese frosting from becoming runny?
Using cream cheese and butter straight from the fridge helps. Make sure both are cold and not melted. Beat the frosting until smooth but stop once it becomes fluffy; overbeating can cause it to separate.
How long does this Red Velvet Cake Recipe keep fresh?
The cake stays fresh for about 3 days when refrigerated properly. For longer storage, freezing the layers as mentioned earlier is best. Always keep it covered to prevent drying out.
Final Thoughts
This Red Velvet Cake Recipe truly has that special magic that turns ordinary moments into cherished memories. Its moist texture, inviting color, and creamy frosting make it a timeless favorite that’s sure to impress everyone at your table. I can’t wait for you to try it and experience that joyful ‘wow’ from the very first slice. Happy baking!
Print
Red Velvet Cake Recipe
- Prep Time: 20 minutes
- Cook Time: 35 minutes
- Total Time: 55 minutes
- Yield: 12 servings
- Category: Dessert
- Method: Baking
- Cuisine: American
- Diet: Vegetarian
Description
A classic American dessert, this Red Velvet Cake features moist, tender layers with a subtle cocoa flavor and vibrant red color. Topped with a rich and creamy homemade cream cheese frosting, it’s perfect for holidays, special occasions, or anytime you want a beautiful, delicious treat.
Ingredients
Dry Ingredients
- 2½ cups all-purpose flour
- 1½ cups granulated sugar
- 1 teaspoon baking soda
- 1 teaspoon fine salt
- 1 teaspoon cocoa powder
Wet Ingredients
- 1½ cups vegetable oil
- 1 cup buttermilk, at room temperature
- 2 large eggs, at room temperature
- 2 tablespoons red food coloring
- 1 teaspoon vanilla extract
- 1 teaspoon white vinegar
Cream Cheese Frosting
- 8 oz cream cheese
- ½ cup unsalted butter
- 2½ cups powdered sugar
- 1 teaspoon vanilla extract
Instructions
- Preheat and prepare pans: Preheat your oven to 350°F (175°C). Grease and flour two 9-inch round cake pans to ensure the cakes release easily.
- Mix dry ingredients: In a large bowl, whisk together the all-purpose flour, granulated sugar, baking soda, fine salt, and cocoa powder until thoroughly combined.
- Combine wet ingredients: In a separate bowl, beat together the vegetable oil, room temperature buttermilk, eggs, red food coloring, vanilla extract, and white vinegar until smooth and well blended.
- Combine wet and dry: Gradually add the wet mixture to the dry ingredients, mixing gently until the batter is smooth and fully incorporated without overmixing.
- Bake the cakes: Divide the batter evenly between the prepared cake pans. Place in the oven and bake for 30 to 35 minutes. Check doneness by inserting a toothpick into the center; it should come out clean when done.
- Cool the cakes: Allow the cakes to cool in their pans for 10 minutes, then turn them out onto a wire rack to cool completely before frosting.
- Make the cream cheese frosting: Beat the cream cheese and unsalted butter together until smooth and creamy. Gradually add the powdered sugar, mixing thoroughly until fluffy. Stir in the vanilla extract.
- Assemble and frost: Once the cakes are completely cool, spread frosting between the layers and cover the top and sides of the cake evenly. For best results, chill the cake before slicing.
Notes
- Ensure eggs and buttermilk are at room temperature for a smoother batter and better texture.
- You can prepare the cake a day in advance; wrap the cake layers in plastic wrap and store at room temperature until ready to frost.
- Allow cakes to cool completely before frosting to prevent melting or sliding of the frosting.


