
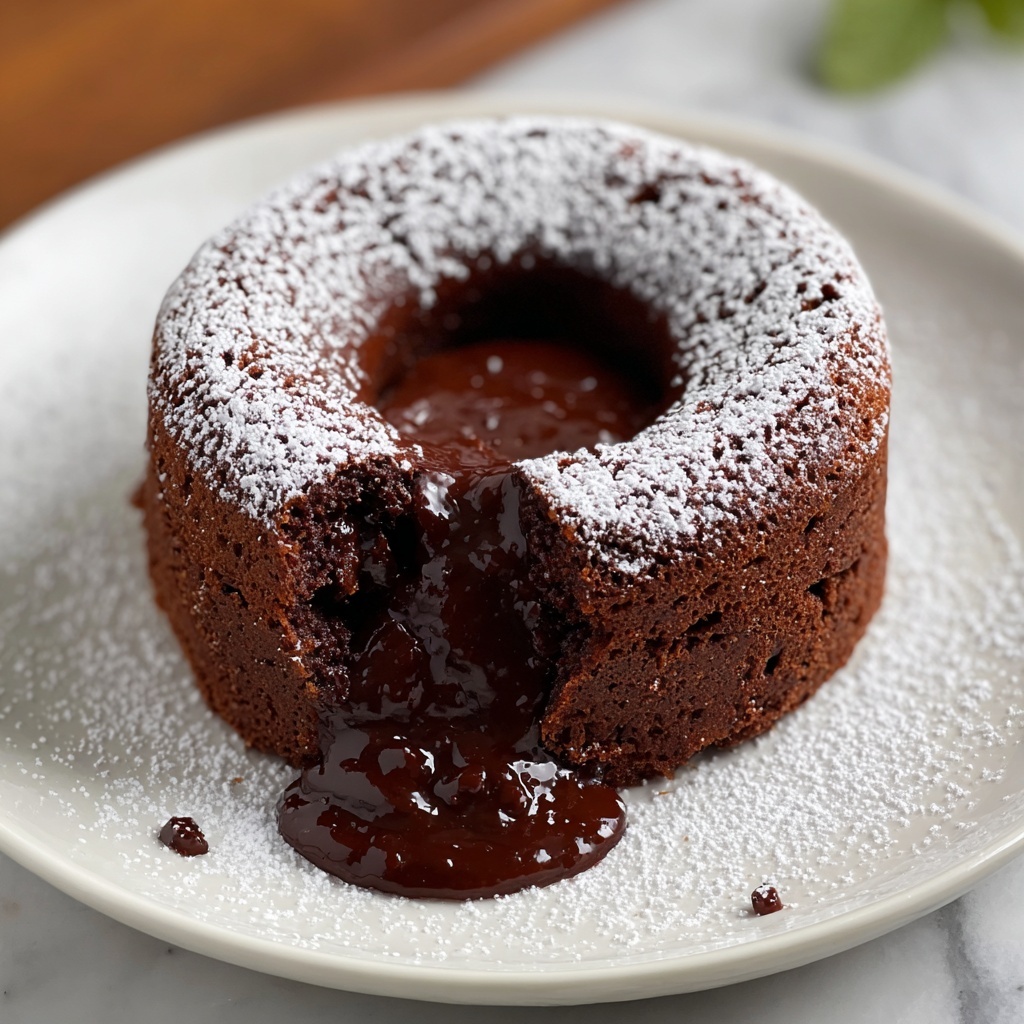
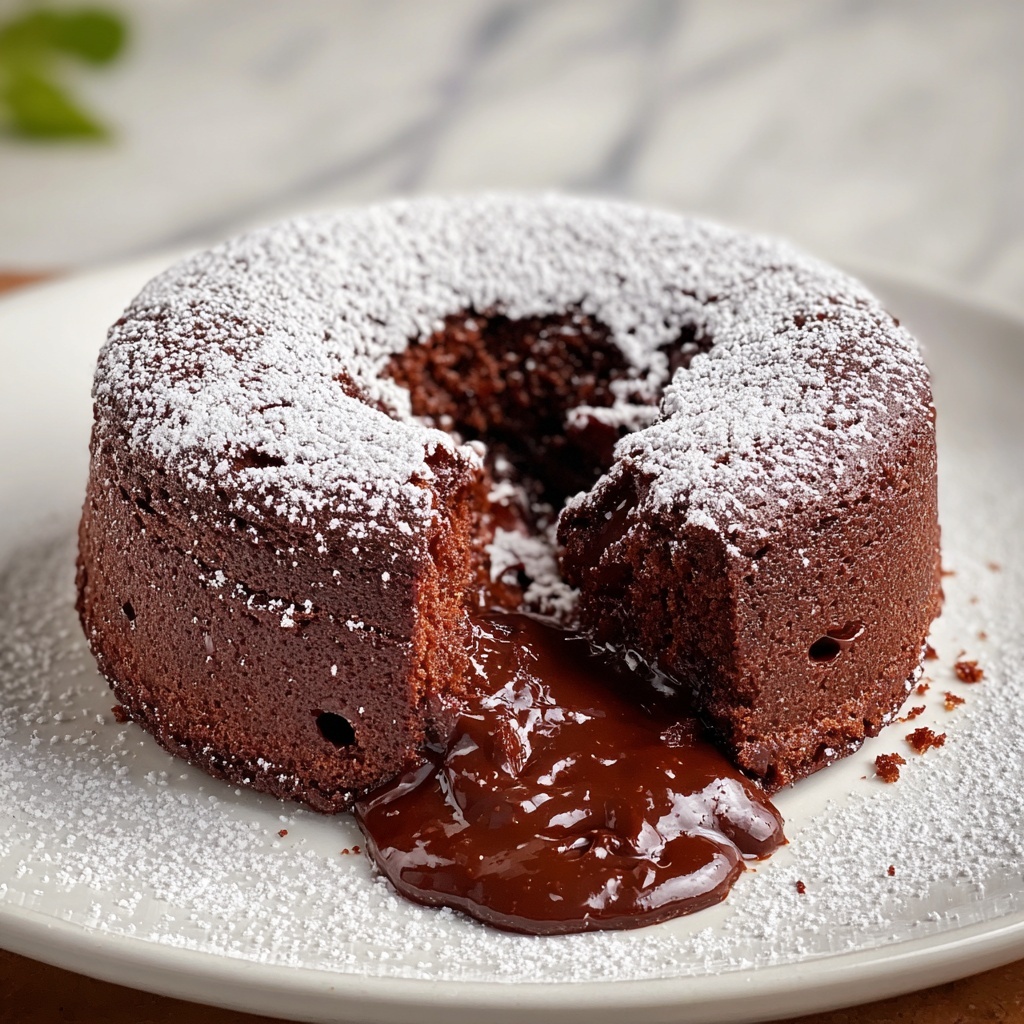
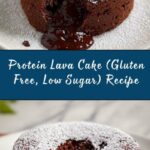
If you’re craving a decadent treat that satisfies your sweet tooth without derailing your healthy habits, this Protein Lava Cake (Gluten Free, Low Sugar) Recipe is absolutely the way to go. It’s like having your cake and eating it too—except this one is packed with protein, free from gluten, and low on sugar. You’ll love the rich, gooey center paired with the subtle nuttiness from almond flour and the velvety chocolate flavor, making it feel indulgent but guilt-free. Plus, it’s ready in minutes, perfect for when you want a quick dessert that doesn’t compromise your nutrition goals.
Ingredients You’ll Need
The beauty of this recipe lies in its simplicity and the purposeful choice of each ingredient. Every element adds either flavor, texture, or nutrition, ensuring your lava cake is not only delicious but also nourishing.
- 2 tablespoons protein powder (chocolate or vanilla): Provides a protein boost while adding flavor and structure to your cake.
- 1 tablespoon almond flour: Adds a delicate nutty taste and helps keep the cake moist and gluten free.
- 1 tablespoon unsweetened cocoa powder: Brings rich chocolate flavor without any extra sweetness.
- 1/4 teaspoon baking powder: Gives your cake a slight lift for perfect texture.
- 1 tablespoon granulated sweetener (erythritol or coconut sugar): Sweetens the cake naturally with minimal impact on blood sugar.
- 2 tablespoons unsweetened almond milk: Keeps the batter smooth and moist without added sugars.
- 1 tablespoon natural peanut butter or almond butter: Adds creaminess and a subtle nutty depth to every bite.
- 1/4 teaspoon vanilla extract: Enhances the overall flavor and rounds out the chocolate notes.
- 1 square dark chocolate (70% cocoa or higher): The star of the volcano—the gooey center that melts perfectly in the microwave.
How to Make Protein Lava Cake (Gluten Free, Low Sugar) Recipe
Step 1: Mix the Dry Ingredients
Start by combining the protein powder, almond flour, unsweetened cocoa powder, baking powder, and your chosen sweetener in a small microwave-safe mug or ramekin. This blend forms the foundation of the cake, with the dry components balancing flavor and texture.
Step 2: Add Wet Ingredients and Stir Until Smooth
Pour in the unsweetened almond milk, your favorite natural nut butter, and vanilla extract. Use a spoon or small whisk to mix everything together until the batter becomes smooth and uniform. The nut butter ensures a luscious, moist crumb while intensifying the flavor.
Step 3: Insert the Chocolate Square
Gently press the square of dark chocolate into the center of the batter, pushing it slightly down without mixing it in. This is the magic ingredient that will create the molten, gooey core your Protein Lava Cake (Gluten Free, Low Sugar) Recipe is famous for.
Step 4: Microwave the Cake
Place your mug or ramekin in the microwave and cook on high for 40 to 50 seconds. Be careful not to overcook—the edges should be set, but the center remains delightfully fudgy and molten. Microwaves vary, so keep an eye on it the first time you try.
Step 5: Cool and Enjoy
Let your lava cake cool for a minute or two so it firms up just enough to handle but is still warm and oozy inside. This little rest enhances the texture and ensures you get the perfect molten center when you dig in.
How to Serve Protein Lava Cake (Gluten Free, Low Sugar) Recipe
Garnishes
While this cake stands beautifully on its own, you can take it up a notch with a few creative toppings. A dollop of almond butter adds extra creaminess, while a sprinkle of crushed nuts delivers a satisfying crunch. If you’re feeling indulgent, a spoonful of whipped cream or a few fresh berries can add freshness and contrast the cake’s richness.
Side Dishes
This lava cake pairs wonderfully with a lightly brewed cup of black coffee or a refreshing herbal tea that cleanses the palate between bites. If you prefer something cold, a small scoop of low-sugar vanilla ice cream complements the warm cake perfectly, balancing the heat and enhancing the chocolate flavors.
Creative Ways to Present
Try serving the lava cake in cute ramekins or mini silicone molds for a charming presentation. You can drizzle some melted dark chocolate or a dusting of cocoa powder on top to make it look like a fancy treat from a boutique bakery. For a fun twist, try inserting a different flavored chocolate square – like mint or orange-infused – to experiment with new flavor combinations.
Make Ahead and Storage
Storing Leftovers
If you happen to have any leftovers, cover the cake tightly with plastic wrap or transfer it to an airtight container. It will keep well in the refrigerator for up to two days, though I have to admit, this treat is so good it rarely sticks around that long!
Freezing
Freezing isn’t ideal for this lava cake because the gooey center might firm up or the texture can change. However, if you want to prep the dry mix in advance, simply combine all the dry ingredients and store them in an airtight container for up to a week. Then you can just add wet ingredients and microwave fresh whenever a craving strikes.
Reheating
To reheat, microwave your cake for about 15 to 20 seconds until warm and molten again. Keep a close eye on it so it doesn’t overcook and lose that iconic lava center. A few seconds at a time is better than blasting it in one go.
FAQs
Can I use other types of protein powder for this recipe?
Absolutely! You can use whey, plant-based, or collagen protein powders according to your preference. Just remember the flavor and texture might shift slightly depending on the type you choose.
Is this recipe suitable for vegans?
The recipe as written uses almond milk and plant-based ingredients, so it’s vegan-friendly as long as your protein powder is vegan and your nut butter contains no animal products.
Can I make this cake without a microwave?
Yes, you can bake it in a small oven-safe dish at 350°F (175°C) for about 8-10 minutes. Keep an eye on it to catch the perfect gooey center—it may take a bit longer than the microwave but still produces delicious results.
What are the best sweeteners to use for this recipe?
Erythritol and coconut sugar both work well here, providing sweetness without the sugar crash. If you prefer, stevia blends or monk fruit sweeteners can also be used, just adjust to taste and sweetness level.
Can I substitute almond flour for other flours?
Almond flour is best for the texture and gluten free nature of this cake. Using other flours like oat or coconut might change the texture and moisture, but feel free to experiment—just expect some differences in the final result.
Final Thoughts
This Protein Lava Cake (Gluten Free, Low Sugar) Recipe is truly a game changer for anyone who loves dessert but values nutrition and simplicity. It offers that luxurious, molten chocolate center you crave with none of the guilt or hassle of traditional cakes. Honestly, once you try it, this quick, easy recipe will become your go-to sweet fix when time is tight but your taste buds want to be wowed. Give it a shot today—you deserve a little deliciousness on your schedule, and this recipe delivers exactly that!
Print
Protein Lava Cake (Gluten Free, Low Sugar) Recipe
- Prep Time: 3 minutes
- Cook Time: 1 minute
- Total Time: 4 minutes
- Yield: 1 serving
- Category: Dessert
- Method: Microwaving
- Cuisine: American
- Diet: Gluten Free
Description
This Gluten Free, Low Sugar Protein Lava Cake is a quick and satisfying dessert perfect for anyone looking to enjoy a rich chocolate treat without excess sugar. Made with protein powder, almond flour, and a luscious dark chocolate center, this mug cake combines convenience with nutritious ingredients to deliver gooey, chocolatey goodness in just minutes.
Ingredients
Dry Ingredients
- 2 tablespoons protein powder (chocolate or vanilla)
- 1 tablespoon almond flour
- 1 tablespoon unsweetened cocoa powder
- 1/4 teaspoon baking powder
- 1 tablespoon granulated sweetener (erythritol or coconut sugar)
Wet Ingredients
- 2 tablespoons unsweetened almond milk
- 1 tablespoon natural peanut butter or almond butter
- 1/4 teaspoon vanilla extract
Additional
- 1 square dark chocolate (70% cocoa or higher)
Instructions
- Prepare the dry mix: In a small microwave-safe mug or ramekin, combine the protein powder, almond flour, unsweetened cocoa powder, baking powder, and granulated sweetener. Stir well to ensure all dry ingredients are evenly distributed.
- Add wet ingredients: Mix in the unsweetened almond milk, natural peanut butter or almond butter, and vanilla extract into the dry mix. Stir thoroughly until you achieve a smooth, uniform batter.
- Insert chocolate center: Place a square of dark chocolate (70% cocoa or higher) right in the center of the batter, gently pushing it down to submerge it slightly for a molten center effect.
- Microwave the cake: Microwave the mug cake on high power for 40–50 seconds. The edges should be set firmly while the center remains gooey and molten, creating the characteristic lava texture.
- Cool and serve: Allow the cake to cool for 1–2 minutes to avoid burns. Serve warm and enjoy as is or with optional toppings such as extra almond butter or a dollop of whipped cream for added indulgence.
Notes
- Use a microwave-safe mug or ramekin to avoid breakage or unsafe heating.
- Adjust microwaving time slightly based on your microwave’s wattage to prevent overcooking.
- For a vegan version, ensure the protein powder and chocolate used are plant-based.
- Optional toppings can include fresh berries, almond butter drizzle, or sugar-free whipped cream.
- This recipe is best enjoyed immediately as the lava center firms up upon cooling.
