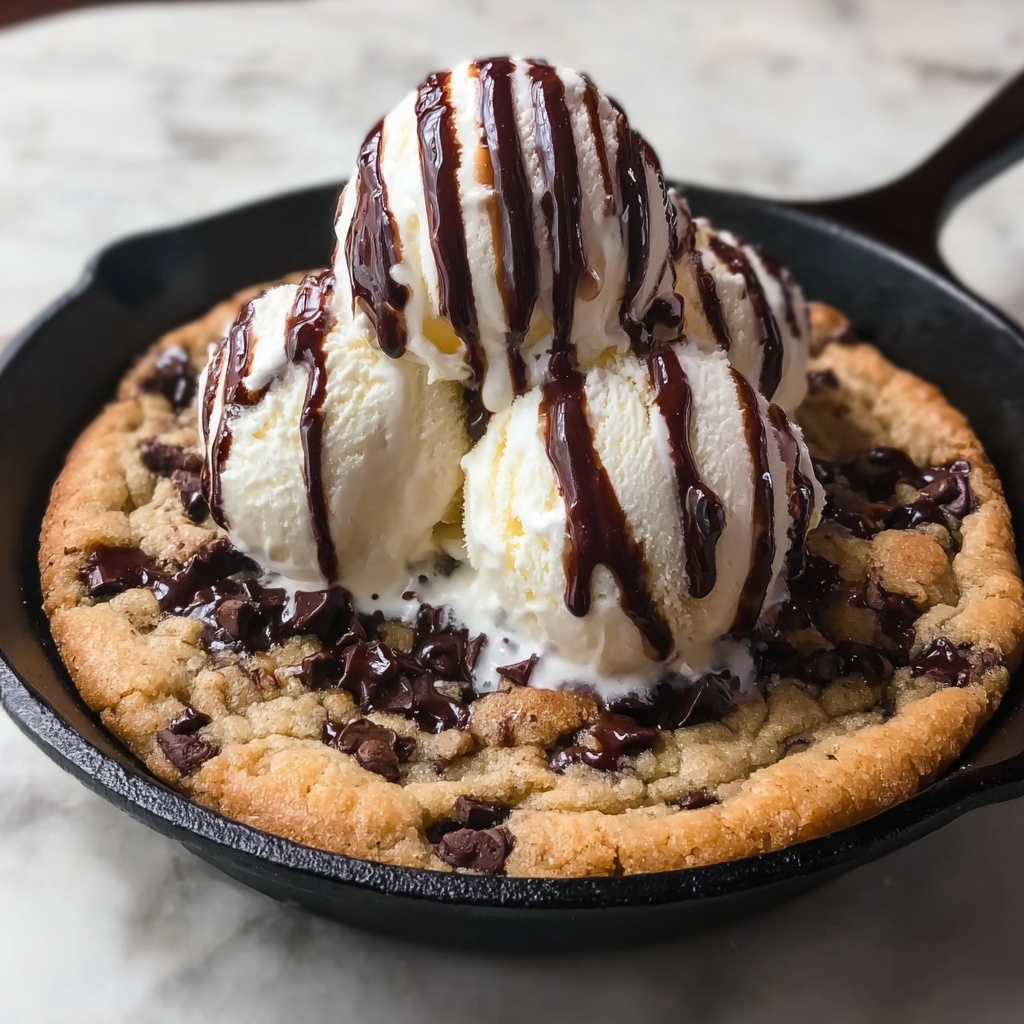
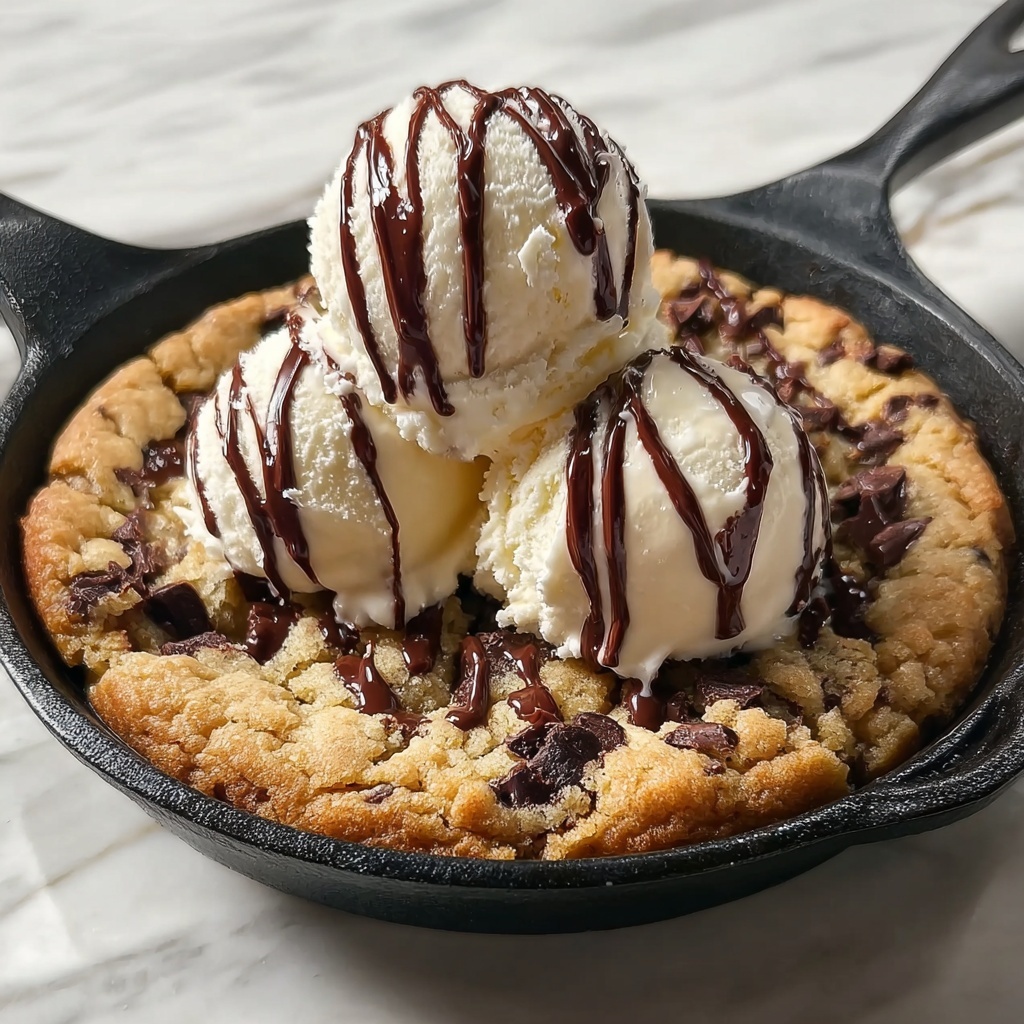
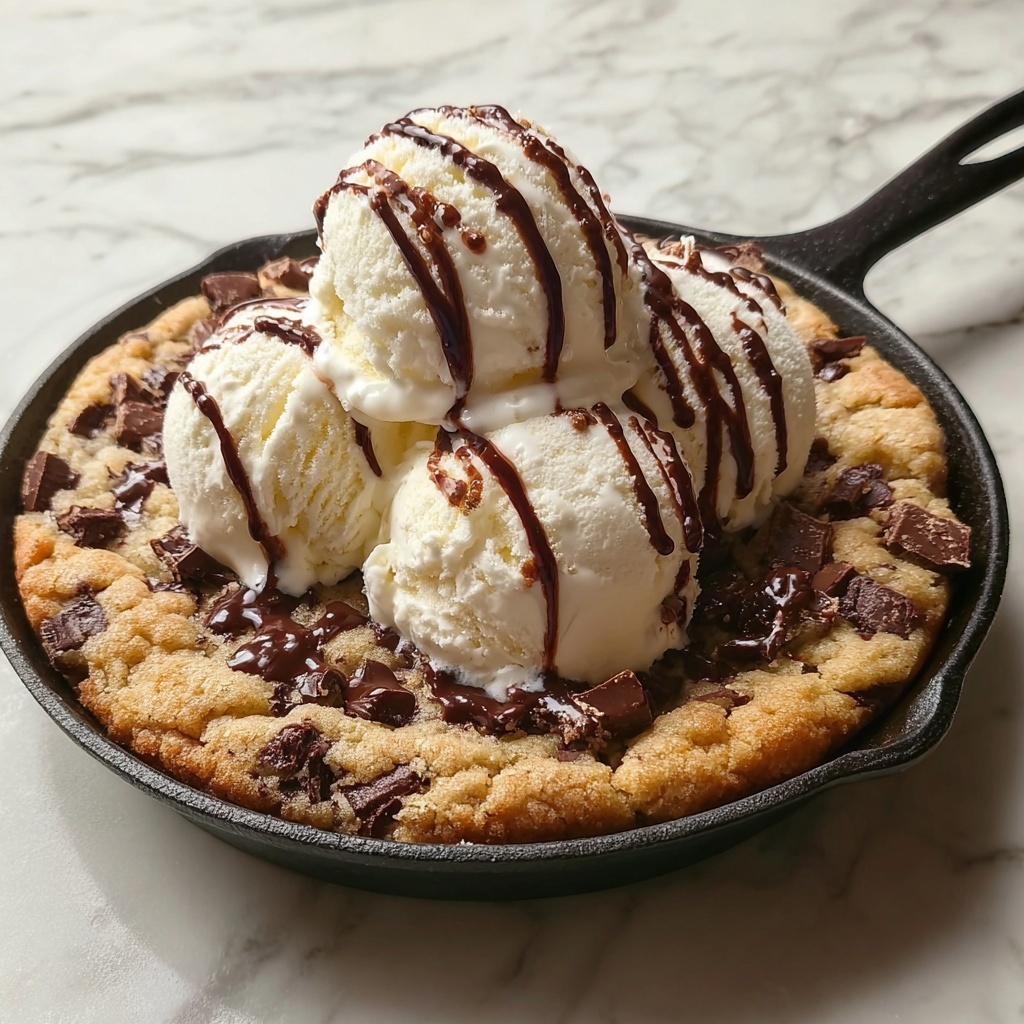
If you’ve never experienced the joy of a warm, gooey cookie fresh from the oven, you are in for a treat with this Pizookie Dessert in a Skillet Recipe. Imagine the perfect marriage of a giant, soft-baked cookie that’s slightly crispy around the edges, served straight from a cast-iron skillet with melting chocolate chips and a scoop of vanilla ice cream to top it all off. This dessert is comfort food raised to the nth degree, a delight that’s ridiculously easy to make but impressive enough to wow any guest or elevate a cozy night in. Trust me, once you try this, it will become your go-to sweet ending for any occasion.
Ingredients You’ll Need
Every ingredient in this Pizookie Dessert in a Skillet Recipe plays a vital role in creating that legendary texture and flavor balance. The beauty lies in the simplicity: basic pantry staples come together to create a dessert that feels indulgent without requiring hours in the kitchen.
- 1 cup all-purpose flour: Provides the structure and base for the cookie dough.
- 1/2 teaspoon baking soda: Helps the cookie rise just enough for a tender crumb.
- 1/4 teaspoon salt: Enhances all the sweet flavors and balances richness.
- 1/2 cup unsalted butter, softened: Adds moisture and richness that keeps the cookie soft.
- 1/2 cup brown sugar: Brings deep caramel notes and keeps the pizookie wonderfully chewy.
- 1/4 cup granulated sugar: Contributes sweetness and aids crisping on the edges.
- 1 teaspoon vanilla extract: Infuses warmth and depth to every bite.
- 1 large egg: Binds the ingredients while lending a tender texture.
- 1 cup semi-sweet chocolate chips: The star attraction providing gooey chocolate pockets throughout.
How to Make Pizookie Dessert in a Skillet Recipe
Step 1: Prep Your Oven and Skillet
Start by heating your oven to 350°F (175°C). Meanwhile, grab a 10-inch cast-iron skillet and grease it well with butter or a non-stick spray. This ensures that the pizookie releases easily after baking and helps create those divine crispy edges.
Step 2: Mix Dry Ingredients
In a medium bowl, whisk together the all-purpose flour, baking soda, and salt. This simple mix forms the dry foundation that will create the perfect texture contrast of chewy center and slightly crisp exterior in your pizookie.
Step 3: Cream Butter and Sugars
Using a large mixing bowl, beat the softened butter with the brown sugar and granulated sugar until the mixture is light and fluffy. This step is crucial for incorporating air that makes your dessert airy and tender, so don’t skip it!
Step 4: Add Egg and Vanilla
Beat in the egg and vanilla extract to the butter and sugar mixture. This boost of flavor combined with the egg’s binding power is what makes your pizookie irresistibly soft and flavor-packed.
Step 5: Combine Wet and Dry Ingredients
Slowly add the whisked dry ingredients into the wet mixture, stirring just until combined. Be careful not to overmix – a light hand here ensures your pizookie won’t become tough or dense.
Step 6: Fold in Chocolate Chips
Gently fold in the semi-sweet chocolate chips so that each bite will have delightful pockets of melty chocolate goodness. This addition turns the pizookie into something truly special.
Step 7: Bake to Perfection
Spoon the cookie dough evenly into the prepared skillet and spread it out gently. Bake it for 20-25 minutes, until the edges turn golden brown and the center is still soft but set – reminiscent of that warm cookie experience you love.
Step 8: Cool and Serve
Once out of the oven, let your pizookie cool in the skillet for a few minutes. This resting time lets it finish setting without losing that signature gooey texture. Top with a scoop of vanilla ice cream or your favorite garnish before serving for a show-stopping dessert presentation.
How to Serve Pizookie Dessert in a Skillet Recipe
Garnishes
While a classic scoop of vanilla ice cream on top is the most loved finish for the pizookie, don’t be shy about adding a drizzle of caramel sauce, a sprinkle of chopped nuts, or even a dusting of powdered sugar. These little extras can make every bite more dynamic and bring a personalized touch to your dessert.
Side Dishes
The pizookie is delicious enough to stand on its own, but pairing it with fresh berries or a side of whipped cream adds brightness that balances the richness. For coffee lovers, a rich espresso or a cappuccino complements the dessert perfectly.
Creative Ways to Present
If you want to impress guests or just have fun, serve this dessert straight from the cast-iron skillet to keep the warmth and rustic charm. Alternatively, portion it into individual ramekins for a fancier presentation or a fun shareable dessert experience.
Make Ahead and Storage
Storing Leftovers
If you have any pizookie left (and that might be tough!), store it in an airtight container at room temperature for up to two days. This keeps it soft but you might lose a bit of the fresh-baked crispiness around the edges.
Freezing
You can freeze leftovers by wrapping the cooled skillet or portions of the pizookie tightly in plastic wrap and foil. Freeze for up to one month. When ready to enjoy, thaw overnight in the fridge before reheating.
Reheating
Reheat your pizookie in a warm oven at 300°F for about 10 minutes or until warmed through. This method revives the freshly baked taste and helps restore that sunny crisp edge with a soft center, unlike the microwave which can make it tough or soggy.
FAQs
Can I use a different type of chocolate in this Pizookie Dessert in a Skillet Recipe?
Absolutely! Feel free to swap semi-sweet chocolate chips for milk chocolate, dark chocolate, white chocolate, or even chunks for a different flavor and texture profile.
What size skillet is best for baking a pizookie?
A 10-inch cast-iron skillet is ideal because it creates the perfect thickness for the cookie to bake evenly with gooey centers and crispy edges.
How do I know when the pizookie is done baking?
Look for golden brown edges with a soft, slightly jiggly center. It will continue to set as it cools in the skillet.
Can I make this pizookie recipe gluten-free?
Yes, simply substitute the all-purpose flour with a gluten-free flour blend that measures cup-for-cup and contains xanthan gum for texture.
Is it possible to make this recipe vegan?
With a few swaps like plant-based butter, a flax or chia egg, and dairy-free chocolate chips, you can make a delicious vegan version of this pizookie dessert.
Final Thoughts
This Pizookie Dessert in a Skillet Recipe is a gem to have in your dessert repertoire. It’s simple, comforting, and absolutely delicious — perfect for sharing or indulging all by yourself. Whether it’s a casual family treat or a fun ending to a dinner party, I promise this one-pan wonder will warm hearts and satisfy sweet cravings in the best way possible. Give it a try, and prepare to make your kitchen smell like heaven!
Print
Pizookie Dessert in a Skillet Recipe
- Prep Time: 15 minutes
- Cook Time: 25 minutes
- Total Time: 40 minutes
- Yield: 4 servings
- Category: Dessert
- Method: Baking
- Cuisine: American
Description
This Pizookie dessert recipe combines the chewy goodness of a cookie with the warmth of a freshly baked skillet treat. Perfect for sharing, this dessert features a soft-centered cookie loaded with semi-sweet chocolate chips, baked right in a cast-iron skillet and served warm with vanilla ice cream on top.
Ingredients
Dry Ingredients
- 1 cup all-purpose flour
- 1/2 teaspoon baking soda
- 1/4 teaspoon salt
Wet Ingredients
- 1/2 cup unsalted butter, softened
- 1/2 cup brown sugar
- 1/4 cup granulated sugar
- 1 teaspoon vanilla extract
- 1 large egg
Add-ins
- 1 cup semi-sweet chocolate chips
For Serving
- Vanilla ice cream, as desired
- Butter or non-stick cooking spray, for greasing the skillet
Instructions
- Preheat Oven: Preheat your oven to 350°F (175°C) to prepare for baking the pizookie.
- Prepare Skillet: Grease a 10-inch cast-iron skillet using butter or non-stick cooking spray to prevent sticking.
- Mix Dry Ingredients: In a medium bowl, whisk together the all-purpose flour, baking soda, and salt until evenly combined.
- Cream Butter and Sugars: In a large bowl, beat the softened butter, brown sugar, and granulated sugar together until the mixture is light and fluffy, about 2-3 minutes.
- Add Egg and Vanilla: Incorporate the large egg and vanilla extract into the butter-sugar mixture, mixing well to combine.
- Combine Mixtures: Gradually add the dry ingredients to the wet ingredients, stirring until just mixed, being careful not to overmix.
- Fold in Chocolate Chips: Gently fold the semi-sweet chocolate chips into the cookie dough for even distribution.
- Transfer and Spread Dough: Spoon the cookie dough into the prepared cast-iron skillet, spreading it evenly to the edges.
- Bake: Bake in the preheated oven for 20-25 minutes until the edges turn golden brown and the center remains soft and slightly gooey.
- Cool and Serve: Remove the skillet from the oven and allow the pizookie to cool for a few minutes. Top with vanilla ice cream and serve warm for a delicious melting effect.
Notes
- Use a cast-iron skillet for authentic pizookie texture and even baking.
- Make sure the butter is softened, not melted, for proper creaming with sugars.
- The pizookie is best enjoyed warm with a scoop of vanilla ice cream on top.
- Do not overbake; the center should be soft to maintain the pizookie’s signature gooey texture.
- You can substitute semi-sweet chocolate chips with other add-ins like white chocolate or nuts if desired.
