
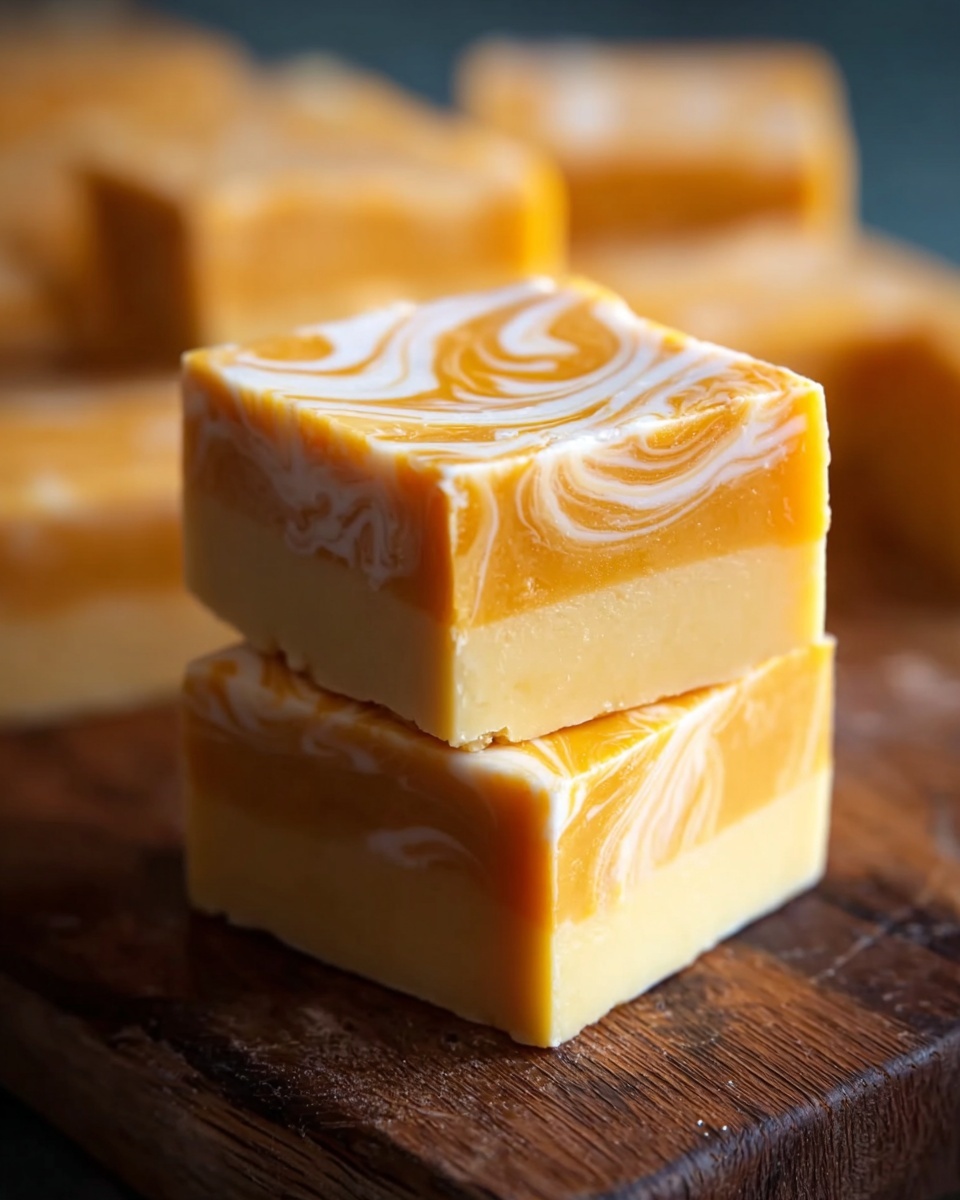
If you have ever dreamed of capturing the nostalgic magic of summer in a sweet treat, this Orange Dreamsicle Fudge Recipe is going to be your new favorite indulgence. Smooth, creamy white chocolate blended perfectly with bright orange zest and extracts creates a luscious bite that dances on your tongue with every creamy, citrusy morsel. It’s the ideal way to bring that classic orange creamsicle flavor into a rich, melt-in-your-mouth fudge that’s surprisingly easy to make. Whether you’re gifting it, serving it at a party, or simply treating yourself, this fudge is a delightful twist on a beloved flavor all wrapped up in a sweet, elegant package.
Ingredients You’ll Need
Each ingredient in the Orange Dreamsicle Fudge Recipe works together seamlessly to give you that creamy texture, citrusy brightness, and classic fudge sweetness. They’re simple, but absolutely essential to achieving the perfect balance of flavor and consistency.
- White chocolate chips: Provides the rich, smooth base that melts into the fudge’s signature creamy texture.
- Sweetened condensed milk: Adds sweetness and a soft, fudgy body to hold everything together.
- Marshmallow creme: Ensures a light, fluffy finish that keeps the fudge delightfully soft.
- Orange extract: Delivers the essential citrus punch, mimicking the classic Dreamsicle flavor.
- Vanilla extract: Balances the tartness with a warm, comforting note.
- Orange zest: Offers fresh bursts of tangy, natural orange flavor with a bit of texture.
- Orange food coloring (optional): Enhances the visual appeal without impacting the fresh taste.
How to Make Orange Dreamsicle Fudge Recipe
Step 1: Prepare Your Pan
Start by lining an 8×8-inch baking dish with parchment paper or lightly grease it. This step makes sure your fudge will come out easily once it sets, preserving its smooth edges and perfect squares that are a joy to serve and eat.
Step 2: Melt the Chocolate Base
In a medium saucepan over low heat, combine the white chocolate chips with the sweetened condensed milk. Stir continuously to prevent scorching and ensure the mixture becomes completely smooth. This slow melting process helps the fudge achieve that silky texture.
Step 3: Add the Flavor Magic
Remove the pan from heat and immediately stir in the marshmallow creme, orange extract, vanilla extract, and orange zest. These ingredients bring the classic orange creamsicle flavor and fluffy texture. If you want your fudge to shine with a bold, bright appearance, add one or two drops of orange food coloring here and mix thoroughly.
Step 4: Set the Fudge
Pour the luscious fudge mixture into your prepared pan, smoothing the top with a spatula for an even finish. Let it cool on the counter at room temperature for about 30 minutes. This gentle cooling prevents condensation from forming before chilling. Then, transfer it to the refrigerator and chill for at least 2 hours, or until it’s fully firm.
Step 5: Cut and Serve
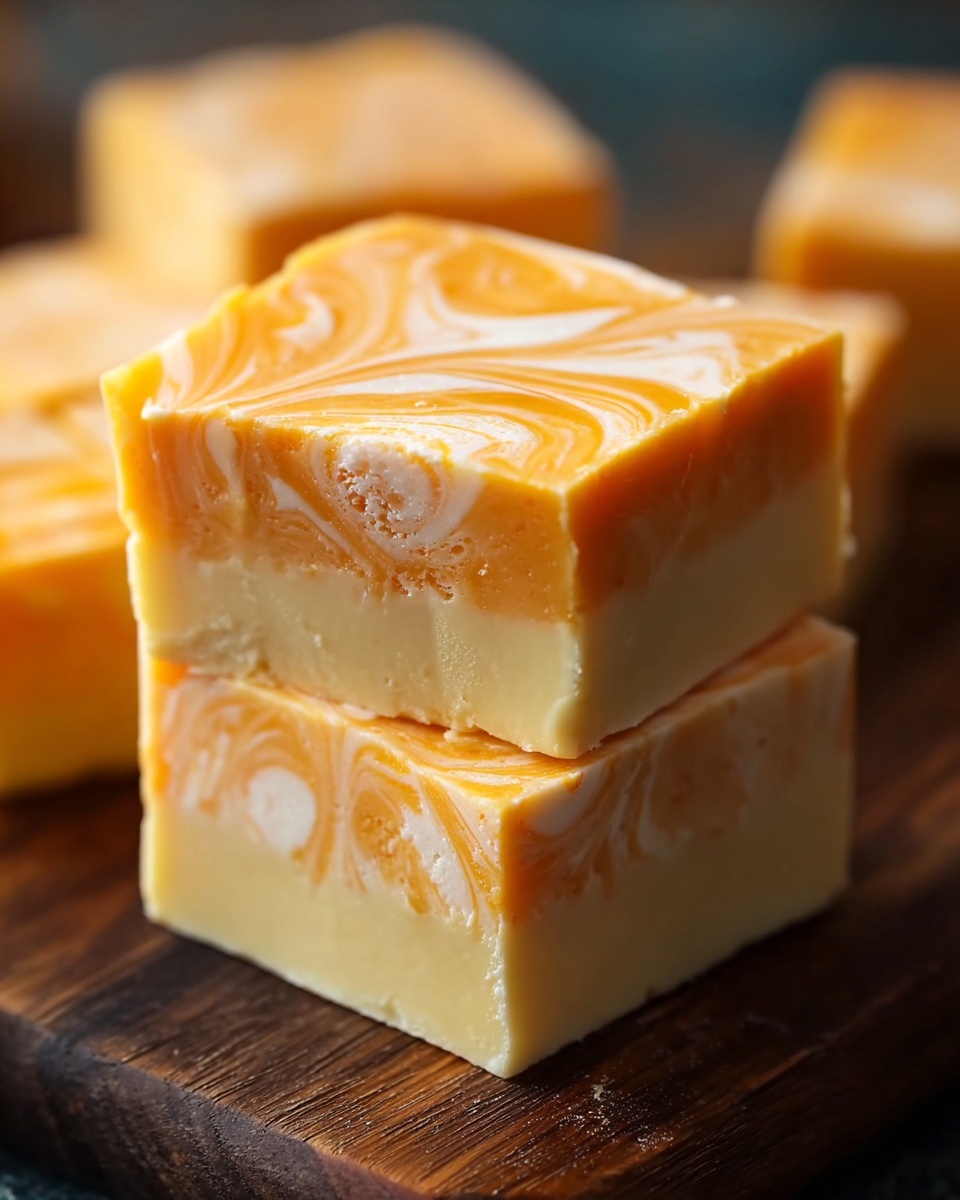
Once set, carefully lift the fudge out using the parchment paper and cut it into about 25 small squares. Each piece holds that creamy dream of orange and white chocolate beautifully, ready to enjoy.
How to Serve Orange Dreamsicle Fudge Recipe
Garnishes
For a pretty presentation, sprinkle extra orange zest on top just before serving. You can also add a few small candied orange peels or a dusting of powdered sugar for an elegant touch that complements the fudge’s vibrant flavor.
Side Dishes
Pair your Orange Dreamsicle fudge squares with a light, citrusy salad or a fresh fruit platter featuring berries and kiwi to elevate the dessert experience. A cup of hot tea or a chilled glass of sparkling lemonade offers a refreshing companion to balance the richness.
Creative Ways to Present
Try layering the fudge in a decorative glass jar as a gift, with ribbons and a handwritten label. You can also create a marbled effect by swirling in a second batch without food coloring for a stunning visual surprise in every bite.
Make Ahead and Storage
Storing Leftovers
Store your leftover fudge in an airtight container in the refrigerator. It stays fresh and delicious for up to one week, making it a convenient treat to have on hand for sudden sweet cravings.
Freezing
You can freeze the fudge as well. Wrap the pieces tightly in plastic wrap, then place them in a freezer-safe container. Frozen fudge keeps well for up to 3 months. Thaw in the refrigerator overnight before serving for best texture.
Reheating
Fudge generally doesn’t need reheating, but if you prefer a softer texture, let it sit at room temperature for about 15 minutes. Avoid microwaving as it may cause the chocolate to seize or become grainy.
FAQs
Can I use regular chocolate instead of white chocolate chips?
Using regular chocolate will change the flavor profile significantly, as white chocolate provides the creamy, sweet base essential for the Orange Dreamsicle Fudge Recipe. If you want to experiment, choose a mild white chocolate or a blend, but white chocolate chips are definitely best for that signature taste.
Is orange food coloring necessary?
No, it’s completely optional. The fudge tastes just as wonderful without it, but adding a drop or two brings a vibrant, cheerful color that mimics the classic dreamsicle look, making it more visually appealing.
Can I make this fudge vegan or dairy-free?
This recipe relies heavily on dairy ingredients such as sweetened condensed milk and white chocolate chips. However, there are vegan substitutes for these ingredients available, though the texture and flavor might shift slightly. Using vegan marshmallow creme and dairy-free white chocolate can work with some trial.
How can I intensify the orange flavor?
To boost the citrus punch in your Orange Dreamsicle Fudge Recipe, feel free to add a bit more orange extract or mix in a small amount of orange juice concentrate. Just add gradually to avoid overpowering the delicate balance.
What’s the best way to cut fudge cleanly?
Use a sharp knife that’s been warmed slightly under hot water, then wiped dry. This helps you slice through the fudge cleanly without sticking or tearing, giving you those perfect squares every time.
Final Thoughts
Making the Orange Dreamsicle Fudge Recipe is like crafting a little piece of summer nostalgia that melts in your mouth with every bite. It’s easy, fun, and absolutely delicious—the perfect way to enjoy a classic flavor in a new, elegant form. I can’t wait for you to try it and share this joyful treat with friends and family. Trust me, once you taste this fudge, you’ll be hooked!
Print
Orange Dreamsicle Fudge Recipe
- Prep Time: 10 minutes
- Cook Time: 5 minutes
- Total Time: 2 hours 15 minutes
- Yield: 25 small squares
- Category: Dessert
- Method: Stovetop
- Cuisine: American
- Diet: Vegetarian
Description
This Orange Dreamsicle Fudge is a creamy, no-bake treat that combines the smooth richness of white chocolate with a bright, tangy orange flavor. Inspired by the classic orange creamsicle, this fudge is easy to prepare and perfect for satisfying your sweet tooth with a nostalgic twist. The addition of marshmallow creme adds a luscious texture, while orange zest and extracts elevate the citrus notes. Ideal as a delightful dessert or a sweet gift, this fudge is sure to impress with its vibrant color and irresistible flavor.
Ingredients
Fudge Base
- 3 cups white chocolate chips
- 1 can (14 oz) sweetened condensed milk
- 1/2 cup marshmallow creme
Flavorings
- 1/2 teaspoon orange extract
- 1 teaspoon vanilla extract
- 1 tablespoon orange zest
- 1–2 drops orange food coloring (optional)
Instructions
- Prepare Pan: Line an 8×8-inch baking dish with parchment paper or lightly grease it to prevent sticking and ensure easy removal of the fudge once set.
- Melt Chocolate Mixture: In a medium saucepan over low heat, combine the white chocolate chips and sweetened condensed milk. Stir constantly to prevent burning, melting the chocolate fully until the mixture is smooth and creamy.
- Add Flavorings: Remove the saucepan from heat. Quickly stir in the marshmallow creme, orange extract, vanilla extract, and orange zest until everything is fully incorporated. If using, add the orange food coloring to enhance the vibrant citrus appearance, mixing thoroughly.
- Pour and Smooth: Pour the fudge mixture into the prepared baking dish. Use a spatula to smooth the top evenly for a professional finish.
- Cool and Chill: Let the fudge cool at room temperature for about 30 minutes to firm up slightly, then transfer it to the refrigerator. Chill for at least 2 hours or until completely set.
- Serve: Once the fudge is firm, lift it out of the dish using the parchment paper and cut it into approximately 25 small squares. Serve and enjoy this creamy, citrusy treat!
Notes
- You can swirl in a second batch of fudge without food coloring to create a beautiful marbled effect.
- Store fudge in an airtight container in the refrigerator for up to 1 week to maintain freshness.
- For a stronger orange flavor, increase the orange extract slightly or add a bit of orange juice concentrate for more depth.


