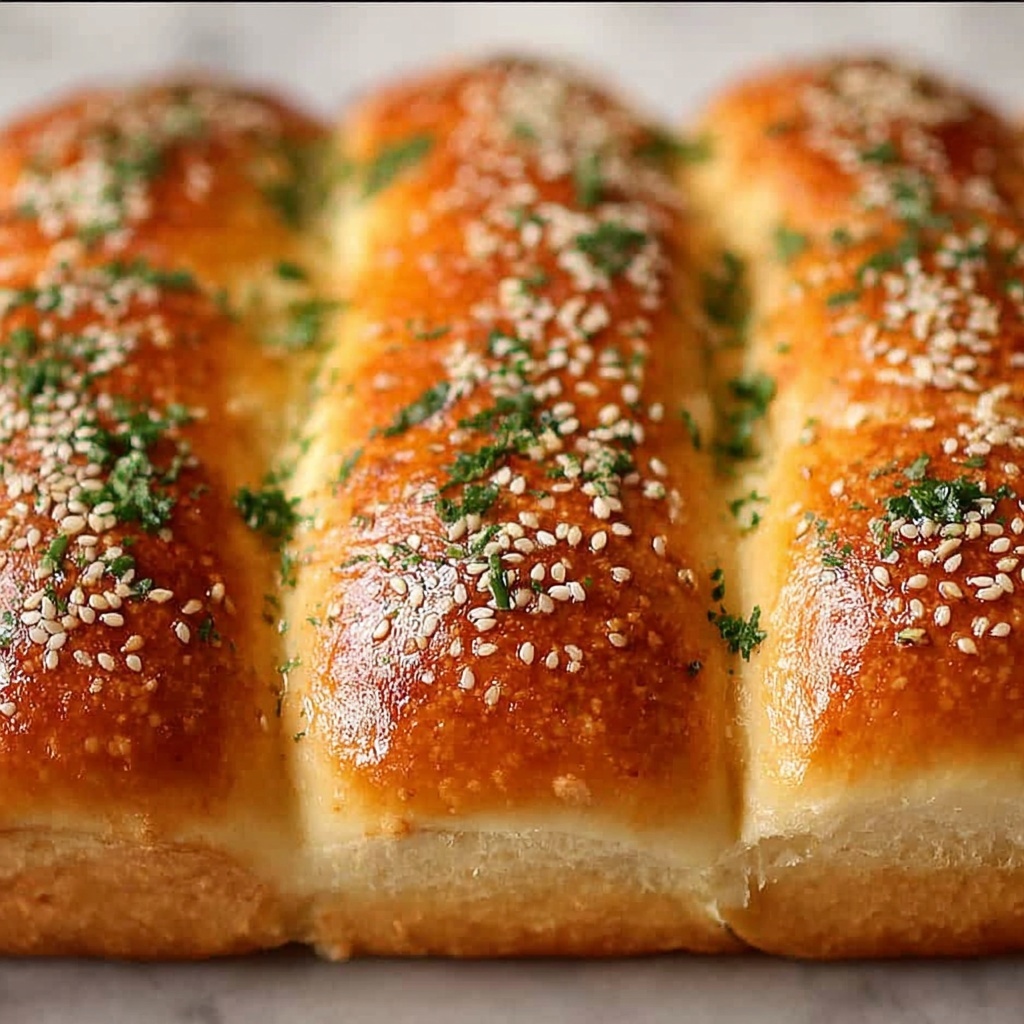
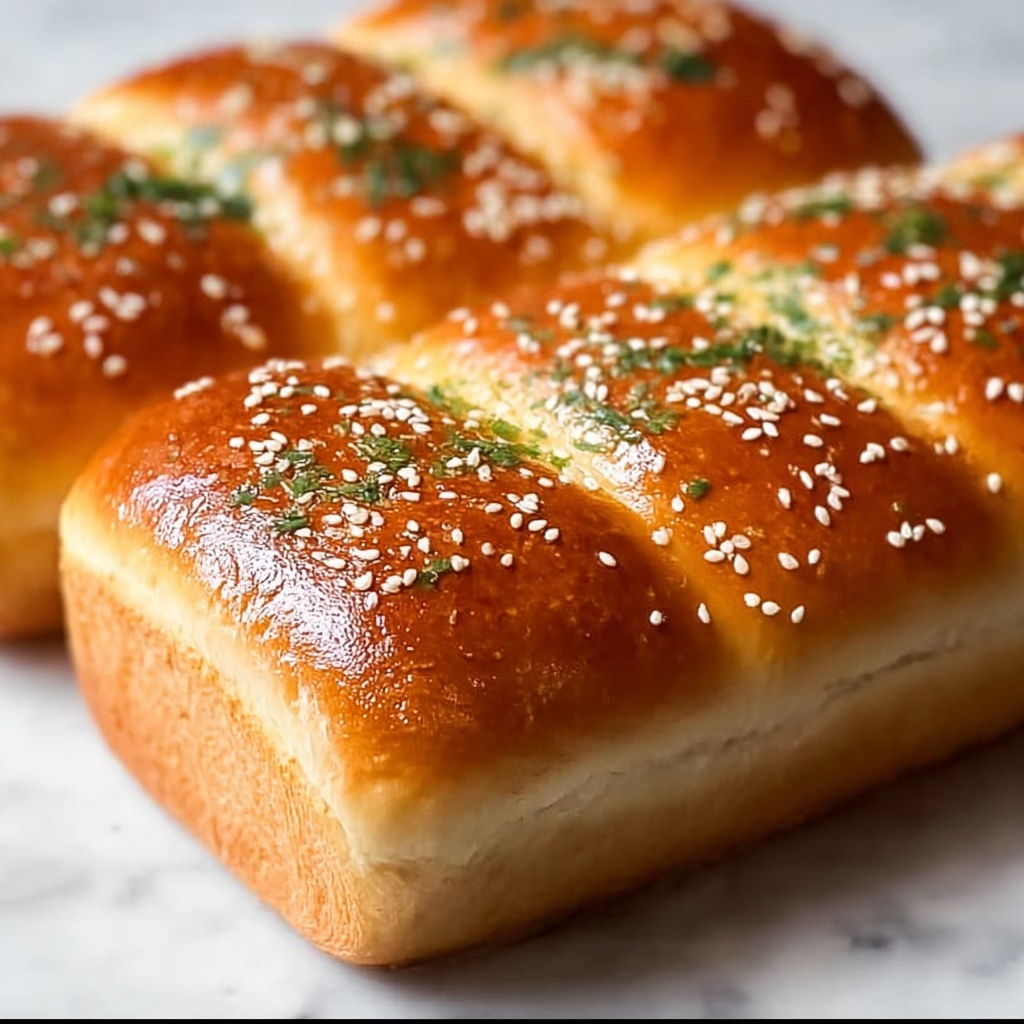
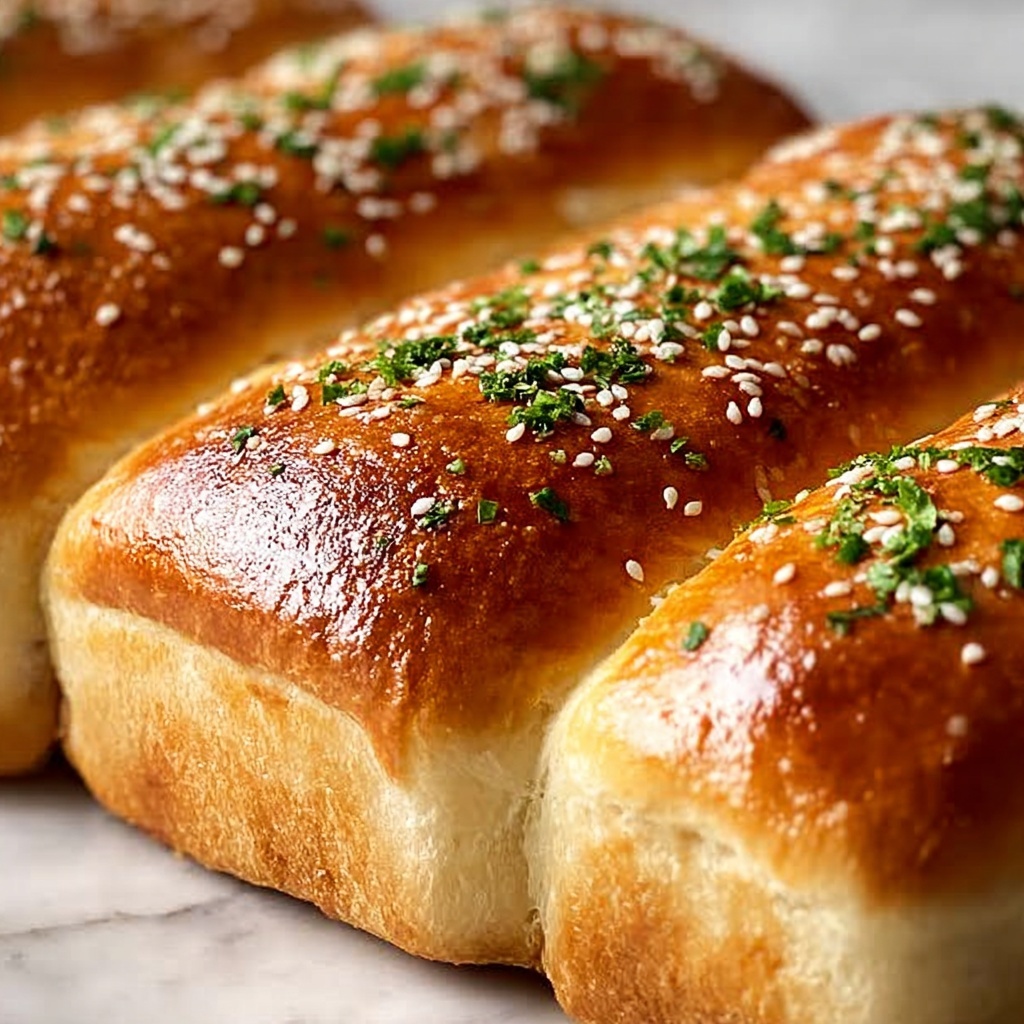
If you have ever dreamed of recreating that warm, irresistible snack that perfectly accompanies your favorite Italian meal, you’re in for a treat with this Olive Garden Breadsticks Recipe. These soft, buttery breadsticks, subtly seasoned with garlic and a touch of salt, are the ultimate comfort food that can elevate any dinner or serve as a delightful snack on their own. The magic lies in their fluffy texture combined with a golden crust, delivering that iconic breadstick experience right in your own kitchen.
Ingredients You’ll Need
This Olive Garden Breadsticks Recipe relies on a handful of simple, pantry staples that each play a crucial role. From the yeast that gives the dough its airy rise to the melted butter that adds richness and flavor, every ingredient contributes to making these breadsticks irresistibly tender and flavorful.
- Warm water (1 ½ cups, about 110°F): Activates the yeast and ensures your dough rises perfectly.
- Granulated sugar (2 tablespoons): Feeds the yeast to help the dough develop a light, airy texture.
- Active dry yeast (1 tablespoon): The essential leavening agent that makes your breadsticks fluffy.
- Unsalted butter, softened (2 tablespoons): Adds a rich, buttery flavor to the dough.
- All-purpose flour (4 cups): The sturdy base that forms the dough’s structure.
- Salt (1 ¾ teaspoons): Balances flavors and enhances the breadstick’s taste.
- Unsalted butter, melted (3 tablespoons): For brushing after baking – this is where the buttery magic really shines.
- Garlic powder (½ teaspoon): Delivers that signature garlicky kick.
- Salt for topping (½ teaspoon): Adds a pleasing, savory finish to the breadsticks.
How to Make Olive Garden Breadsticks Recipe
Step 1: Activate the Yeast
Begin by combining warm water, sugar, and yeast in a large bowl. Stir gently and let it sit for about 5 to 10 minutes until you see a foamy layer form on top. This signals that your yeast is alive and ready, which is crucial for getting those clouds of fluffy breadsticks.
Step 2: Make the Dough
Next, stir in the softened butter, flour, and salt. Mix everything together until a soft dough begins to come together. Then, knead the dough by hand for 8 to 10 minutes or use a stand mixer for 5 to 6 minutes until the dough is smooth and elastic—this develops the gluten for that perfect chewy texture.
Step 3: First Rise
Place your dough into a greased bowl, cover it with a clean kitchen towel or plastic wrap, and let it rise in a warm spot for about 1 hour or until it doubles in size. This slow rise builds flavor and makes your breadsticks delightfully airy.
Step 4: Shape the Breadsticks
After the dough has risen, gently punch it down to release the air. Divide the dough into 12 equal pieces. Roll each piece into a 7-inch long breadstick and lay them on a parchment-lined baking sheet. Cover the breadsticks with a towel and let them rise again for 15 to 20 minutes to get that final fluffy lift.
Step 5: Bake to Golden Perfection
Preheat your oven to 400°F. Bake the breadsticks for 11 to 13 minutes or until they develop a gorgeous golden brown color. The smell at this point is almost impossible to resist!
Step 6: Add the Finishing Touches
As soon as the breadsticks come out of the oven, brush them generously with melted butter, then sprinkle garlic powder and salt on top while they’re still warm. This step seals in all the buttery, garlicky goodness that makes these breadsticks so addictive.
How to Serve Olive Garden Breadsticks Recipe
Garnishes
While the classic garlic butter and salt topping are perfection on their own, you can elevate your Olive Garden Breadsticks Recipe by sprinkling them with finely chopped fresh parsley or a dusting of grated Parmesan cheese. Both options add extra flavor and visual appeal that will wow anyone at your table.
Side Dishes
These breadsticks are the perfect partners for hearty pasta dishes like spaghetti Bolognese, creamy Alfredo, or even a fresh Caprese salad. Their soft texture complements soups and stews beautifully, making them ideal for dipping into tomato bisque or minestrone.
Creative Ways to Present
Try serving your breadsticks in a rustic basket lined with a colorful napkin, or stack them in a tall glass for a fun breadstick bouquet. If you’re throwing a party, their size and presentation make them a great handheld appetizer to accompany a charcuterie board or antipasto platter.
Make Ahead and Storage
Storing Leftovers
If you happen to have any leftovers (which can be tricky!), place the breadsticks in an airtight container or zip-top bag once completely cooled. They will stay fresh at room temperature for up to two days, perfect for enjoying warm the next day.
Freezing
You can freeze baked breadsticks by wrapping them tightly in plastic wrap and then placing them in a freezer-safe bag or container. Frozen breadsticks maintain their flavor and texture for up to 3 months, making it easy to enjoy this Olive Garden Breadsticks Recipe anytime you crave it.
Reheating
To breathe life back into your stored breadsticks, simply reheat them in a 350°F oven for 5 to 8 minutes. For an extra touch, brush with a little melted butter before warming to revive that fresh-from-the-oven taste and soft texture.
FAQs
Can I use instant yeast instead of active dry yeast?
Yes! Instant yeast can be used in this Olive Garden Breadsticks Recipe. It doesn’t require proofing in warm water first, so you can mix it directly with the flour. Just reduce the warm water slightly and proceed accordingly.
What if I don’t have garlic powder for the topping?
No worries if you’re out of garlic powder! You can use fresh minced garlic mixed into the melted butter for brushing, or substitute with garlic salt but reduce the added salt accordingly to avoid over-seasoning.
How do I make these breadsticks vegan?
To make this recipe vegan, swap the butter for a plant-based alternative and use a non-dairy milk or water. The rest of the ingredients remain the same, and you’ll still get wonderfully soft and tasty breadsticks.
Can I make the dough ahead of time?
Absolutely! You can prepare the dough and refrigerate it after the first rise for up to 24 hours. Just bring it to room temperature before shaping and baking the breadsticks.
What’s the secret to getting soft breadsticks like Olive Garden’s?
The key is a good balance of ingredients and proper kneading, coupled with the two-rise process. Generous brushing of melted butter right after baking seals in moisture, resulting in those irresistibly soft, buttery breadsticks you love.
Final Thoughts
Making your own Olive Garden Breadsticks Recipe at home is not only fun but incredibly rewarding. The taste of fresh, warm breadsticks straight from your oven is truly unbeatable, and sharing these with family or friends will make any meal feel special. So don’t wait – roll up your sleeves, gather your ingredients, and enjoy the comforting joy these classic breadsticks bring to the table.
Print
Olive Garden Breadsticks Recipe
- Prep Time: 1 hour 20 minutes
- Cook Time: 12 minutes
- Total Time: 1 hour 32 minutes
- Yield: 12 breadsticks
- Category: Side Dish
- Method: Baking
- Cuisine: American
- Diet: Vegetarian
Description
These Olive Garden-style breadsticks are soft, buttery, and garlicky—perfect as a side dish to your favorite Italian meals. Made from scratch with simple ingredients and baked to golden perfection, they replicate the beloved restaurant classic at home.
Ingredients
For the Dough
- 1 ½ cups warm water (about 110°F)
- 2 tablespoons granulated sugar
- 1 tablespoon active dry yeast
- 2 tablespoons unsalted butter (softened)
- 4 cups all-purpose flour
- 1 ¾ teaspoons salt
For the Topping
- 3 tablespoons unsalted butter (melted, for brushing)
- ½ teaspoon garlic powder
- ½ teaspoon salt (for topping)
Instructions
- Activate the yeast: In a large bowl, combine the warm water, sugar, and active dry yeast. Stir gently and let it sit for 5-10 minutes until the mixture becomes foamy, indicating the yeast is active.
- Make the dough: To the yeast mixture, add the softened butter, all-purpose flour, and salt. Mix these ingredients together until a soft dough forms. Knead the dough by hand for 8-10 minutes or use a stand mixer with a dough hook for about 5-6 minutes until it becomes smooth and elastic.
- First rise: Place the kneaded dough in a greased bowl. Cover the bowl with a clean towel or plastic wrap and allow it to rise in a warm place for 1 hour, or until the dough has doubled in size.
- Preheat the oven: When the dough is nearly ready, preheat your oven to 400°F (200°C).
- Shape the breadsticks: Punch down the risen dough to release the air. Divide it into 12 equal pieces. Roll each piece into a 7-inch long breadstick and arrange them on a parchment-lined baking sheet. Cover and let them rise again for 15-20 minutes.
- Bake: Bake the breadsticks in the preheated oven for 11-13 minutes, or until they turn golden brown on top.
- Add the topping: As soon as the breadsticks come out of the oven, brush them generously with the melted butter. Sprinkle garlic powder and salt evenly on top for that classic flavor.
- Serve warm: Serve the breadsticks warm alongside your favorite dishes for a delicious homemade touch.
Notes
- For extra flavor, sprinkle a pinch of Italian seasoning on top along with the garlic powder and salt.
- These breadsticks freeze well after baking; reheat them in the oven to restore freshness.


