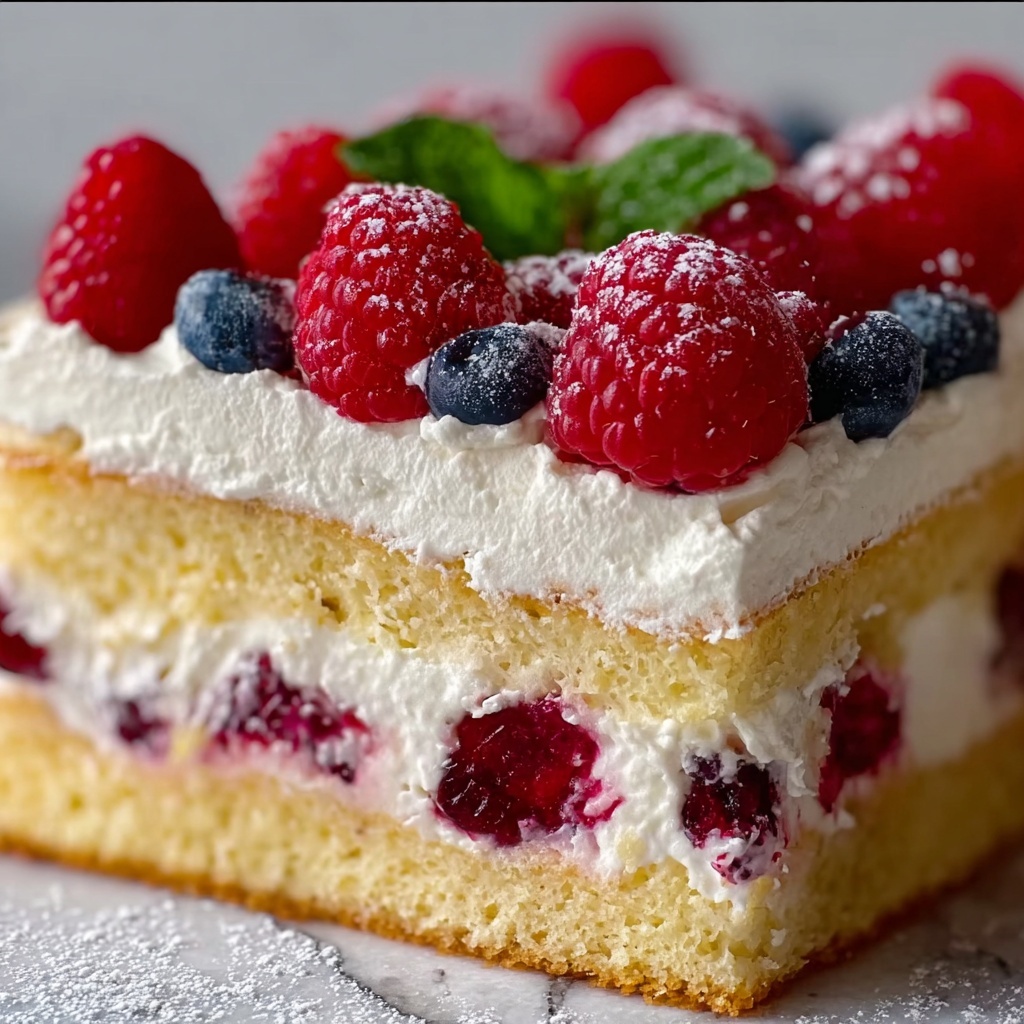
If you’re craving a dessert that’s as delightful to look at as it is to eat, the No-Bake Victoria Sponge Mousse Slice Recipe is your new best friend. Imagine a crisp biscuit base giving way to a luxuriously light mousse, swirled with fruity jam that adds perfect bursts of sweetness and tartness—in every bite, you get the classic charm of a Victoria sponge reinvented into a dreamy, easy-to-make slice. Best of all, it requires no oven, making it a perfect treat for those warm days or when you simply want a fuss-free yet stunning dessert to impress.
Ingredients You’ll Need
Getting ready to make this slice is a breeze thanks to a handful of simple, thoughtfully chosen ingredients. Each one brings its own magic: crunchy texture, creamy richness, or that essential fruity zing.
- Digestive biscuits (1 1/2 cups): These create the perfect crumbly, buttery base that holds everything together beautifully.
- Unsalted butter (1/4 cup, melted): Adds richness and binds the biscuit crumbs into a firm crust.
- Sugar (2 tbsp, optional): Just a touch to balance the flavors if you prefer a sweeter crust.
- Heavy cream (1 cup): Whipped to stiff peaks to give the mousse its light, airy texture.
- Cream cheese (8 oz, softened): Adds tangy creaminess that makes the mousse irresistibly smooth.
- Powdered sugar (1/4 cup): Sweetens the mousse filling without any gritty texture.
- Vanilla extract (1 tsp): Delivers warm, fragrant notes that lift the entire dessert.
- Strawberry or raspberry jam (1/2 cup): A fruity swirl that adds vibrant color and bursts of flavor.
- Fresh strawberries or raspberries (optional for garnish): Bring a fresh, juicy finish and extra visual appeal.
- Extra jam for drizzling (optional): Makes that final touch even more decadent.
How to Make No-Bake Victoria Sponge Mousse Slice Recipe
Step 1: Prepare the Base
Start by crushing the digestive biscuits until they resemble fine crumbs. Then, mix them with the optional sugar and melted butter until fully combined. The butter coats the crumbs, helping everything stick together to form a sturdy base. This step is key for a base that’s firm but not too hard, providing that satisfying crunch beneath the silky mousse.
Step 2: Press the Base into the Pan
Line your chosen pan—ideally an 8×8 inch square—with parchment paper to ensure easy removal later. Firmly press the biscuit mixture into the base in an even layer. Make sure to compact it well so it doesn’t crumble when sliced. Pop this into the fridge while you move on to crafting the luscious mousse filling.
Step 3: Make the Mousse Filling
Whip the heavy cream until you see stiff peaks forming—this means it holds its shape nicely, giving your mousse that perfect lightness. Separately, beat the softened cream cheese with powdered sugar and vanilla extract until smooth and creamy. This combination is the heart of the mousse, balancing tanginess with sweetness in gorgeous harmony.
Step 4: Combine the Mousse Ingredients
Gently fold the whipped cream into the cream cheese mixture with care. You want to retain as much air as possible, so use a gentle folding motion rather than vigorous stirring. This delicate balance is what transforms the filling into a fluffy, melt-in-your-mouth treat.
Step 5: Assemble the Slice
Pour the mousse mixture over the chilled biscuit base, smoothing the top with a spatula for an even finish. Next, drizzle the strawberry or raspberry jam over the mousse. Use a knife or skewer to swirl the jam through the mousse, creating a beautiful marbled effect that’s as delicious as it is eye-catching.
Step 6: Chill
Refrigerate your masterpiece for at least 4 hours. This chilling time is crucial as it allows the mousse to set into a firm yet silky texture. Resist the urge to cut into it too soon; the wait will reward you with perfectly structured slices that hold their shape beautifully.
Step 7: Serve and Enjoy
Once fully set, slice into squares or bars using a sharp knife for clean edges. Garnish with fresh berries and a drizzle of extra jam if you like, adding freshness, extra flavor, and a pop of color to every serving. Now it’s time to sit back and savor the incredible balance of crunch, cream, and fruity sweetness you’ve created.
How to Serve No-Bake Victoria Sponge Mousse Slice Recipe
Garnishes
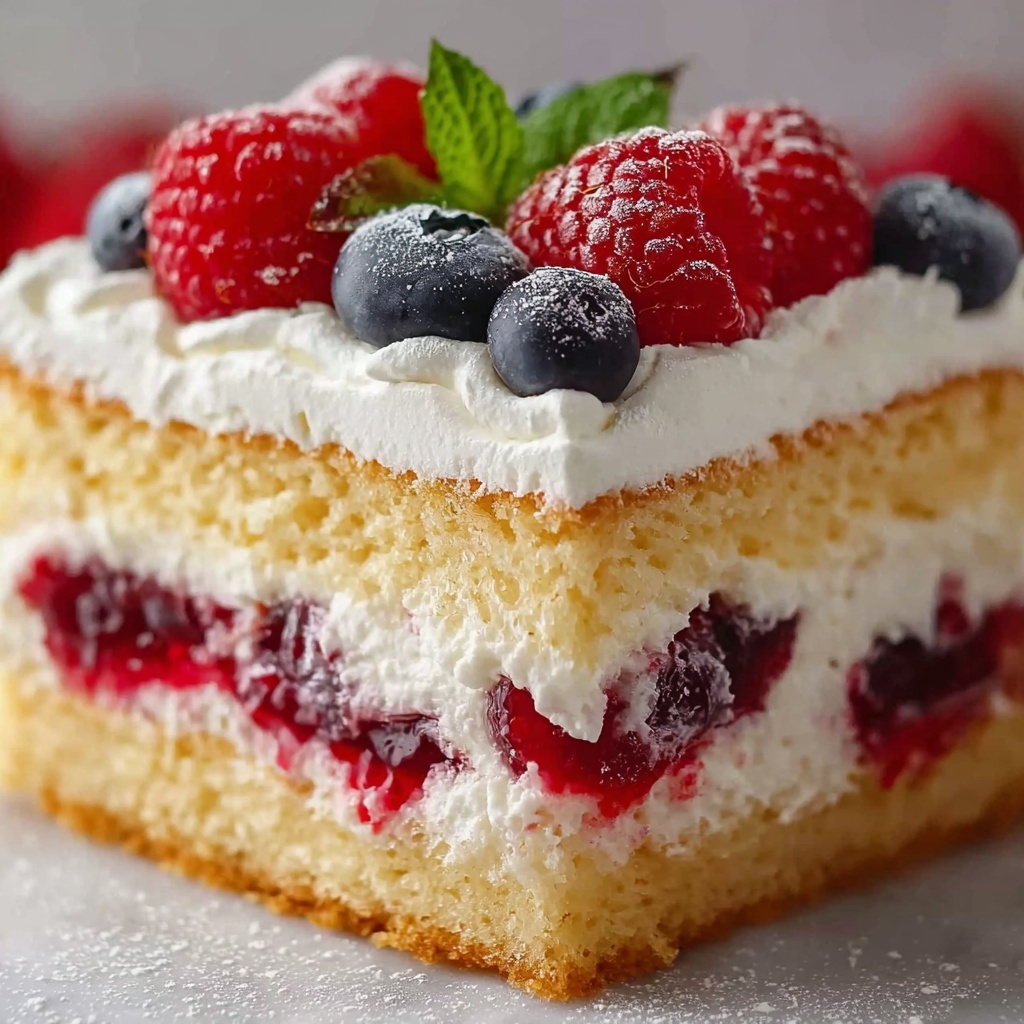
Fresh strawberries or raspberries are perfect for garnishing these mousse slices, adding both lovely color and a burst of freshness that complements the creamy filling. A sprinkle of crushed biscuits or a light dusting of powdered sugar also enhances the visual appeal and texture.
Side Dishes
Pair your No-Bake Victoria Sponge Mousse Slice with a simple cup of tea or coffee to balance the sweetness. For an elegant twist, serve alongside a dollop of whipped cream or a scoop of vanilla bean ice cream, turning this slice into a show-stopping dessert experience.
Creative Ways to Present
Think beyond squares—try cutting the mousse into bite-sized mini slices for party platters or layering it in clear glasses with extra jam and fresh fruit for a stunning trifle-style dessert. You can also chill the mousse in individual ramekins or jars for personalized servings that look absolutely charming.
Make Ahead and Storage
Storing Leftovers
Your No-Bake Victoria Sponge Mousse Slice keeps wonderfully in the fridge for up to 3 days. Store it in an airtight container to preserve freshness and prevent the biscuit base from becoming soggy. This makes it a great make-ahead treat for busy days.
Freezing
While freezing is possible, it’s best to enjoy this dessert fresh since the texture of the mousse can change after thawing, becoming slightly less airy. If you do freeze it, wrap it tightly and allow it to thaw slowly overnight in the refrigerator before serving.
Reheating
Since this is a no-bake mousse slice designed to be served chilled, reheating is not recommended. It’s best enjoyed straight from the fridge where the mousse is set perfectly and the contrast between the creamy filling and crunchy base shines.
FAQs
Can I use different types of biscuits for the base?
Absolutely! While digestive biscuits are classic for this recipe due to their mild sweetness and texture, you can experiment with graham crackers or even lightly spiced cookies to add your own twist.
Is it possible to make this dessert dairy-free?
Yes, you can substitute the cream cheese and heavy cream with dairy-free alternatives like vegan cream cheese and coconut cream. Just make sure to whip the coconut cream well to achieve the mousse’s airy texture.
Can I use other fruit jams instead of strawberry or raspberry?
Certainly! Apricot, blueberry, or cherry jam would all work wonderfully. Just pick your favorite flavor to swirl through the mousse for a personal touch.
How do I make sure the mousse is light and fluffy?
The key is folding the whipped cream gently into the cream cheese mixture to retain the air. Avoid overmixing, as that can deflate the cream and make the mousse dense.
Can I double the recipe for a larger batch?
Yes, doubling the recipe works well—just use a bigger pan or two smaller pans. Be mindful of chilling times and ensure the mousse sets properly for the best texture.
Final Thoughts
This No-Bake Victoria Sponge Mousse Slice Recipe has quickly become one of my absolute favorites because it’s both stunning and so simple to make. Whether you’re treating yourself or impressing guests, it strikes the perfect balance between classic elegance and modern ease. Give it a try—once you taste that creamy mousse with its buttery biscuit base and fruity swirl, it’s bound to become a regular in your dessert repertoire!
Print
No-Bake Victoria Sponge Mousse Slice Recipe
- Prep Time: 20 minutes
- Cook Time: 0 minutes
- Total Time: 4 hours 20 minutes
- Yield: 12 servings
- Category: Dessert
- Method: No-Cook
- Cuisine: British
Description
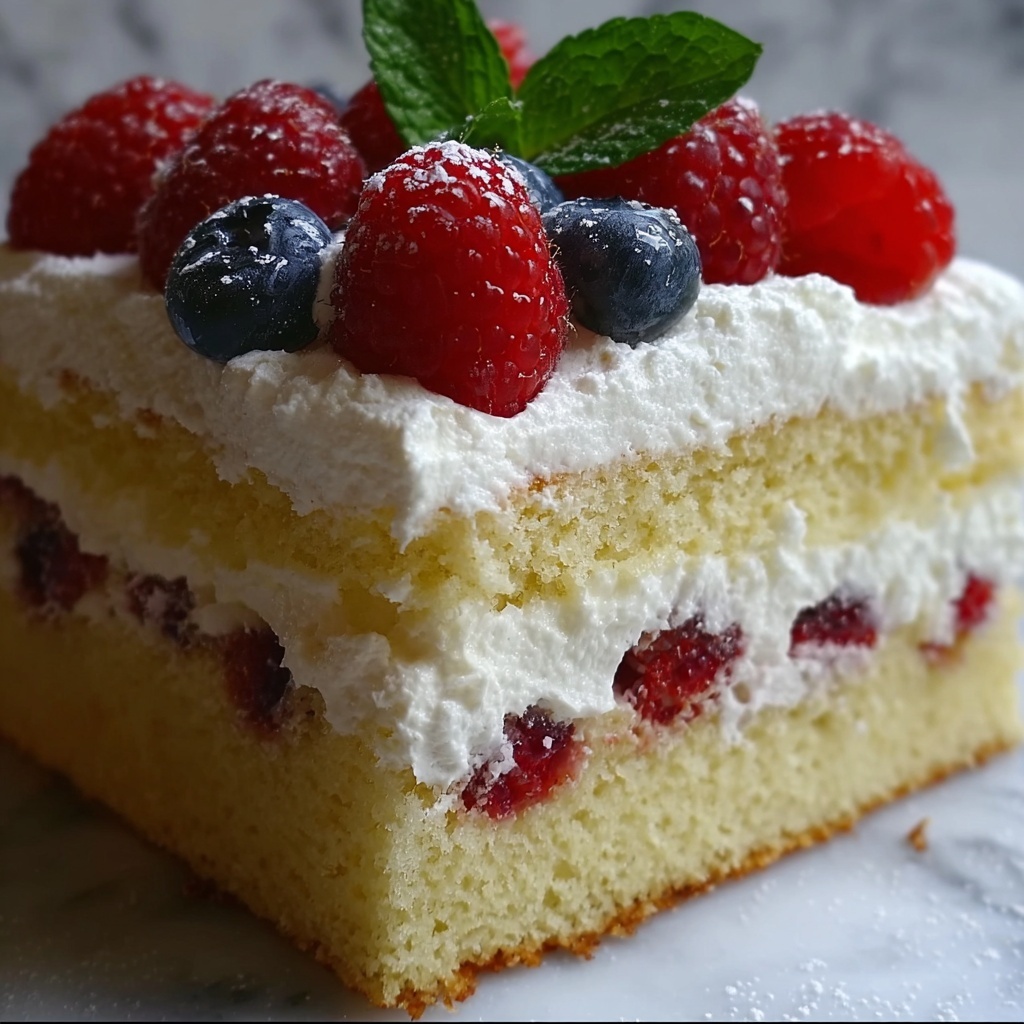
This No-Bake Victoria Sponge Mousse Slice is a delightful twist on the traditional Victoria sponge cake, featuring a crunchy biscuit base topped with a light and creamy mousse swirled with strawberry or raspberry jam. Perfect for warm days or when you want an elegant dessert without turning on the oven, this slice combines creamy, fruity, and buttery textures in every bite.
Ingredients
Base
- 1 1/2 cups digestive biscuits (or any plain biscuits), crushed
- 1/4 cup unsalted butter, melted
- 2 tbsp sugar (optional)
Mousse Filling
- 1 cup heavy cream
- 8 oz cream cheese, softened
- 1/4 cup powdered sugar
- 1 tsp vanilla extract
- 1/2 cup strawberry or raspberry jam (for the swirl)
Garnish (Optional)
- Fresh strawberries or raspberries, sliced
- Extra jam for drizzling
Instructions
- Prepare the Base: In a bowl, combine the crushed digestive biscuits and sugar if using. Add the melted unsalted butter and stir well until the crumbs are evenly coated and hold together when pressed.
- Press the Base into the Pan: Line an 8×8 inch square or rectangular pan with parchment paper. Firmly press the biscuit mixture into the bottom of the pan, creating an even, compact layer. Place the pan in the refrigerator to chill while you make the mousse filling.
- Make the Mousse Filling: In a large bowl, beat the heavy cream until stiff peaks form. In a separate bowl, beat the softened cream cheese with powdered sugar and vanilla extract until smooth and creamy with no lumps.
- Combine the Mousse Ingredients: Gently fold the whipped cream into the cream cheese mixture, combining them fully but carefully to keep the mousse light and airy without deflating the whipped cream.
- Assemble the Slice: Spoon the mousse evenly over the chilled biscuit base and spread smooth with a spatula. Drizzle the strawberry or raspberry jam over the top and use a knife to gently swirl the jam into the mousse for an attractive marbled effect.
- Chill: Refrigerate the assembled slice for at least 4 hours or until the mousse is fully set and firm to the touch.
- Serve: Cut the mousse slice into squares or bars. Garnish with freshly sliced strawberries or raspberries and an optional drizzle of extra jam for added flavor and presentation.
Notes
- For a gluten-free version, use gluten-free plain biscuits or crackers for the base.
- Ensure the cream cheese is softened to room temperature for smoother mixing.
- Adjust the amount of sugar in the base or mousse filling to taste or omit entirely if preferred.
- Use fresh berries of your choice for garnish to complement the jam swirl.
- Store leftovers covered in the refrigerator for up to 3 days.


