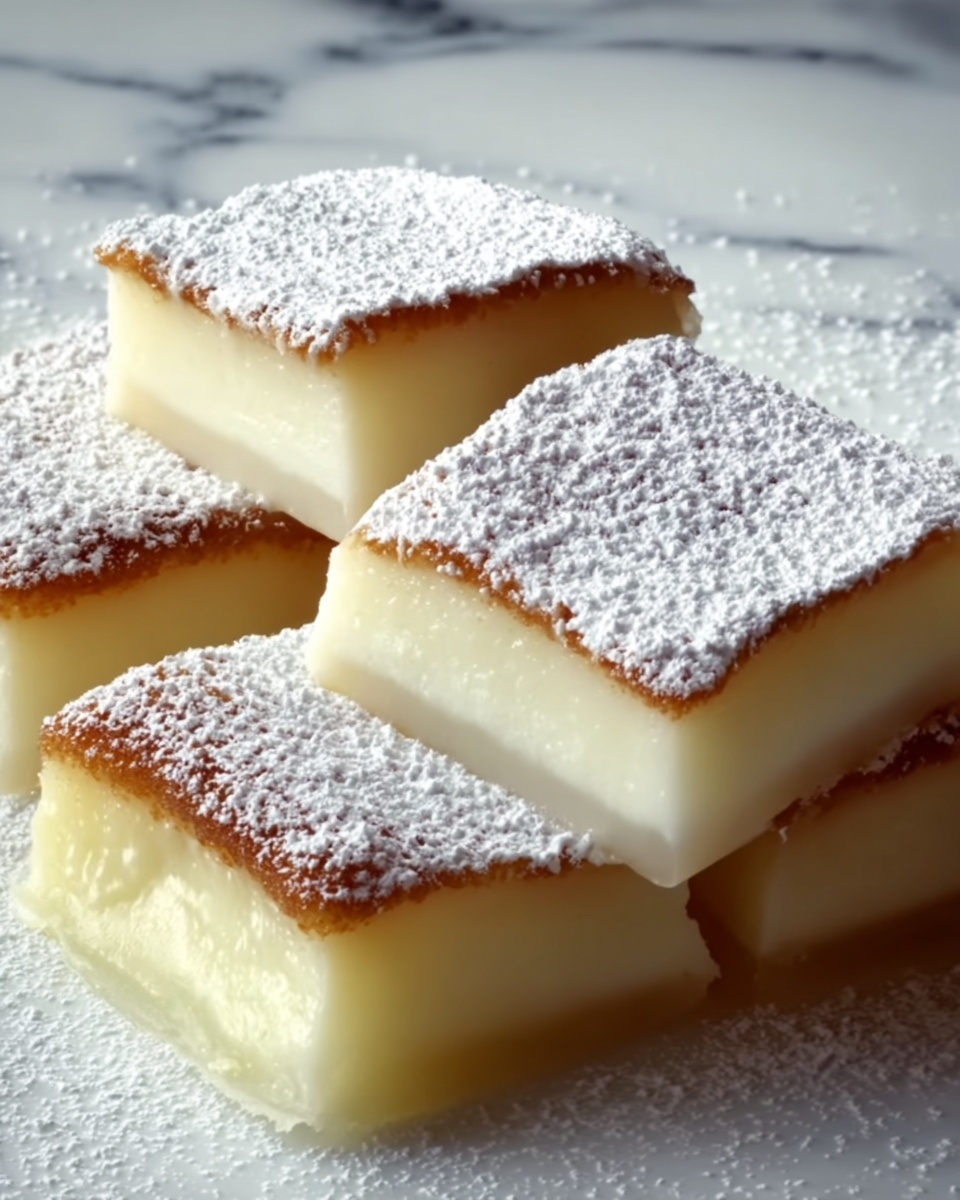
If you’re craving a buttery, tender treat that practically melts in your mouth, the Melting Moment Logs Recipe is your new best friend. These delightful cookies boast a delicate crumb with just the right amount of sweetness, creating a perfect balance that’s simply irresistible. Whether you’re baking for a crowd or indulging in a quiet moment with tea, this recipe delivers that classic, nostalgic sweetness wrapped in a charming log shape that’s as fun to make as it is to eat.
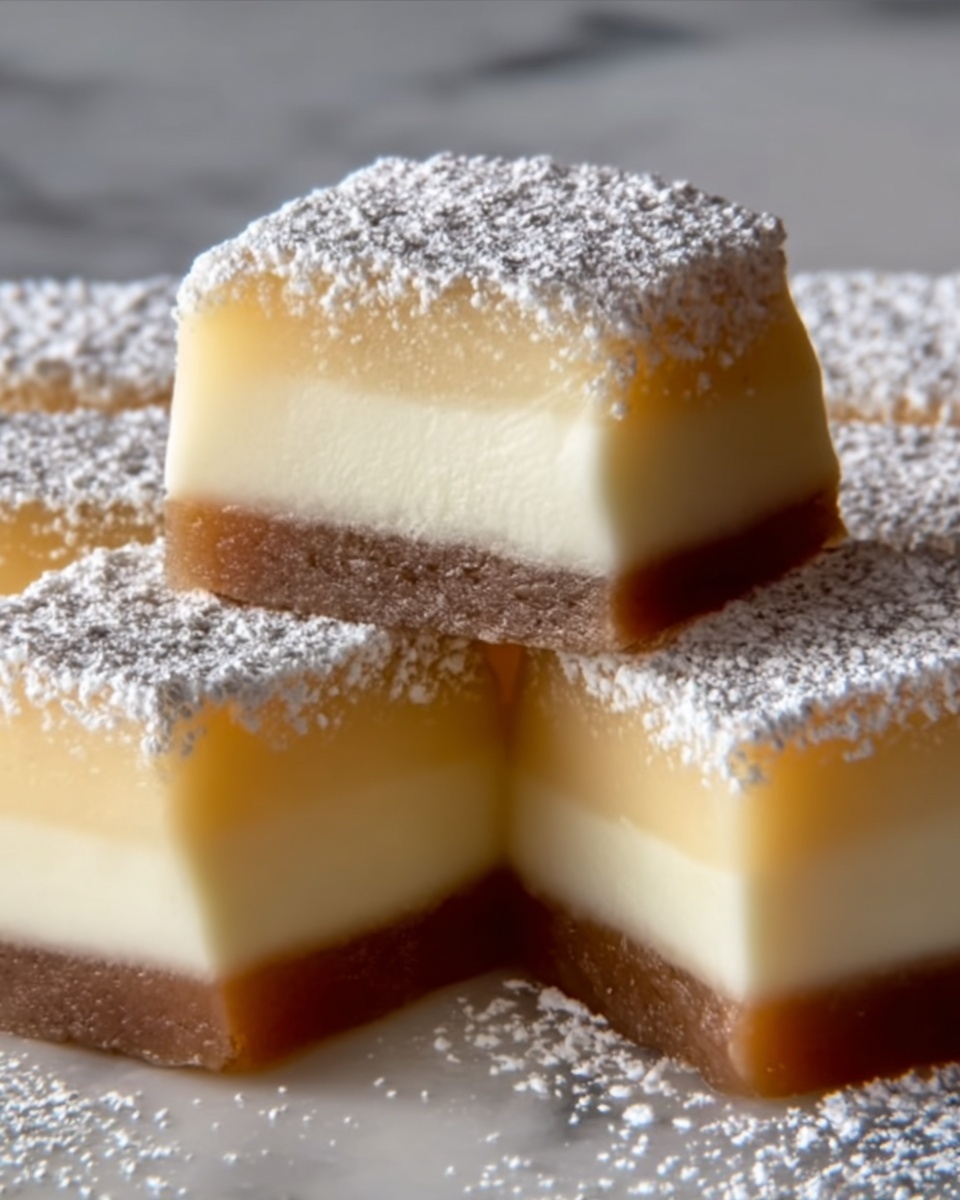
Ingredients You’ll Need
Gathering the right ingredients is the first step to nailing the perfect Melting Moment Logs. Each component plays a crucial role from taste to texture, ensuring these cookies stay tender yet structured, sweet yet subtle.
- 1 cup butter (softened): The star of the show, providing richness and that melt-in-your-mouth texture.
- ¾ cup confectioner’s sugar: Adds delicate sweetness and helps achieve the lovely soft crumb.
- 1 tsp vanilla extract: Infuses a warm, fragrant note that lifts the entire recipe.
- 1½ cups all-purpose flour: Forms the base, balancing structure with tenderness.
- ½ cup cornstarch: Keeps the cookies incredibly soft and gives them that signature melt-away quality.
- ¼ tsp salt: Enhances all the flavors for a perfectly rounded taste.
How to Make Melting Moment Logs Recipe
Step 1: Cream Butter and Sugar
Begin by beating the softened butter with ¾ cup of confectioner’s sugar until the mixture is light and fluffy. This process, lasting about 4 minutes, not only blends the ingredients but also incorporates air, which is key to achieving that delicate texture we love.
Step 2: Add Vanilla Extract
Next, introduce the vanilla extract to the buttery mix. This simple addition transforms the dough, infusing it with a warm, inviting scent and subtle sweetness that will shine through once baked.
Step 3: Combine Dry Ingredients
In a separate bowl, sift together the flour, cornstarch, and salt. Sifting helps prevent lumps and evenly distributes the salt. Gradually add this dry mixture to the creamed butter and sugar, beating gently until the dough is smooth and uniform.
Step 4: Shape the Dough into Logs
Divide your dough into three equal parts. Roll each portion into a 1-inch diameter log on a lightly floured surface. Wrapping these logs tightly in plastic wrap and chilling them for at least one hour is essential; it firms up the dough, making it easier to slice and helps the flavors meld beautifully.
Step 5: Preheat and Prepare
While your dough rests, preheat your oven to 350°F (175°C) and line a baking sheet with parchment paper. This setup ensures your cookies bake evenly and won’t stick to the pan.
Step 6: Slice and Chill Again
After chilling, slice the logs into 1-inch pieces. Arrange them spaced out on the prepared baking sheet. Pop these slices back into the fridge for another 30 minutes. This extra chill step is key to preserving their shape when baking, so don’t skip it.
Step 7: Bake to Perfection
Bake the cookies for about 8 minutes, until the bottoms are just tinged with golden. This gentle baking keeps them soft and tender rather than crispy. Let them cool on the sheet for 3 minutes before moving them to a wire rack to cool completely.
Step 8: Dust with Confectioner’s Sugar
Once cooled, generously dust your logs with extra confectioner’s sugar. This final touch adds a snowy, sweet finish that’s as pretty as it is delicious.
How to Serve Melting Moment Logs Recipe
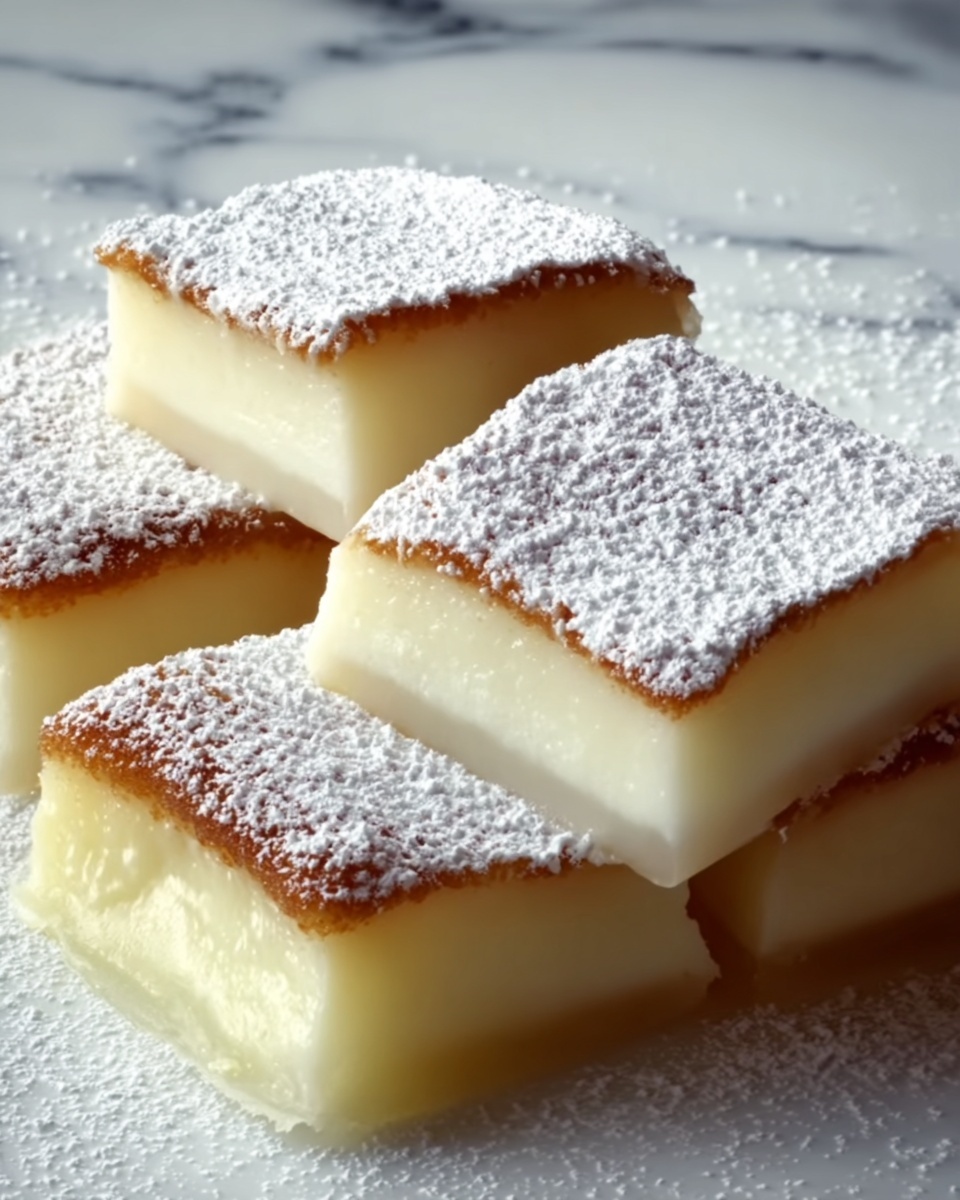
Garnishes
While dusting with confectioner’s sugar is classic, you can also sprinkle a pinch of cocoa powder or finely chopped nuts for extra texture and color. A few edible flowers or a drizzle of melted chocolate can elevate these logs for special occasions.
Side Dishes
Melting Moment Logs pair wonderfully with a cup of tea or coffee, making them an ideal morning or afternoon snack. For an indulgent twist, serve alongside fresh berries or a scoop of vanilla ice cream for a simple yet elegant dessert.
Creative Ways to Present
Arrange the logs on a rustic wooden board or a decorative plate, layering them with sprigs of mint or cinnamon sticks to create a charming display. Wrap several logs in parchment with a ribbon for beautiful homemade gifts that friends and family will adore.
Make Ahead and Storage
Storing Leftovers
Keep any leftover Melting Moment Logs in an airtight container at room temperature for up to a week. This prevents them from drying out while maintaining their melt-in-your-mouth softness.
Freezing
You can freeze both the dough logs before slicing and the fully baked cookies. Wrap dough tightly in plastic wrap and freeze for up to 3 months. When ready, thaw in the fridge, slice, and bake fresh. Baked cookies can be frozen in an airtight container for up to 2 months.
Reheating
Since these cookies are best enjoyed fresh, reheating is not typically recommended. However, if you prefer a warm bite, pop a cookie in the microwave for about 5 seconds, just enough to take the chill off without melting the sugar dusting.
FAQs
What makes Melting Moment Logs different from regular cookies?
The combination of cornstarch and butter creates an ultra-soft texture that almost dissolves when eaten, distinguishing these logs from crispier cookie varieties.
Can I use salted butter instead of unsalted?
Yes, but reduce or omit the added salt to avoid the cookies becoming too salty. Unsalted butter gives you better control over flavor.
Why is chilling the dough important?
Chilling firms up the butter, which helps the logs keep their shape when sliced and baked. It also enhances flavor development and texture.
How long do these cookies stay fresh?
Stored properly in an airtight container, Melting Moment Logs remain fresh and tender for about a week at room temperature.
Can I add flavors or mix-ins?
Absolutely! Try adding finely chopped nuts, citrus zest, or a sprinkle of cinnamon to the dough for a personal twist on the classic Melting Moment Logs Recipe.
Final Thoughts
There’s something truly comforting about these delicate Melting Moment Logs that makes baking them so rewarding. Their tender crumb, gentle sweetness, and melt-in-your-mouth magic invite you to slow down and savor each bite, perfect for sharing or indulging on your own. I can’t wait for you to try this recipe and create your own delicious moments!
Print
Melting Moment Logs Recipe
- Prep Time: 15 minutes
- Cook Time: 8 minutes
- Total Time: 1 hour 23 minutes
- Yield: 24 servings
- Category: Dessert
- Method: Baking
- Cuisine: Australian
- Diet: Vegetarian
Description
Melting Moment Logs are delicate, buttery cookies with a tender crumb that melt in your mouth. This easy-to-make recipe yields lightly golden shortbread-style treats dusted with confectioner’s sugar, perfect for any occasion or afternoon tea.
Ingredients
Cookie Dough
- 1 cup butter (softened)
- ¾ cup confectioner’s sugar (plus more for dusting)
- 1 tsp vanilla extract
- 1½ cups all-purpose flour
- ½ cup cornstarch
- ¼ tsp salt
Instructions
- Cream Butter and Sugar: Beat the softened butter together with ¾ cup confectioner’s sugar until the mixture becomes light and fluffy, about 4 minutes. This step helps to incorporate air for a tender texture.
- Add Vanilla: Mix in 1 teaspoon of vanilla extract to the creamed butter and sugar for flavor.
- Mix Dry Ingredients: In a separate bowl, sift together 1½ cups all-purpose flour, ½ cup cornstarch, and ¼ teaspoon salt. Gradually add these dry ingredients to the butter mixture, beating until smooth and fully combined.
- Shape Logs: Divide the dough into three equal portions. Roll each portion into a log shape about 1 inch in diameter. Wrap each log tightly in plastic wrap and refrigerate for at least 1 hour to firm up.
- Preheat Oven: Preheat your oven to 350°F (175°C). Line a baking sheet with parchment paper to prevent sticking and promote even baking.
- Slice and Chill Again: Slice each chilled log into 1-inch pieces. Place the slices on the prepared baking sheet and chill again for 30 minutes to help maintain shape during baking.
- Bake: Bake the cookies for about 8 minutes, until the bottoms turn lightly golden. Be careful not to overbake to keep the cookies tender.
- Cool: Allow the cookies to cool on the baking sheet for 3 minutes, then transfer them to a wire rack to cool completely.
- Dust with Sugar: Once the cookies have cooled, generously dust them with additional confectioner’s sugar for a classic, sweet finish.
Notes
- Make sure the butter is softened, not melted, for best texture.
- Chilling the dough logs twice helps the cookies keep their shape and prevents spreading.
- Use parchment paper or a silicone mat to avoid sticking and facilitate cleanup.
- These cookies can be stored in an airtight container for up to a week and also freeze well for longer storage.
- For a different flavor twist, try adding a pinch of cinnamon or substituting vanilla with almond extract.

