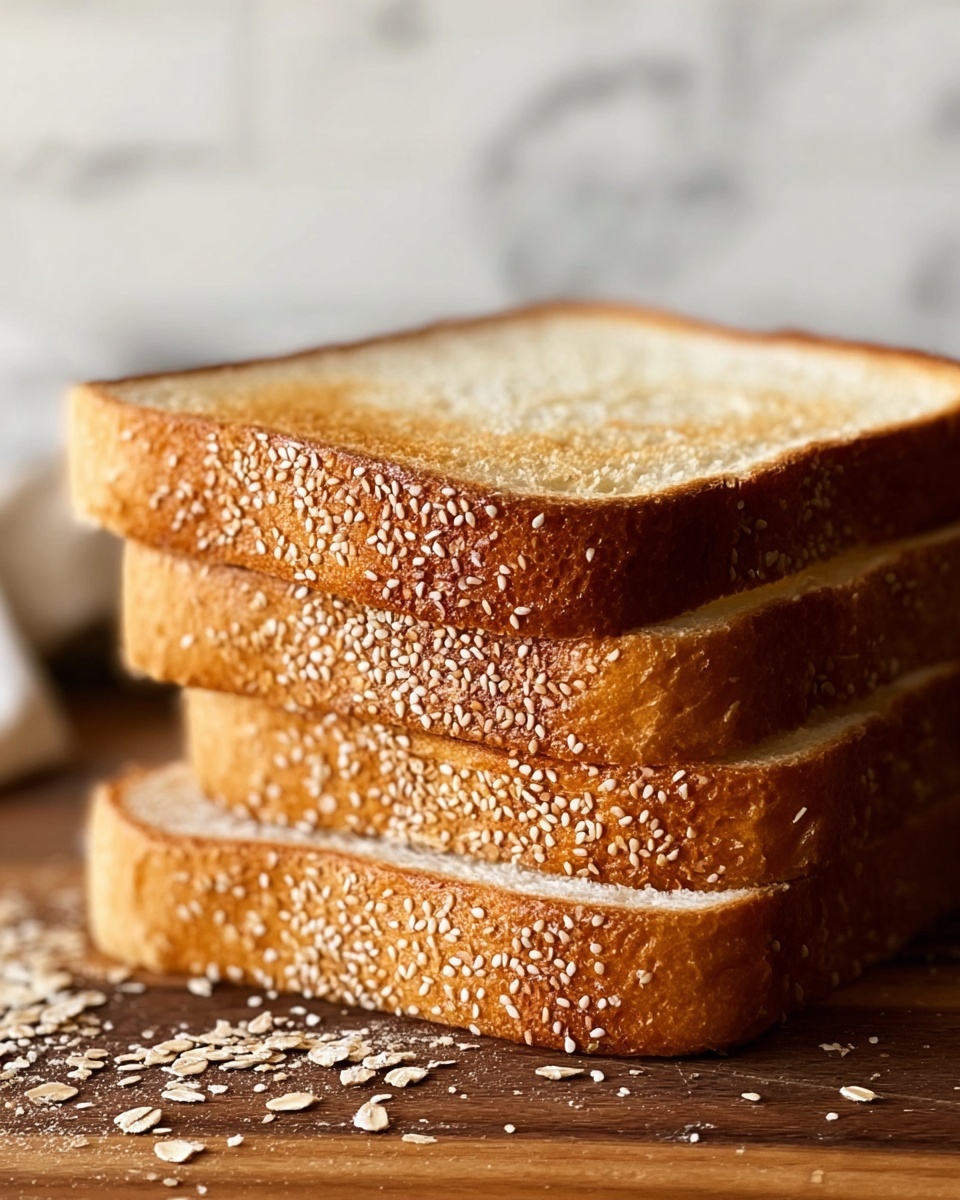
If you’ve ever dreamed of filling your kitchen with the warm, inviting aroma of freshly baked bread, this Honey Wheat Bread Recipe is going to become your new best friend. Combining the natural sweetness of honey with hearty whole wheat flour, this loaf is both nutritious and irresistibly comforting. It’s perfect for breakfast toast slathered in butter or for crafting the ultimate sandwich. Making bread from scratch may sound intimidating, but this recipe shows you just how approachable and rewarding homemade bread can be.

Ingredients You’ll Need
These simple ingredients come together to create the perfect balance of soft, slightly sweet, and wholesome bread. Each component plays an essential role, contributing to texture, flavor, or the bread’s beautiful golden color.
- Warm water (110°F/45°C): Activates the yeast to make the dough rise beautifully.
- Honey: Adds natural sweetness and helps create a tender crumb.
- Active dry yeast: The magic ingredient that makes the dough rise and become fluffy.
- Vegetable or olive oil: Keeps the bread moist and adds richness.
- Salt: Balances the sweetness and enhances the overall flavor.
- Whole wheat flour: Provides a nutty flavor and dense, hearty texture.
- All-purpose flour: Gives structure and lightness to the bread.
- Milk (optional): Makes the loaf softer and tender if you prefer a fluffier bite.
How to Make Honey Wheat Bread Recipe
Step 1: Activate the Yeast
Start by mixing warm water and honey in a small bowl. Stir in the active dry yeast and let it sit for about 5 to 10 minutes. You’ll see the yeast become frothy, which means it’s alive and kicking, ready to give your bread the perfect rise.
Step 2: Combine Dry Ingredients
In a large mixing bowl, blend whole wheat flour, all-purpose flour, and salt. This combination creates a base that offers a wonderful nutty flavor while keeping the bread tender and not too dense.
Step 3: Mix Wet and Dry Together
Pour the frothy yeast mixture and oil into your flour blend, stirring until the ingredients come together into a rough dough. This step sets the stage for a smooth, elastic dough that will rise beautifully.
Step 4: Knead the Dough
Turn the dough onto a floured surface and knead for 8 to 10 minutes. This part is a bit of fun — as you knead, you’re developing gluten, which gives bread its chewy, airy texture. You’ll know it’s ready when the dough feels smooth and springs back when poked.
Step 5: First Rise
Pop your dough into a lightly greased bowl, cover it with a clean towel, and find a warm spot for it to rise. Give it about an hour to double in size — this is where the magic happens as the yeast ferments and produces lovely air bubbles.
Step 6: Prepare Oven and Pan
Preheat your oven to 375°F (190°C) and grease a 9×5-inch loaf pan. Getting your oven ready at this stage will make sure your loaf bakes evenly and develops a gorgeous golden crust.
Step 7: Shape the Loaf
Give the risen dough a gentle punch down to release excess air, then shape it neatly into a loaf. Place it in your greased pan, setting it up for its second rise.
Step 8: Second Rise
Let the dough rise again in the pan for 30 to 45 minutes, until it has puffed just a little over the pan’s edge. This final proof ensures a soft, airy interior with a perfect loaf shape.
Step 9: Bake the Bread
Bake your loaf for 25 to 30 minutes. You’ll know it’s done when the top turns a golden brown and tapping the bottom produces a hollow sound — a sign of that perfectly baked crumb inside.
Step 10: Cool Before Slicing
Remove the bread from the pan and cool it on a wire rack to prevent sogginess. Waiting might be tough, but slicing warm bread can cause it to crumble, so be patient—your efforts will pay off with a beautiful slice.
How to Serve Honey Wheat Bread Recipe

Garnishes
While this bread shines on its own, consider toasting a slice and spreading butter, creamy nut butter, or even a drizzle of honey to elevate its natural sweetness. Fresh herbs like a sprinkle of rosemary can also add a fragrant flair perfect for savory snacks.
Side Dishes
Honey Wheat Bread pairs wonderfully with hearty soups or fresh salads. Think creamy tomato soup or a crisp garden salad where the bread can soak up delicious juices, making every bite satisfying.
Creative Ways to Present
You can transform this bread into an artisanal sandwich filled with grilled veggies and tangy cheeses, or turn it into French toast, where that hint of honey complements cinnamon and maple syrup perfectly. The versatility encourages endless creativity at your table.
Make Ahead and Storage
Storing Leftovers
Wrap leftover Honey Wheat Bread tightly in plastic wrap or place in an airtight container. It will stay fresh at room temperature for up to three days, ideal for quick sandwiches or snacks.
Freezing
If you want to savor your bread longer, slice it before freezing and store in a freezer-safe bag. Frozen Honey Wheat Bread keeps well for up to three months, making it easy to enjoy homemade bread anytime.
Reheating
To bring your bread back to life, toast slices or wrap the loaf in foil and warm it in a 350°F oven for about 10 minutes. This refreshes the texture and aroma, just like fresh from the oven.
FAQs
Can I use honey substitutes in the Honey Wheat Bread Recipe?
Absolutely! Maple syrup or agave nectar can replace honey if needed, but honey’s unique flavor and moisture really enhance the bread’s texture and taste.
What if the dough doesn’t rise?
If your dough isn’t rising, it might be due to inactive yeast or water that’s too hot or cold. Make sure your yeast is fresh and your water temperature is just right to awaken the yeast.
Can I make this bread whole wheat only?
You can, but using all whole wheat flour will give a denser loaf. Combining it with all-purpose flour helps keep the bread lighter and softer, as in this Honey Wheat Bread Recipe.
Is it necessary to knead the dough by hand?
Kneading by hand helps develop gluten and is a satisfying way to connect with your bread. However, you can use a stand mixer with a dough hook if you prefer a quicker, less hands-on method.
How long will the bread stay fresh?
Fresh bread is best eaten within two to three days for peak flavor and softness. Keeping it properly wrapped helps retain moisture and prevent it from drying out quickly.
Final Thoughts
There’s nothing quite like the joy of baking your own bread, and this Honey Wheat Bread Recipe makes it wonderfully easy and fulfilling. With its sweet, nutty flavor and soft texture, it’s sure to become a staple in your kitchen. Give it a try, and soon your home will be filled with the delightful scents and tastes of freshly baked bread that everyone will love.
Print
Honey Wheat Bread Recipe
- Prep Time: 20 minutes
- Cook Time: 30 minutes
- Total Time: 1 hour 50 minutes
- Yield: 1 loaf (9×5-inch pan size)
- Category: Bread
- Method: Baking
- Cuisine: American
- Diet: Vegetarian
Description
This Honey Wheat Bread combines whole wheat and all-purpose flours for a hearty yet tender loaf, naturally sweetened with honey. The bread has a soft crumb and golden crust, perfect for sandwiches or toast. A simple yeast-risen recipe suitable for homemade baking enthusiasts seeking wholesome, flavorful bread.
Ingredients
Wet Ingredients
- 1 cup warm water (110°F/45°C)
- 1/4 cup honey
- 2 tablespoons vegetable oil or olive oil
- 1/4 cup milk (optional, for softer texture)
Dry Ingredients
- 2 teaspoons active dry yeast
- 1 teaspoon salt
- 1 1/2 cups whole wheat flour
- 1 1/2 cups all-purpose flour (plus extra for dusting)
Instructions
- Activate Yeast: In a small bowl, combine warm water and honey to create a sweet warm base for the yeast. Stir in the active dry yeast and let it sit for 5-10 minutes until it becomes frothy, indicating the yeast is active and ready.
- Mix Dry Ingredients: In a large bowl, whisk together the whole wheat flour, all-purpose flour, and salt evenly to distribute the salt and prepare for dough consistency.
- Combine Wet and Dry: Pour the frothy yeast mixture and vegetable or olive oil into the flour blend. Stir until a cohesive dough forms, slightly sticky but manageable.
- Knead the Dough: Transfer the dough to a floured surface. Knead for about 8-10 minutes until the dough is smooth, elastic, and springs back when pressed, developing gluten for structure.
- First Rise: Place the kneaded dough in a greased bowl, cover it with a clean towel, and set it in a warm spot to rise for about 1 hour or until it doubles in size, allowing fermentation and flavor development.
- Preheat Oven: As the dough rises, preheat your oven to 375°F (190°C) to ensure it is ready for baking the loaf.
- Shape Dough: Gently punch down the risen dough to release gas. Shape it into a loaf and place it into a greased 9×5-inch loaf pan for structured baking.
- Second Rise: Let the shaped dough rise in the pan for another 30-45 minutes until it slightly rises above the pan edge, rendering a fluffy texture.
- Bake Bread: Bake the loaf for 25-30 minutes until the crust is golden brown and the bread sounds hollow when tapped on the bottom, indicating it is fully baked.
- Cool Loaf: Remove the baked bread from the pan and transfer to a wire rack to cool completely before slicing, allowing the crumb to set and prevent sogginess.
Notes
- Using milk instead of water or adding milk results in a softer texture but is optional.
- Ensure the water is warm but not hot to avoid killing the yeast.
- Kneading is crucial for gluten development, essential for bread texture.
- Allowing adequate rise times will improve loaf height and flavor.
- Store the bread in a sealed bag at room temperature for up to 3 days or freeze for longer storage.


