
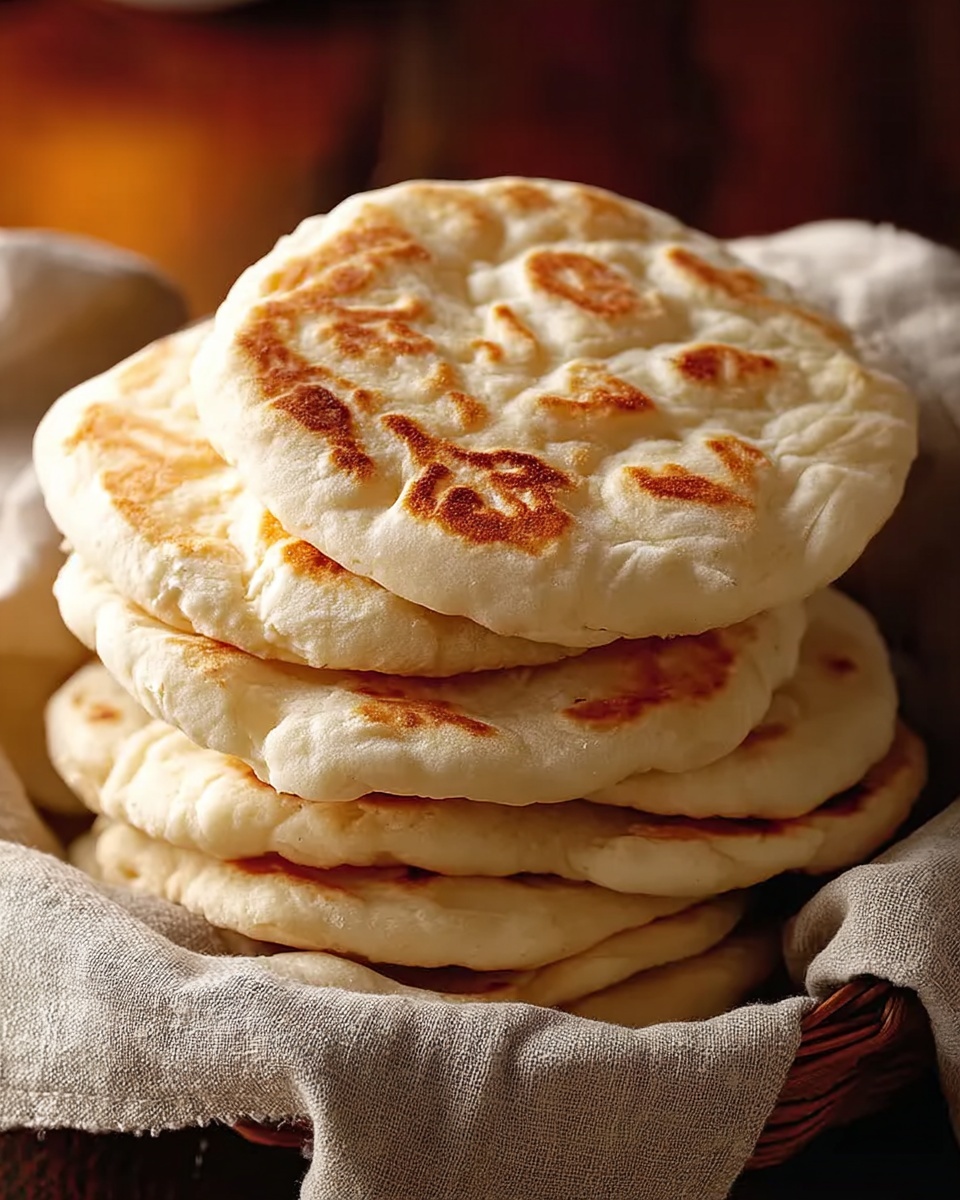
If you’ve ever dreamed of biting into warm, pillowy pockets of bread fresh from your own kitchen, then this Homemade Pita Bread Recipe is exactly what you need. It’s a simple yet magical process that transforms just a handful of basic ingredients into soft, puffy pita rounds perfect for stuffing, dipping, or scooping. Whether you’re new to baking bread or a seasoned pro, this recipe brings the satisfying charm of homemade pita right to your table, promising delightful results every time.
Ingredients You’ll Need
The beauty of this Homemade Pita Bread Recipe lies in its simplicity; each ingredient plays a vital role in creating that soft texture, subtle flavor, and beautiful golden hue. With nothing complicated or unusual, these pantry staples work harmoniously for pita perfection.
- All-purpose flour: The base of your dough, providing structure and chewiness to your pitas.
- Dry active yeast: Responsible for the delightful puff and airy texture by making the dough rise.
- Salt: Enhances flavor and balances the dough.
- Granulated sugar: Feeds the yeast, helping it activate and bloom.
- Olive oil: Adds moisture and a touch of richness for tenderness.
- Warm water: Activates the yeast and helps bring the dough together smoothly.
How to Make Homemade Pita Bread Recipe
Step 1: Activate the yeast
Start by combining half of the warm water with yeast and sugar in a small bowl. Let it rest for about 10 minutes until it bubbles and foams. This activation ensures your yeast is alive and ready to make your dough rise beautifully, giving your pita that signature puff.
Step 2: Make the dough
In a large mixing bowl or your stand mixer, blend the flour, salt, the remaining warm water, and your activated yeast mixture. Knead the dough for approximately 10 minutes until it feels smooth and elastic—this step develops the gluten, creating a dough that’s soft yet strong enough to puff up while cooking.
Step 3: Let it rise
Cover your dough with a clean kitchen towel and place it in a warm spot. Allow it to rise for 1 to 2 hours, or until it has doubled in size. This rising stage is key to achieving light, airy pita pockets that practically melt in your mouth.
Step 4: Shape the dough
Once risen, turn out the dough and divide it into 8 equal pieces. Roll each piece into a smooth ball, then carefully flatten each one into a disc approximately 1/4-inch thick. This uniform thickness helps the pitas cook evenly and puff up perfectly.
Step 5: Cook the pitas
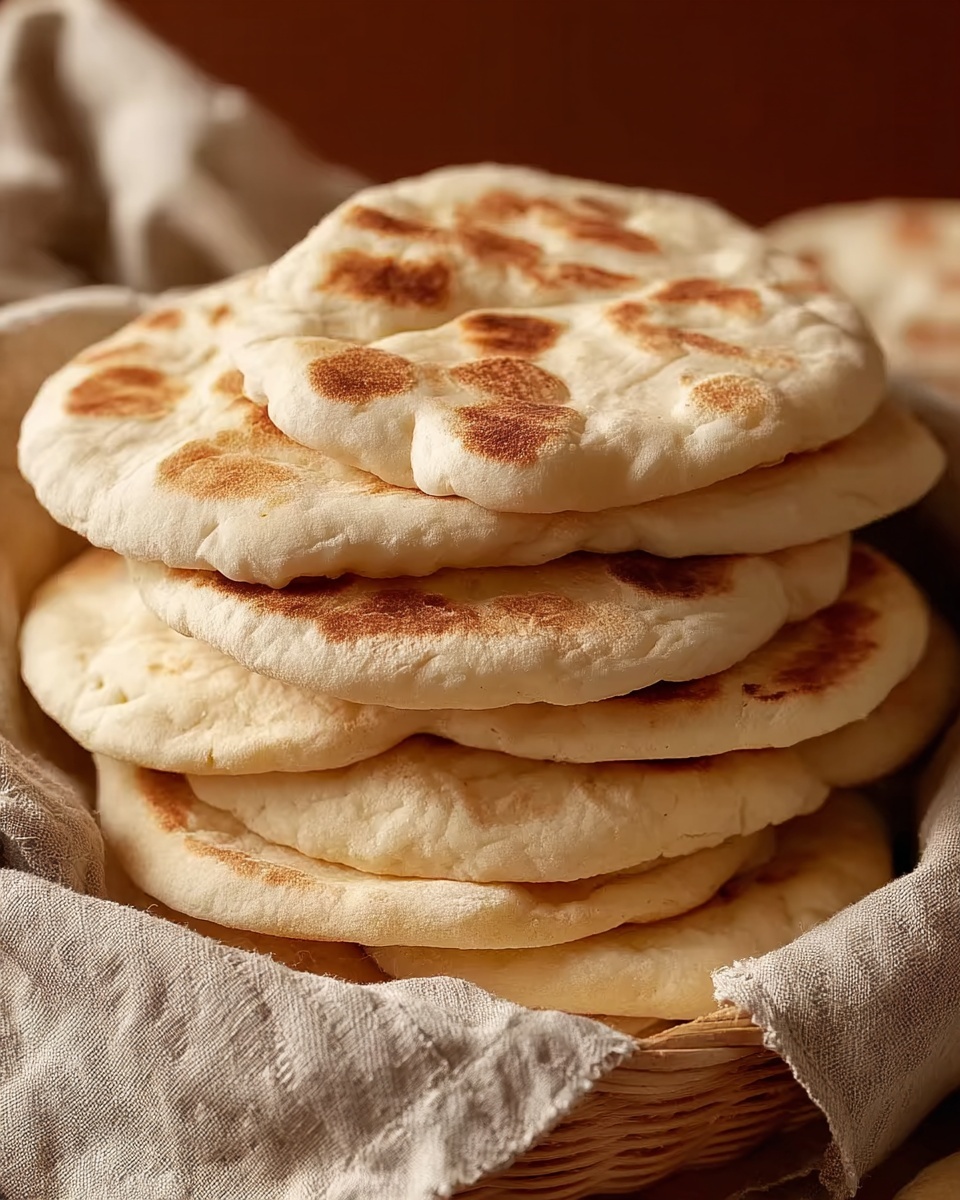
Preheat a skillet over high heat until it’s nicely hot. Cook each pita for 2 to 3 minutes on each side. Watch closely as they begin to puff up—that’s the magic happening! You’ll see a golden-brown finish develop, indicating they’re beautifully cooked and ready to enjoy.
How to Serve Homemade Pita Bread Recipe
Garnishes
This Homemade Pita Bread Recipe shines even brighter when paired with fresh garnishes. Sprinkle chopped parsley, a drizzle of olive oil, or a dash of za’atar to elevate the flavor and add a lovely aromatic touch that complements the bread’s subtle taste.
Side Dishes
Pitas are incredibly versatile and pair wonderfully with a medley of sides like creamy hummus, baba ganoush, tabbouleh, or even grilled meats and roasted vegetables. Their pocket-like nature makes them ideal for scooping dips or stuffing with your favorite fillings.
Creative Ways to Present
For a fun twist, slice the pitas in half and stuff them with falafel, fresh veggies, and yogurt sauce for an irresistible sandwich. You can also cut them into wedges to serve as dippers with spicy sauces or cheese spreads during gatherings or casual meals.
Make Ahead and Storage
Storing Leftovers
Leftover pita bread can be stored in an airtight container or a resealable plastic bag at room temperature for up to two days. Keeping them sealed prevents the bread from drying out and helps maintain softness.
Freezing
If you want to enjoy your Homemade Pita Bread Recipe later, freeze the pitas by stacking them with parchment paper in between and placing them in a freezer bag. They will keep well for up to 3 months, preserving their texture and flavor.
Reheating
To bring frozen or leftover pitas back to life, wrap them in foil and warm in a preheated oven at 350°F (175°C) for about 10 minutes. You can also quickly toast them in a hot skillet for a slightly crispy exterior while keeping the inside soft and flexible.
FAQs
Can I use whole wheat flour instead of all-purpose flour?
Absolutely! Whole wheat flour can add a lovely nuttiness and extra fiber. Keep in mind it might create a denser texture, so you might want to combine it with some all-purpose flour for a balanced crumb.
Why didn’t my pitas puff up?
Several factors affect puffing, including dough thickness, skillet temperature, and how well the dough has risen. Make sure to roll the dough about 1/4-inch thick and cook in a very hot skillet. Also, well-activated yeast and enough rising time are essential for that perfect pocket.
Can I make this dough without a stand mixer?
Yes! You can knead the dough by hand on a lightly floured surface for about 10 to 15 minutes. It might take a bit more effort but produces equally delightful homemade pita bread.
How long can I store homemade pita bread in the fridge?
Refrigerating pita bread is not generally recommended as it tends to dry out faster. However, if you do refrigerate, use it within 3 to 4 days and make sure it’s tightly wrapped.
Is olive oil necessary in the recipe?
Olive oil adds tenderness and subtle flavor to the dough, enhancing the texture of the pita. While you can omit it, including olive oil will give you a noticeably softer and more delicious pita.
Final Thoughts
There is something truly special about making your own bread from scratch, and this Homemade Pita Bread Recipe is such a joy to master. The process is straightforward, the ingredients are simple, and the result is a warm, tender pocket of bread that feels like a delicious little gift from your kitchen. So grab your flour and yeast and give it a try—you’ll be amazed how quickly homemade pita bread becomes a staple you cherish and share with loved ones.
Print
Homemade Pita Bread Recipe
- Prep Time: 20 minutes
- Cook Time: 15 minutes
- Total Time: 2 hours 10 minutes
- Yield: 8 servings (8 pitas)
- Category: Bread
- Method: Stovetop
- Cuisine: Middle Eastern
Description
This homemade pita bread recipe offers a light, fluffy, and perfectly puffed flatbread made from simple pantry staples. With a soft interior and golden exterior, these pitas are perfect for stuffing with your favorite fillings or enjoying alongside dips and spreads. The step-by-step process includes activating yeast, kneading, rising, shaping, and stovetop cooking to achieve the authentic pita pocket texture.
Ingredients
Ingredients
- 2.5 cups all-purpose flour
- 1 tsp dry active yeast
- 1 tsp salt
- 1 tbsp granulated sugar
- 1 tbsp olive oil
- 1 cup warm water
Instructions
- Activate the yeast: Mix half of the warm water (about 1/2 cup) with the dry active yeast and granulated sugar in a small bowl. Let it sit for about 10 minutes until the mixture becomes bubbly and foamy, indicating the yeast is active.
- Make the dough: In a mixer bowl, combine the all-purpose flour, salt, remaining half of the warm water, olive oil, and the activated yeast mixture. Knead the dough for approximately 10 minutes until it becomes smooth, elastic, and slightly tacky to the touch.
- Let it rise: Cover the dough bowl with a clean towel or plastic wrap and place it in a warm spot. Allow it to rise undisturbed for 1 to 2 hours, or until it doubles in size.
- Shape the dough: Punch down the risen dough and divide it into 8 equal pieces. Roll each piece into a ball, then flatten each ball into a disc roughly 1/4-inch thick, suitable for quick cooking.
- Cook the pitas: Preheat a skillet over high heat. Place a pita disc onto the hot skillet and cook for about 2 to 3 minutes on each side. The pita should puff up as it cooks and develop golden brown spots. Remove and keep warm. Repeat with remaining dough pieces.
Notes
- Ensure the water is warm, not hot, to properly activate the yeast without killing it (around 105-110°F or 40-43°C).
- Use a well-heated skillet to achieve the characteristic pita puffing effect.
- The pitas can be stored in an airtight container for up to 2 days or frozen for up to 1 month.
- For softer pitas, brush lightly with olive oil after cooking.
- If dough is too sticky, add a small amount of flour when kneading.


