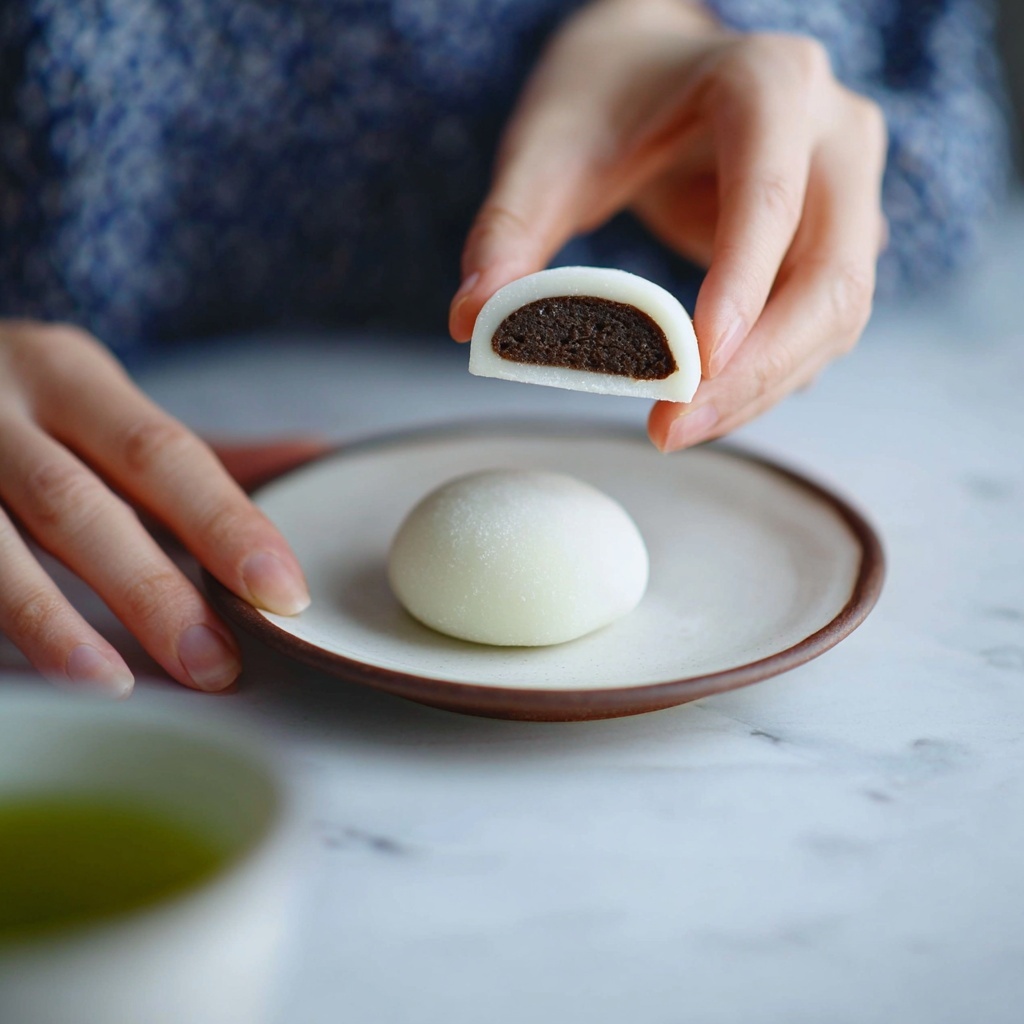
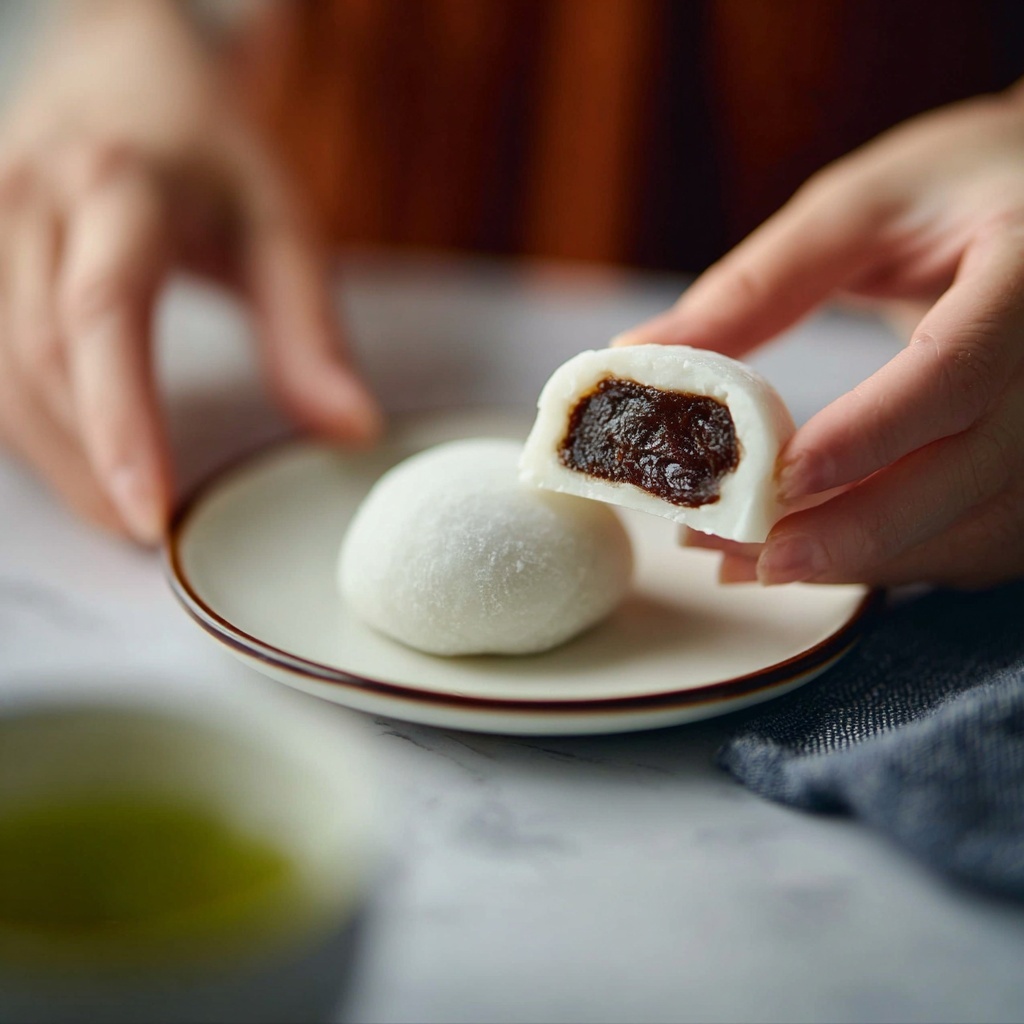
If you have a soft spot for chewy, sweet treats that bring a little piece of Japan right into your kitchen, then get ready to fall in love with this Homemade Mochi Recipe. It’s a delightful, tender rice cake with just the right amount of stickiness and sweetness that melts in your mouth, offering a satisfying experience that’s as fun to make as it is to eat. Whether you go classic with red bean paste or get creative with fruit fillings, this recipe is your ticket to crafting authentic homemade mochi that will impress family and friends alike.
Ingredients You’ll Need
These ingredients are simple, straightforward, and essential for achieving that perfect mochi texture and flavor. Each one plays a critical role in creating the chewy, subtly sweet dough that’s the hallmark of the dish.
- 1 cup glutinous rice flour: This is the magic powder that gives mochi its signature chewiness and structure.
- 1/4 cup sugar: Adds just the right amount of sweetness to balance the mild flavor of the rice flour.
- 1 cup water: Binds the flour and sugar, helping form a smooth, pliable dough.
- 1/2 teaspoon vanilla extract: Offers a gentle, comforting aroma that enhances the overall taste.
- Cornstarch or potato starch for dusting: Prevents the sticky dough from clinging to surfaces or your hands when shaping the mochi.
- Optional fillings such as red bean paste, sweetened black sesame paste, or fruit pieces: These little centers add bursts of flavor and texture contrast inside each mochi piece.
How to Make Homemade Mochi Recipe
Step 1: Mix the Dough Ingredients
Start by combining the glutinous rice flour and sugar in a microwave-safe bowl. Gradually pour in the water and vanilla extract while stirring to ensure there are no lumps. This smooth batter is your mochi base, the foundation for that irresistible chewy texture.
Step 2: Microwave the Mixture
Cover the bowl loosely with plastic wrap or a microwave-safe lid to trap steam. Microwave on high for 2 minutes, then give everything a good stir. Return the bowl to the microwave for another 1 to 2 minutes until the mixture thickens to a slightly translucent, sticky dough. This is where the magic happens — the heat transforms the batter into soft, stretchy mochi.
Step 3: Prepare the Workspace
Dust a clean surface or tray generously with cornstarch or potato starch to keep the mochi from sticking. Transfer the hot mochi dough carefully onto this starchy surface and let it cool until it’s easier to handle but still soft enough to work with.
Step 4: Portion and Fill
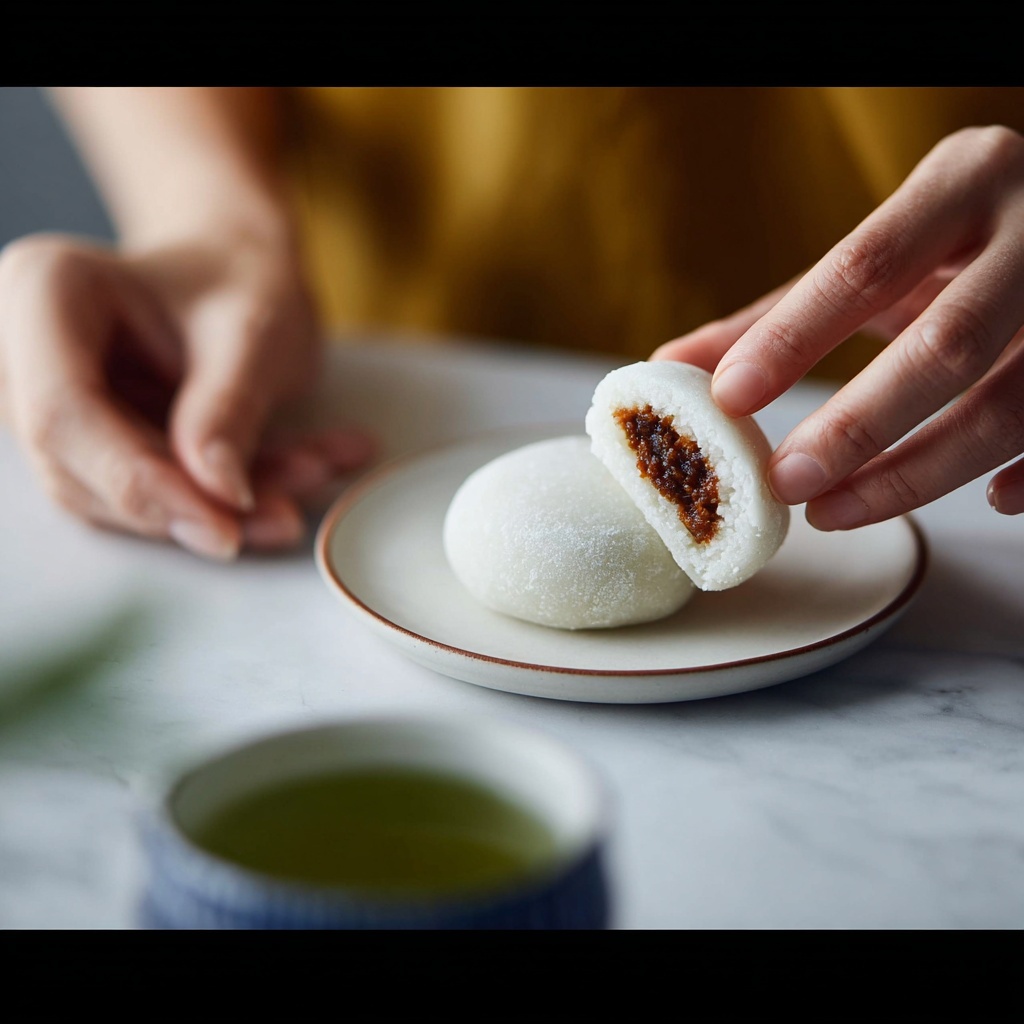
Dust your hands with starch to prevent sticking, then divide the mochi dough into 8 to 10 equal portions. Flatten each piece into a small disc, place a spoonful of your chosen filling in the center, and pinch the edges together to seal it tightly. Shape these into neat balls or discs for a perfect bite every time.
Step 5: Final Dusting
Give your finished mochi an extra sprinkle of starch to ensure they don’t stick together, and voilà — you’ve made your very own homemade mochi!
How to Serve Homemade Mochi Recipe
Garnishes
While mochi is lovely on its own, a light dusting of matcha powder or a sprinkle of toasted sesame seeds can elevate both flavor and presentation. These garnishes add a subtle hint of earthiness and visual appeal that make the dish pop.
Side Dishes
Mochi pairs wonderfully with green tea or a mild jasmine tea, balancing its sweetness while cleansing the palate. For a heartier spread, serve mochi alongside fresh fruit or a small bowl of azuki red bean soup for a delightful Japanese-inspired dessert experience.
Creative Ways to Present
Try arranging mochi balls on a decorative platter with colorful fruit slices or edible flowers for an eye-catching dessert table centerpiece. Or, put a modern twist on tradition by serving ice cream-filled mochi as bite-sized frozen treats that surprise and delight with contrasting temperatures and textures.
Make Ahead and Storage
Storing Leftovers
Mochi is best enjoyed fresh, but if you have leftovers, store them in an airtight container at room temperature for up to one day. This keeps them soft and chewy without drying out, but avoid refrigeration as it tends to harden the mochi.
Freezing
You can freeze mochi to extend its shelf life. Wrap each piece tightly in plastic wrap and place them in a freezer-safe container. When you’re ready to enjoy, thaw at room temperature, and you may want to steam or microwave them briefly to restore their soft texture.
Reheating
To bring leftover or frozen mochi back to optimal softness, gently steam it for a few minutes or heat in the microwave in short intervals, covered, until warm and pliable. Be cautious as mochi can become very sticky when warm.
FAQs
What is glutinous rice flour, and can I substitute it?
Glutinous rice flour is a type of rice flour made from sticky rice, which creates the chewy texture unique to mochi. Substitutes like regular rice flour won’t work because they lack the necessary stickiness and elasticity.
Can I make mochi without a microwave?
Absolutely! Steaming the mochi batter instead of microwaving is a traditional method that results in a soft, chewy texture and allows for a bit more hands-on control during cooking.
What fillings work best for homemade mochi?
Classic fillings include sweetened red bean paste and black sesame paste. Fresh fruit pieces like strawberries or mango add a refreshing twist. You can even experiment with ice cream for a cool surprise inside.
Is this recipe gluten-free?
Yes! Mochi made with glutinous rice flour is naturally gluten-free, making it a delicious option for those with gluten sensitivities or celiac disease.
How do I prevent mochi from sticking while working with the dough?
Using plenty of cornstarch or potato starch to dust your hands, surfaces, and the dough itself is the key to managing stickiness. It creates a barrier that allows you to shape the mochi easily without it clinging everywhere.
Final Thoughts
This Homemade Mochi Recipe opens the door to a fun, rewarding kitchen adventure filled with chewy, sweet bites of joy. Once you master this basic version, you’ll be inspired to customize fillings and experiment with toppings, turning mochi-making into a delightful tradition you’ll cherish and want to share. Give it a try and enjoy a little taste of Japanese culture in every bite!
Print
Homemade Mochi Recipe
- Prep Time: 10 minutes
- Cook Time: 5 minutes
- Total Time: 15 minutes
- Yield: 8-10 mochi pieces
- Category: Dessert
- Method: Microwave
- Cuisine: Japanese
- Diet: Vegetarian, Gluten Free
Description
This traditional Japanese Mochi recipe features soft, chewy sweet rice cakes made from glutinous rice flour, sugar, and water, perfectly steamed or microwaved for a quick and easy dessert. Customize your mochi with delicious fillings like red bean paste, sweetened black sesame paste, or fresh fruit for added flavor and texture.
Ingredients
Basic Mochi Dough
- 1 cup glutinous rice flour
- 1/4 cup sugar
- 1 cup water
- 1/2 teaspoon vanilla extract
For Dusting
- Cornstarch or potato starch (for dusting)
Optional Fillings
- Red bean paste
- Sweetened black sesame paste
- Fruit pieces (such as strawberries or mango)
Instructions
- Mix Ingredients: In a microwave-safe bowl, combine the glutinous rice flour and sugar. Gradually add the water and vanilla extract while stirring continuously until the batter is smooth and free of lumps.
- Microwave Cooking: Cover the bowl loosely with plastic wrap or a microwave-safe lid to allow steam to escape. Microwave on high power for 2 minutes, then carefully remove and stir the mixture to ensure even cooking.
- Continue Cooking: Return the bowl to the microwave and cook for an additional 1-2 minutes until the mixture thickens, becomes sticky, and slightly translucent, indicating it is fully cooked.
- Prepare Surface and Cool: Dust a clean surface or tray generously with cornstarch or potato starch. Transfer the hot mochi dough onto this surface and allow it to cool until it is manageable to handle safely, but still warm.
- Shape and Fill Mochi: Dust your hands with starch to prevent sticking. Divide the mochi dough into 8-10 small portions. Flatten each piece and place your chosen filling (red bean paste, black sesame paste, or fruit) in the center. Pinch the edges together to seal and shape into balls or discs.
- Final Dusting: Lightly dust the finished mochi with additional starch to prevent sticking. Serve fresh or store in an airtight container at room temperature for up to one day.
Notes
- Mochi is best enjoyed fresh but can be stored in an airtight container at room temperature for up to 24 hours.
- For a softer texture, steam the mochi dough instead of microwaving it, adjusting cooking time accordingly until the dough is sticky and translucent.
- Exercise caution when handling the mochi dough immediately after cooking, as it will be very hot and sticky.


