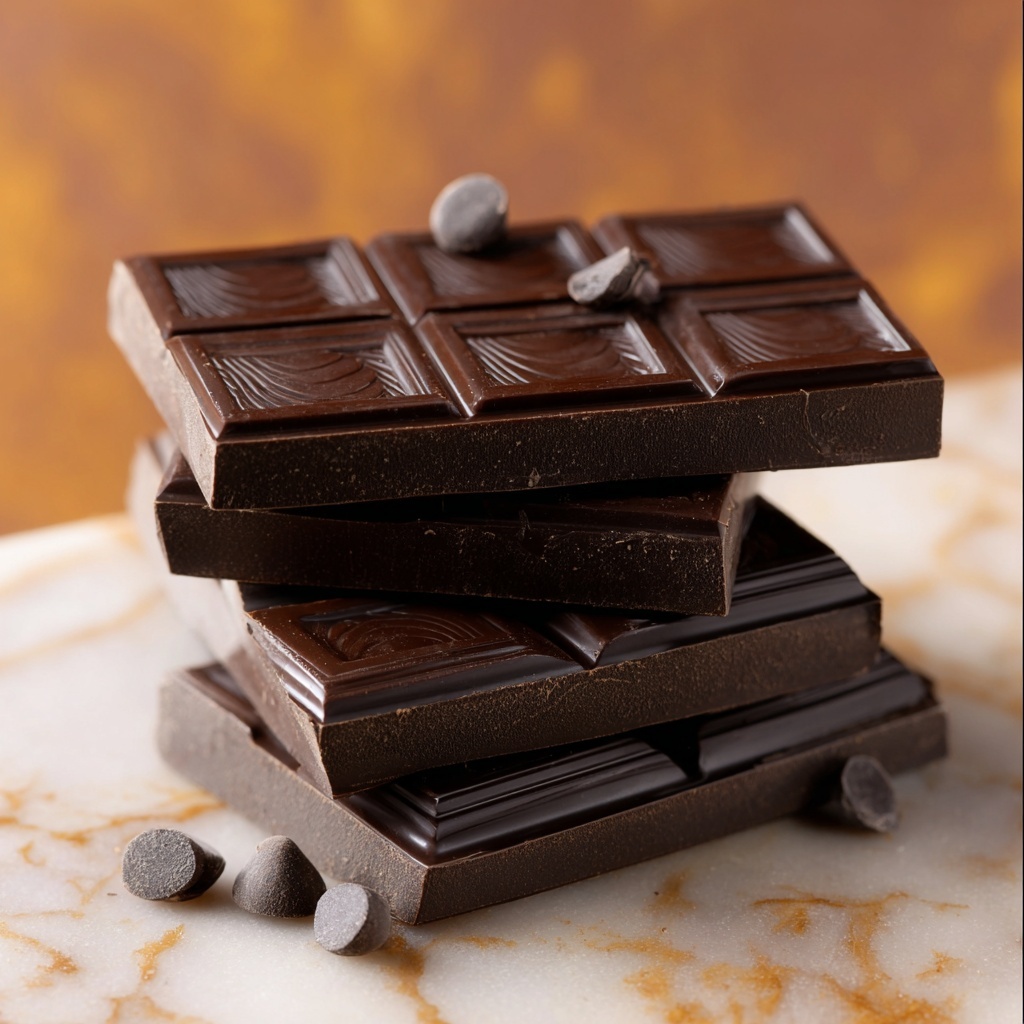
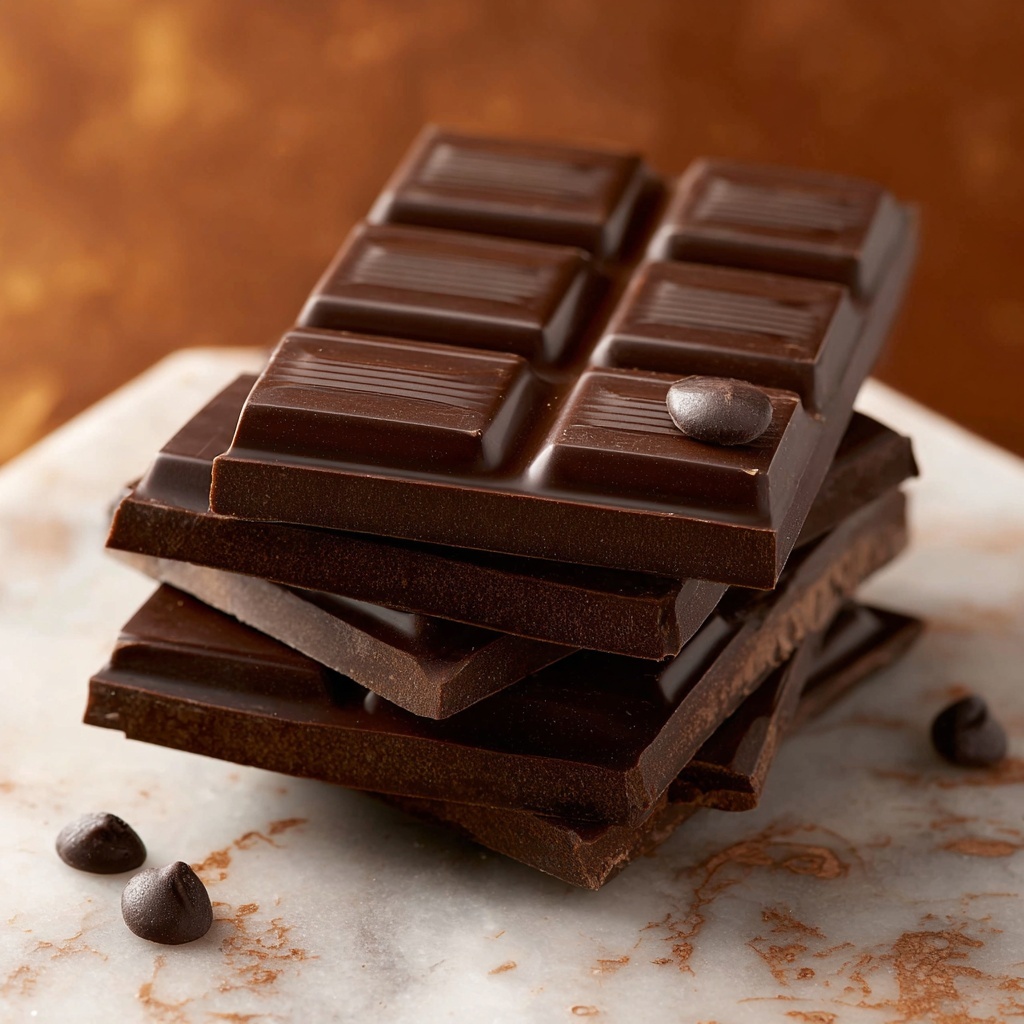
If you have ever dreamed of crafting your own delicious sweet treat that feels both indulgent and wholesome, then this Homemade Chocolate Bars Recipe is exactly what you need. It’s a simple, satisfying way to create rich, smooth chocolate bars right in your own kitchen using just a handful of carefully chosen ingredients. Each bar is a perfect balance of creamy coconut oil, deep cocoa flavor, and a touch of natural sweetness, making them a delightful snack or gift that carries that special personal touch.
Ingredients You’ll Need
Ingredients You’ll Need
Gathering these few, simple ingredients is all it takes to bring this Homemade Chocolate Bars Recipe to life. Each one plays an important role in building the perfect flavor, texture, and appearance that make these bars so irresistible.
- ½ cup coconut oil, melted: Provides a smooth, creamy base with a subtle tropical note that helps the bars set beautifully.
- ¼ cup unsweetened cocoa powder: Brings intense, deep chocolate flavor without any added sugars.
- 3 tablespoons maple syrup (or honey): Adds natural sweetness and a slight caramel undertone that complements the cocoa.
- 1 teaspoon vanilla extract: Enhances the overall flavor, delivering warmth and depth.
- Pinch of sea salt: Balances sweetness and intensifies the chocolate’s richness.
- Optional add-ins: Chopped nuts, dried fruit, shredded coconut, or a sprinkle of sea salt topping, perfect for adding texture and extra flavor variety.
How to Make Homemade Chocolate Bars Recipe
Step 1: Prepare Your Baking Dish
Start by lining a small baking dish, approximately 8×4 inches, with parchment paper. This step might sound trivial, but it ensures that once your chocolate bars are ready, they will come out smoothly and effortlessly without any sticking or crumbling.
Step 2: Mix the Chocolate Base
In a medium bowl, whisk together the melted coconut oil, unsweetened cocoa powder, maple syrup, vanilla extract, and a pinch of sea salt. This part is where the magic begins as the ingredients blend into a luscious, silky chocolate mixture that promises pure indulgence.
Step 3: Pour and Even Out the Mixture
Pour your chocolate mixture into the lined baking dish and use a spatula to spread it out evenly. A level surface helps the bars set uniformly, giving them that perfect snap and texture with every bite.
Step 4: Add Optional Toppings
Now is the time to sprinkle on any optional add-ins like chopped nuts, dried fruit, or shredded coconut. These add delightful bursts of flavor and texture that make your bars uniquely yours. A light sprinkle of sea salt on top adds a professional touch and highlights the chocolate’s richness.
Step 5: Chill and Set
Place the baking dish in the refrigerator for at least one hour. This chilling process is essential for the bars to harden to the perfect consistency—firm yet melt-in-your-mouth smooth.
Step 6: Cut Into Bars and Enjoy
Once the mixture has set, carefully lift the parchment paper to remove the chocolate block. Then cut it into bars or squares according to your preferred size. These homemade chocolate bars are ready to be savored!
How to Serve Homemade Chocolate Bars Recipe
Garnishes
To enhance the presentation, consider garnishing your bars with a light dusting of cocoa powder, toasted nuts, or edible gold flakes. These little touches make your chocolate bars feel extra special, whether for a cozy treat or entertaining guests.
Side Dishes
Pair these chocolate bars with fresh berries, lightly whipped cream, or a cup of aromatic coffee or herbal tea to complement the deep chocolate flavor. These combinations create a balanced experience that satisfies your sweet tooth while elevating your snack time.
Creative Ways to Present
Wrap your homemade chocolate bars individually in decorative parchment paper or place them in a small gift box if you’re sharing with friends. You can also layer them with parchment separators in an airtight tin for a stunning homemade gift that everyone will appreciate.
Make Ahead and Storage
Storing Leftovers
Your homemade chocolate bars store beautifully in an airtight container kept in the refrigerator. They’ll stay fresh and flavorful for up to two weeks, making it easy to enjoy a sweet treat anytime you want.
Freezing
If you want to keep them for longer, wrap the bars tightly and freeze them. Homemade chocolate bars freeze really well and can last up to three months, just be sure to thaw them in the fridge to maintain their perfect texture.
Reheating
These bars are best enjoyed cold or at room temperature, so reheating isn’t necessary. If you prefer a softer bite, just allow them to sit out for a few minutes before indulging to let them gently warm up.
FAQs
Can I use a different sweetener?
Absolutely! Maple syrup and honey work beautifully here, but you can experiment with agave nectar or even coconut sugar dissolved in a bit of warm water. Just remember to adjust sweetness to taste.
Is coconut oil necessary?
Coconut oil is key for this recipe because it solidifies at cooler temperatures, giving the bars their firm texture. If you substitute it, look for a fat with similar properties, like cocoa butter.
Can I make these vegan?
Yes, this recipe is naturally vegan as long as you use maple syrup or another plant-based sweetener instead of honey. It’s a perfect option for plant-based diets!
How do I prevent the chocolate from melting too quickly?
Keep your bars refrigerated or stored in a cool place, especially on warmer days. The coconut oil base melts easily at room temperature, so chilling is important for maintaining shape and texture.
What’s the best way to customize the flavors?
Feel free to add extracts like peppermint or orange, mix in spices such as cinnamon or chili, or fold in textured ingredients like crushed pretzels or puffed quinoa to make the bars uniquely yours.
Final Thoughts
This Homemade Chocolate Bars Recipe is such a rewarding treat to make and share. It’s simple, delicious, and wonderfully customizable, perfect for those moments when you want a handcrafted sweet snack that feels a little luxurious. I encourage you to try it, experiment with your favorite add-ins, and enjoy the pure joy of homemade chocolate magic.
Print
Homemade Chocolate Bars Recipe
- Prep Time: 10 minutes
- Cook Time: 0 minutes
- Total Time: 1 hour 10 minutes
- Yield: 8 servings
- Category: Dessert
- Method: No-Cook
- Cuisine: American
- Diet: Vegan
Description
Delicious and easy-to-make homemade chocolate bars using simple ingredients like coconut oil, cocoa powder, and natural sweeteners. Perfect for a healthy treat that you can customize with your favorite nuts, dried fruits, or shredded coconut.
Ingredients
Main Ingredients
- ½ cup coconut oil, melted
- ¼ cup unsweetened cocoa powder
- 3 tablespoons maple syrup (or honey)
- 1 teaspoon vanilla extract
- Pinch of sea salt
Optional Add-ins
- Chopped nuts
- Dried fruit
- Shredded coconut
- Sprinkle of sea salt for topping
Instructions
- Prepare the Dish: Line a small baking dish (8×4 inches or similar) with parchment paper to ensure easy removal of the chocolate bars after they have set.
- Mix the Ingredients: In a medium bowl, whisk together the melted coconut oil, unsweetened cocoa powder, maple syrup (or honey), vanilla extract, and a pinch of sea salt until the mixture is smooth and fully combined.
- Pour and Spread: Pour the chocolate mixture into the prepared baking dish and spread it evenly using a spatula to create a uniform thickness.
- Add Toppings (Optional): Sprinkle your choice of chopped nuts, dried fruit, shredded coconut, or a small amount of sea salt evenly over the top of the chocolate mixture for added texture and flavor.
- Chill to Set: Place the baking dish in the refrigerator and let it chill for at least 1 hour, or until the chocolate has completely hardened and set.
- Cut into Bars: Once the chocolate is firm, remove it from the baking dish by lifting the parchment paper. Cut the set chocolate into bars or squares of your desired size.
- Store: Store the homemade chocolate bars in an airtight container in the refrigerator. They will keep fresh for up to two weeks.
Notes
- You can substitute maple syrup with honey or agave syrup depending on preference.
- Feel free to experiment with different add-ins such as seeds or dried berries for varied flavors and textures.
- For a firmer chocolate bar, increase the amount of coconut oil slightly.
- Ensure the coconut oil is fully melted but not hot to prevent separation when mixing.
- Store the bars in the refrigerator to maintain their shape, especially in warmer climates.

