
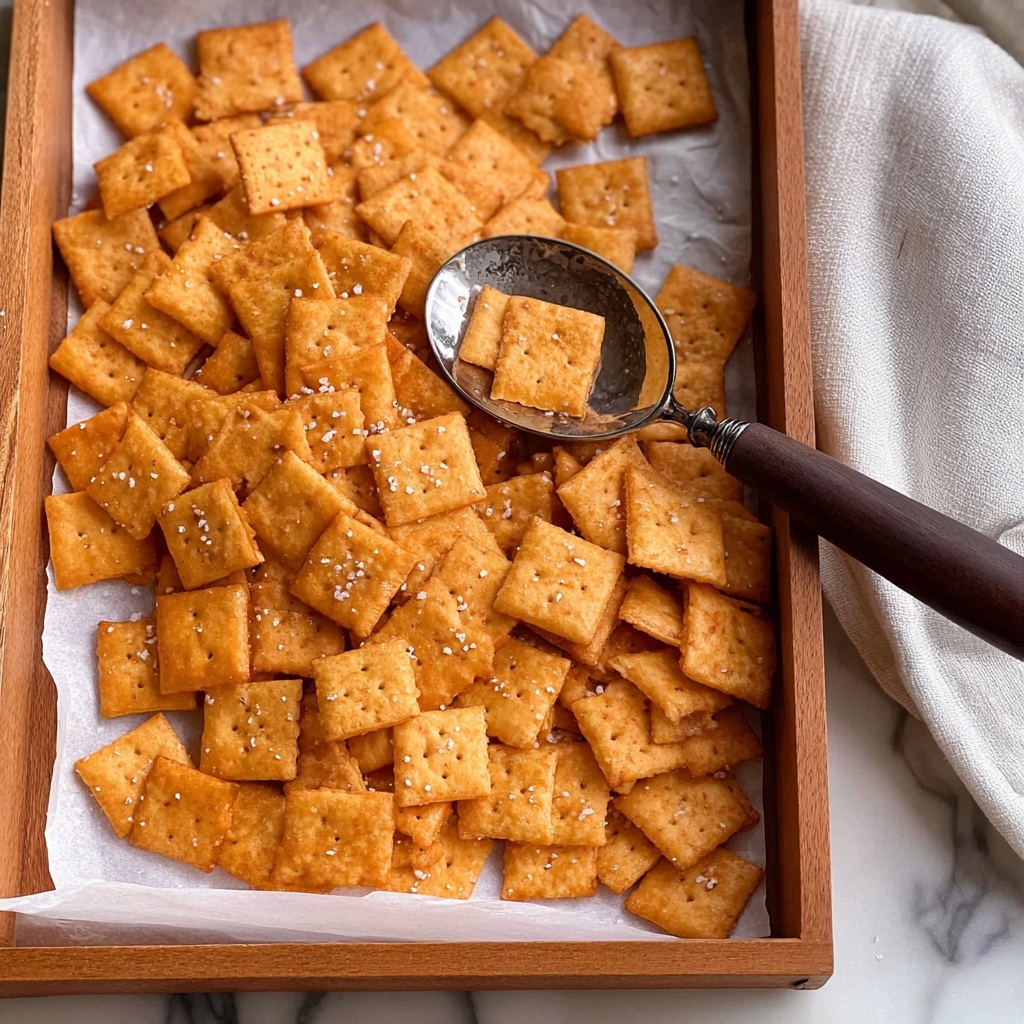
Nothing beats the satisfying crunch and bold cheesy flavor of a classic snack, and with this Homemade Cheez-Its Recipe, you can bring that joy right into your kitchen. Perfectly crisp and packed with sharp cheddar goodness, these little crackers are a delightful treat that’s simple to make and irresistibly delicious. Whether you’re craving a savory nibble for movie night or a charming snack to share with friends, this recipe transforms everyday ingredients into slices of cheesy heaven that you’ll want to make again and again.
Ingredients You’ll Need
The magic of this Homemade Cheez-Its Recipe lies in how few and straightforward the ingredients are, yet each one plays a crucial role in building the perfect flavor and texture. From the sharpness of cheddar to the tender crumb provided by cold butter, every component is essential for that authentic, crave-worthy bite.
- Sharp cheddar cheese: Using a full-flavored sharp cheddar gives these crackers their unmistakable cheesy punch.
- Unsalted butter: Cold and cubed butter ensures a flaky, tender texture when mixed into the dough.
- All-purpose flour: The backbone of the dough, providing structure and a perfect crisp finish.
- Salt: Enhances the flavors and balances the richness of the cheese and butter.
- Water: Added gradually to bind the dough without making it sticky, helping achieve the ideal consistency.
- Cayenne pepper (optional): A subtle touch of heat that brightens the savory flavor and adds depth.
How to Make Homemade Cheez-Its Recipe
Step 1: Prepare Your Oven and Baking Sheets
Start by preheating your oven to 350°F (175°C). This ensures it’s hot and ready to give your crackers that perfect golden crispness. Line two baking sheets with parchment paper to prevent sticking and make cleanup a breeze.
Step 2: Combine Cheese and Butter
In a large mixing bowl, toss together the grated sharp cheddar cheese and the cold cubed butter. Use your fingers or a pastry cutter to blend until the mixture looks like coarse crumbs. This step is crucial for distributing the fat evenly, which creates that flaky crumb everyone loves in a cheez-it.
Step 3: Add Dry Ingredients
Sprinkle in the all-purpose flour and salt into your cheesy butter mixture. If you like a little extra zing, now’s the time to add the optional cayenne pepper. Stir everything together until it’s well blended and starting to hold shape.
Step 4: Form the Dough
Gradually add the water, one tablespoon at a time, stirring and then kneading gently on a floured surface. The goal is a smooth, pliable dough that isn’t sticky. Be careful not to overwork it—you want it just combined for tender crackers.
Step 5: Roll and Cut the Dough
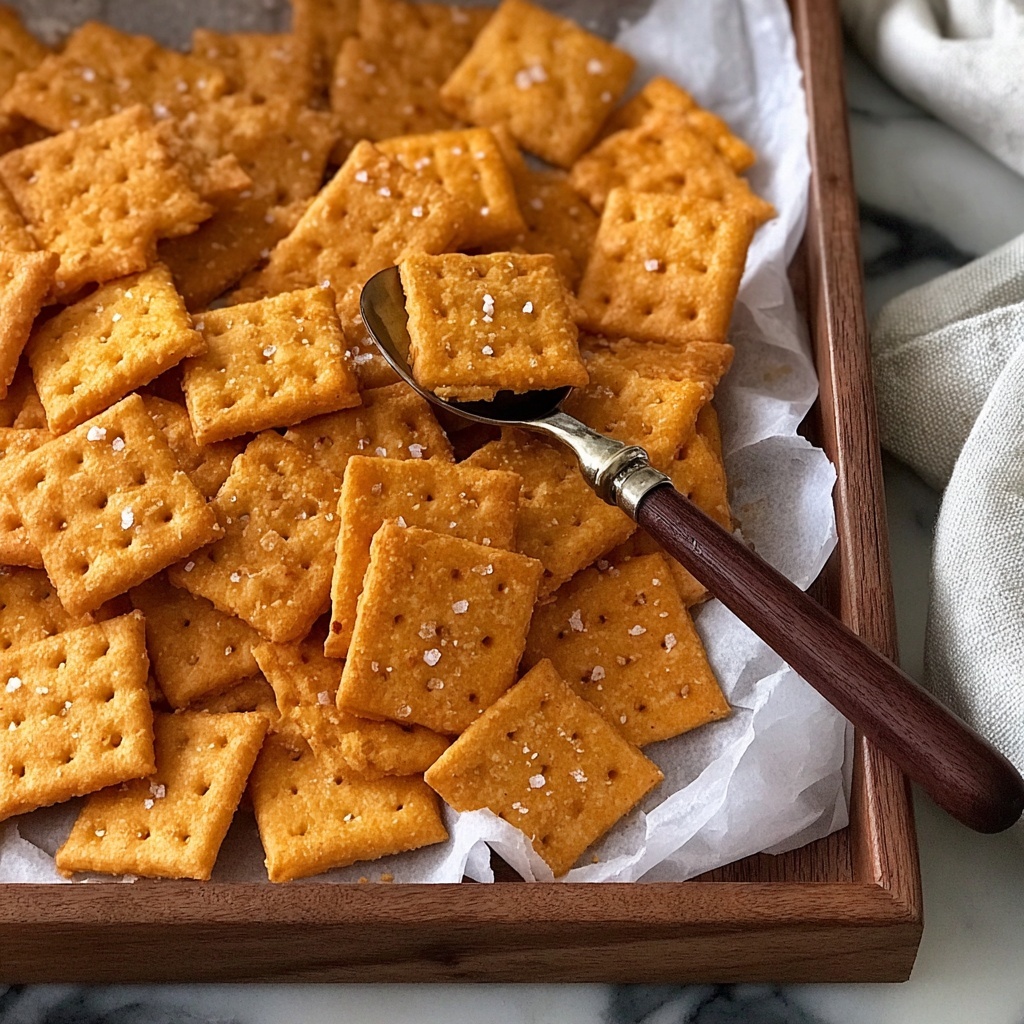
Roll out your dough thinly, about 1/8 inch thick, for that ideal crisp bite. Use a knife or pizza cutter to slice it into 1-inch squares, or get creative with your favorite shapes. Don’t forget to poke a small hole in each cracker to mimic that iconic cheez-it appearance and help them bake evenly.
Step 6: Bake to Perfection
Place your cut crackers on the prepared baking sheets and slide them into your preheated oven. Bake for 15-20 minutes, watching closely towards the end, until they turn a beautiful golden brown. Let them cool completely on a wire rack to firm up their crunch before diving in.
How to Serve Homemade Cheez-Its Recipe
Garnishes
While these crackers don’t necessarily need extra toppings, a light dusting of smoked paprika or a sprinkle of finely chopped herbs like chives can elevate their flavor wonderfully. A tiny bit of flaky sea salt on top before baking can also amplify the taste and add a delightful texture contrast.
Side Dishes
Serve your homemade Cheez-Its alongside a tangy spinach-artichoke dip or a creamy ranch dressing for a fun snacking experience. They also pair delightfully with a fresh veggie platter or a sharp cheddar and wine board, complementing a variety of flavors and occasions.
Creative Ways to Present
For parties or casual gatherings, try stacking these crackers in little homemade snack boxes or mason jars tied with a ribbon. You can also mix them into homemade trail mix with nuts and dried fruit for a savory twist that snacks lovers will adore. Their classic shape and color make them a charming addition to any snack display.
Make Ahead and Storage
Storing Leftovers
Once completely cooled, store your Homemade Cheez-Its in an airtight container at room temperature. This helps maintain their crispness and flavor for up to a week. Avoid refrigeration, as moisture can soften the crackers.
Freezing
If you want to make a big batch ahead of time, you can freeze the unbaked dough wrapped tightly in plastic wrap. When ready, thaw in the refrigerator overnight, roll out, cut, and bake as usual. Baked crackers don’t freeze well as they tend to lose their crunch.
Reheating
To refresh slightly softened crackers, pop them in a preheated oven at 300°F for 3-5 minutes. This will help revive their crispness without overbaking or burning.
FAQs
Can I use a different cheese instead of cheddar?
Absolutely! While sharp cheddar gives that classic cheese flavor, you can experiment with other cheeses like gouda, parmesan, or pepper jack for unique twists on the Homemade Cheez-Its Recipe. Just keep in mind that the texture and saltiness may vary.
How thin should I roll out the dough?
Rolling the dough to about 1/8 inch thick is key. This thickness ensures the crackers bake evenly and become perfectly crispy without being too fragile.
What’s the purpose of poking holes in the crackers?
Little holes prevent the crackers from puffing up too much while baking, helping them stay flat and crispy just like the original Cheez-Its.
Can I make this recipe gluten-free?
Yes, by substituting all-purpose flour with a gluten-free flour blend that measures cup-for-cup, you can adapt this recipe. Just be aware the texture might change slightly, sometimes becoming more delicate.
Is the cayenne pepper necessary?
Not at all. The cayenne pepper is optional and adds a subtle warmth that balances the cheese’s richness. If you prefer a mild flavor, feel free to leave it out without missing out on the overall deliciousness.
Final Thoughts
Honestly, there’s something so satisfying about pulling a fresh batch of these Homemade Cheez-Its Recipe crackers from your oven and biting into that perfect cheesy crunch. It’s a snack that brings smiles, nostalgia, and a little bit of homemade magic to any moment. I can’t wait for you to try making them yourself and experience how easy and rewarding it is to whip up your own batch of these classic treats at home.
Print
Homemade Cheez-Its Recipe
- Prep Time: 15 minutes
- Cook Time: 20 minutes
- Total Time: 35 minutes
- Yield: About 30 crackers
- Category: Snack
- Method: Baking
- Cuisine: American
- Diet: Vegetarian
Description
These homemade Cheez-Its are a deliciously cheesy and crispy snack that you can easily make in your oven. With sharp cheddar cheese, a hint of cayenne for optional spice, and a simple dough, these crackers are perfect for nibbling anytime and sure to impress with their homemade charm.
Ingredients
Cheese and Butter
- 1 cup sharp cheddar cheese, grated
- 1/2 cup unsalted butter, cold and cubed
Dry Ingredients
- 1 cup all-purpose flour
- 1/2 tsp salt
- 1/8 tsp cayenne pepper (optional)
Wet Ingredients
- 3 tbsp water (adjust as needed)
Instructions
- Preheat oven and prepare baking sheets: Preheat your oven to 350°F (175°C) and line two baking sheets with parchment paper to prevent sticking and to make cleanup easier.
- Combine cheese and butter: In a large mixing bowl, mix the grated sharp cheddar cheese and cold cubed unsalted butter until the mixture has a coarse crumb-like texture. This ensures that the butter is well distributed, creating a flaky cracker texture.
- Add dry ingredients: Stir in the all-purpose flour and salt thoroughly. If you want a little heat, add the optional cayenne pepper at this stage and mix evenly to distribute the flavor.
- Form the dough: Gradually add the water a tablespoon at a time, mixing each addition until a smooth dough forms. Knead gently on a floured surface to bring everything together without overworking the dough, which can toughen the crackers.
- Shape the crackers: Roll out the dough to about 1/8 inch thickness on a floured surface for even baking. Cut into small squares or your desired shapes using a knife or cookie cutter for classic Cheez-It shapes.
- Bake: Place the cut crackers onto the prepared baking sheets, spacing them slightly apart. Bake in the preheated oven for 15 to 20 minutes until they turn a beautiful golden brown, indicating crispiness. Let them cool completely on a wire rack before serving to allow them to set and become crisp.
Notes
- For extra flavor, you can sprinkle a little sea salt on top of the crackers before baking.
- Adjust water quantity slightly if the dough feels too dry or too sticky.
- Store cooled crackers in an airtight container to maintain crispness.
- You can experiment with different cheeses like sharp white cheddar or smoked cheddar for varied flavors.
- If you want perfect square crackers with edges, use a ruler or a pastry cutter for shaping.

