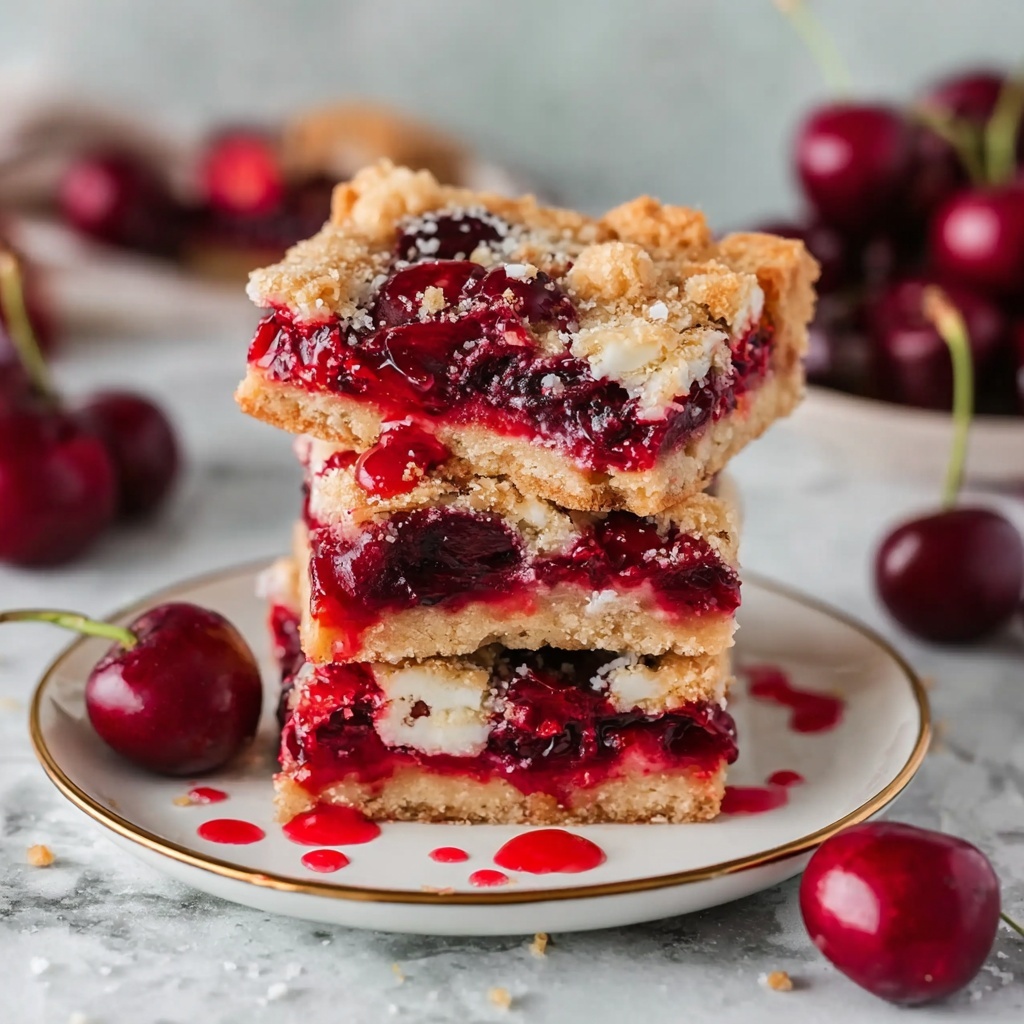
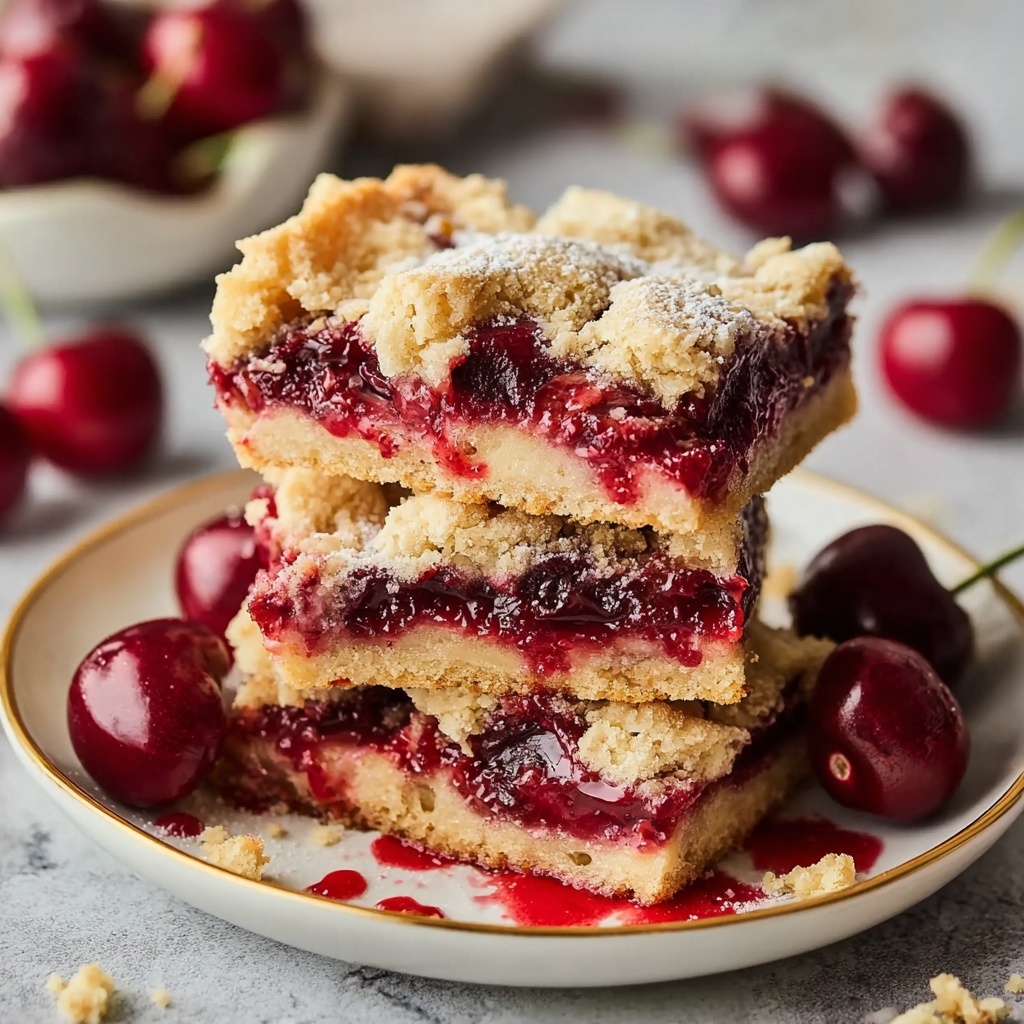
If you’ve been searching for a simple yet irresistibly delicious treat, this Easy Cherry Pie Bars Recipe is going to become your new go-to dessert. Imagine buttery, tender bars with a beautifully tangy cherry pie filling resting between layers of golden crust, finished off with a delicate glaze that adds the perfect touch of sweetness. These bars capture the essence of classic cherry pie but in a handheld, sliceable form that’s perfect for sharing or keeping all to yourself. Whether you’re baking for a family gathering, a cozy night in, or just because you deserve something special, this recipe delivers the perfect balance of flavor, texture, and nostalgia.

Ingredients You’ll Need
These ingredients are wonderfully simple, yet they come together to create an unforgettable bite. Each component plays a key role, from the rich butter that makes the crust ultra-flaky, to the tart cherry filling that brings that unmistakable pop of color and flavor. Let’s dive in and see what makes this Easy Cherry Pie Bars Recipe so easy and spectacular.
- Unsalted butter (1 cup / 2 sticks): Softened butter provides the tender, rich base for the crust and crumbly topping.
- Granulated sugar (1 ¾ cups): Adds just the right amount of sweetness to balance the tart cherries and buttery dough.
- Large eggs (4): Eggs give the bars structure and a light, cakey texture.
- Vanilla extract (1 ½ teaspoons): Enhances the flavor with warm, aromatic notes.
- All-purpose flour (3 cups): The backbone of the dough, creating that perfect tender yet sturdy crust.
- Salt (½ teaspoon): Just a pinch to intensify all the flavors.
- Cherry pie filling (1 can, 21 oz): Sweet and juicy, this filling is what makes these bars a cherry lover’s dream.
- Powdered sugar (1 cup)—optional glaze: For a sweet, smooth finish that makes these bars even more irresistible.
- Milk (1–2 tablespoons)—optional glaze: Thins the powdered sugar for perfect drizzling consistency.
- Vanilla or almond extract (½ teaspoon)—optional glaze: Adds a subtle twist to your glaze for extra flavor depth.
How to Make Easy Cherry Pie Bars Recipe
Step 1: Prepare Your Pan and Preheat the Oven
Start by setting your oven to 350°F (175°C). Grease a 9×13-inch baking dish or line it with parchment paper for easy removal later. This essential step ensures your bars won’t stick and keep their lovely shape.
Step 2: Cream Butter and Sugar
In a large bowl, cream together the softened butter and granulated sugar until the mixture is light, fluffy, and pale in color. This process is key for a tender, melt-in-your-mouth texture that you want for the crust.
Step 3: Add the Eggs and Vanilla
Beat in the eggs one at a time to create an even batter. Then stir in the vanilla extract, which adds that lovely warm aroma guests will love. This combination ensures your bars have richness and a depth of flavor.
Step 4: Combine Dry Ingredients
Gently stir in the flour and salt until just combined. Avoid over-mixing to keep the dough tender and crumbly rather than tough. What you get is a perfectly thick dough ready to be split for layers of flavor.
Step 5: Layer the Dough and Cherry Filling
Spread two-thirds of the dough evenly into your prepared baking dish. This base layer is what holds everything together. Then, spoon the cherry pie filling carefully over the dough, making sure it’s distributed nicely for that perfect sweet-tart bite every time.
Step 6: Top with Remaining Dough
Drop the remaining dough by spoonfuls over the cherry filling, creating a rustic, patchwork effect. This topping bakes into a golden, buttery finish that contrasts so beautifully with the luscious fruit beneath.
Step 7: Bake Until Golden
Bake for 35 to 40 minutes, or until the topping turns lightly golden and the center is set. When the bars come out of the oven, your kitchen will be filled with the most inviting cherry and vanilla aroma.
Step 8: Cool and Glaze
Allow the bars to cool completely before adding the optional glaze. To make the glaze, mix powdered sugar, milk, and vanilla or almond extract until smooth and drizzle it over the bars. This final touch melts perfectly into the surface and adds an extra dose of sweetness and shine.
How to Serve Easy Cherry Pie Bars Recipe
Garnishes
While these bars are fantastic just as they are, a sprinkle of chopped toasted almonds or a few fresh cherries on top can elevate the presentation beautifully. A dusting of powdered sugar also adds a delightful finishing touch that’s as pretty as it is delicious.
Side Dishes
Pair your cherry pie bars with a scoop of vanilla ice cream or a dollop of freshly whipped cream for a classic combo that guests adore. A cup of hot coffee or black tea also complements the sweet and tart flavors perfectly, balancing richness and freshness.
Creative Ways to Present
Serve these bars on a rustic wooden board for a cozy feel or on a bright, patterned plate for a pop of color. You can cut them into smaller bite-size squares for parties or keep larger slices for a satisfying dessert. They’re wonderfully versatile, ready to shine anywhere from casual picnics to fancy brunches.
Make Ahead and Storage
Storing Leftovers
Once cooled, store your cherry pie bars in an airtight container at room temperature for up to two days or in the refrigerator for up to a week. Keeping them covered will protect their tender crumb and juicy filling perfectly.
Freezing
You can freeze these bars to enjoy later by wrapping them tightly in plastic wrap and storing them in a freezer-safe bag or container. They’ll keep well for up to three months. Just thaw them overnight in the refrigerator for best results before serving.
Reheating
When you’re ready to enjoy your cherry pie bars, gently warm them in a 300°F oven for about 10 minutes to refresh the flavors and soften the texture. Avoid microwaving, which can sometimes make the crust too soft or chewy.
FAQs
Can I use fresh cherries instead of canned cherry pie filling?
Absolutely! If you prefer fresh cherries, cook them down with sugar and a bit of cornstarch until thickened to mimic the pie filling consistency. This adds a fresh, vibrant flavor, though the canned filling is a fantastic time-saver.
Is there a gluten-free version of the Easy Cherry Pie Bars Recipe?
Yes! Substitute the all-purpose flour with a gluten-free baking blend that can be used cup-for-cup. Just make sure the blend contains xanthan gum for structure, and you’ll have delicious gluten-free bars everyone will love.
Can I make the dough ahead of time?
You can prepare the dough a day in advance and keep it refrigerated. Just bring it back to room temperature before spreading it into the pan to ensure it’s easy to work with and bakes evenly.
How do I make the glaze thicker or thinner?
To adjust the glaze consistency, simply add more powdered sugar to thicken or more milk to thin it out. The goal is a smooth, drizzling consistency that clings to the bars nicely.
Can these bars be made vegan?
To make a vegan version, replace butter with a plant-based alternative and substitute eggs with flax or chia egg replacers. Make sure your cherry pie filling is free of animal products as well. The result will still be deliciously satisfying.
Final Thoughts
There’s something so comforting and joyful about baking from scratch, especially with a recipe as delightful and approachable as this Easy Cherry Pie Bars Recipe. Whether you’re a seasoned baker or just starting out, these bars offer a fantastic way to enjoy the flavors of cherry pie with less fuss and more fun. So grab your ingredients, turn on some music, and get ready to make a new favorite dessert that will have everyone asking for seconds.
Print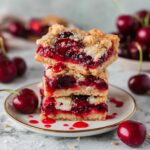
Easy Cherry Pie Bars Recipe
- Prep Time: 20 minutes
- Cook Time: 40 minutes
- Total Time: 1 hour
- Yield: 12 servings
- Category: Dessert
- Method: Baking
- Cuisine: American
Description
These Easy Cherry Pie Bars combine a buttery, tender crust with a sweet and tart cherry filling for a delightful dessert that’s simple to prepare. Perfectly baked to golden perfection and optionally topped with a smooth glaze, these bars are an ideal treat for any occasion.
Ingredients
Crust and Dough
- 1 cup (2 sticks) unsalted butter, softened
- 1 ¾ cups granulated sugar
- 4 large eggs
- 1 ½ teaspoons vanilla extract
- 3 cups all-purpose flour
- ½ teaspoon salt
Filling
- 1 (21 oz) can cherry pie filling
Optional Glaze
- 1 cup powdered sugar
- 1–2 tablespoons milk
- ½ teaspoon vanilla or almond extract
Instructions
- Preheat Oven: Preheat your oven to 350°F (175°C) and prepare a 9×13-inch baking dish by greasing it or lining it with parchment paper to prevent sticking.
- Cream Butter and Sugar: In a mixing bowl, cream together the softened butter and granulated sugar until the mixture is light and fluffy, which helps create a tender crust.
- Add Eggs and Vanilla: Beat in the eggs one at a time, ensuring each is fully incorporated before adding the next. Stir in the vanilla extract for added flavor.
- Combine Dry Ingredients: Gradually stir in the all-purpose flour and salt until just combined to form a thick, cohesive dough without overmixing to keep the texture tender.
- Spread Dough Base: Take two-thirds of the dough and spread it evenly into the bottom of the prepared baking dish, pressing lightly to form a uniform layer.
- Add Cherry Filling: Spoon the cherry pie filling evenly over the dough base, covering the entire surface.
- Add Top Dough Layer: Drop the remaining one-third of the dough by spoonfuls over the cherry filling, creating a rustic, crumbly top layer.
- Bake: Place the baking dish in the preheated oven and bake for 35 to 40 minutes, or until the bars are lightly golden around the edges and the center is set.
- Cool: Remove the bars from the oven and allow them to cool completely in the dish. This helps the filling set and makes slicing easier.
- Prepare and Add Glaze (Optional): In a small bowl, mix the powdered sugar with milk and vanilla or almond extract until smooth. Drizzle this glaze over the cooled bars for added sweetness and a pretty finish.
Notes
- Ensure butter is softened to room temperature for easier creaming with sugar.
- Do not overmix the dough once flour is added to maintain a tender texture.
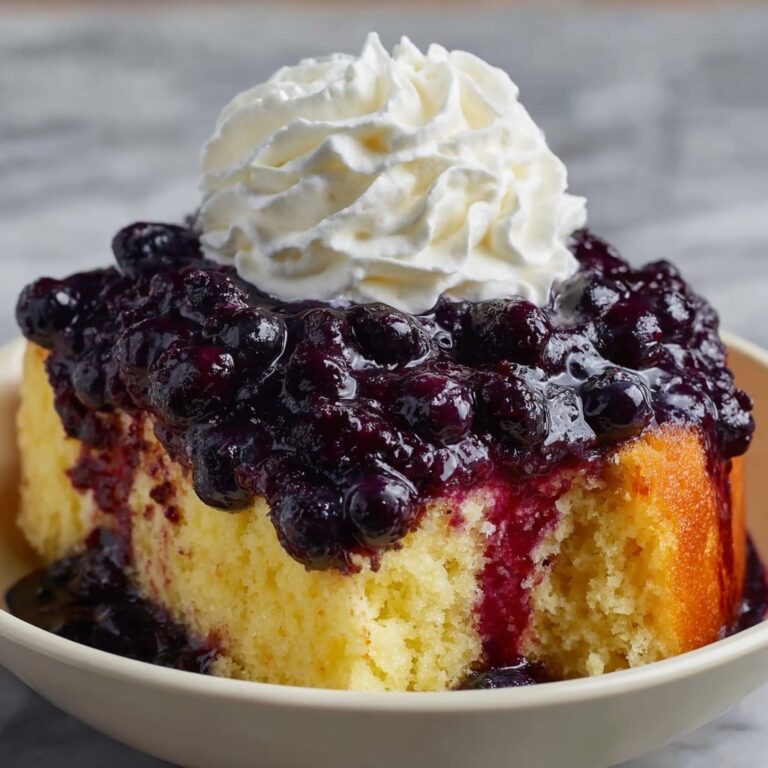
- Cherry pie filling can be substituted with other fruit fillings like blueberry or apple for variation.
- For a thicker glaze, use less milk; for thinner glaze, add a little more milk gradually.
- These bars can be stored in an airtight container at room temperature for up to 3 days or refrigerated for up to a week.

