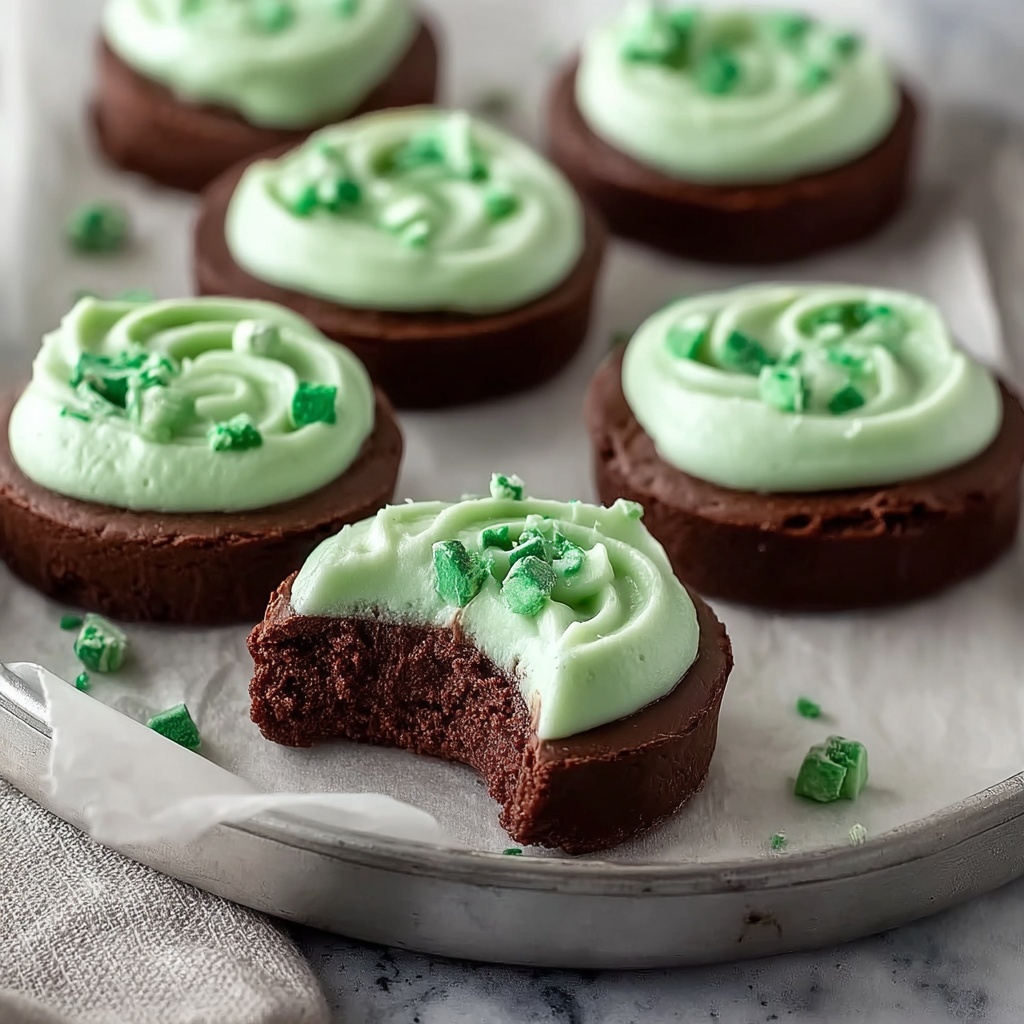
If you love the fresh zing of peppermint paired with rich, silky chocolate, you are going to fall head over heels for this Chocolate Mint Creams Recipe. These delightful, melt-in-your-mouth treats are a perfect balance of creamy sweetness and refreshing mint, all encased in a smooth chocolate shell. Whether you’re making them for a holiday gift, a special occasion, or just a little self-indulgence, this recipe is surprisingly simple yet impressively decadent. Let me take you through every step and share a few tips to make the process extra enjoyable and the results wonderfully satisfying.

Ingredients You’ll Need
Gathering your ingredients is the first fun step. The best part? Each one is straightforward and plays a crucial role in creating that perfect texture, flavor, and color that make these creams so irresistible.
- 2 cups semisweet chocolate chips: Choose good-quality chocolate for that rich, smooth coating every bite deserves.
- 2 tablespoons shortening: Helps to melt the chocolate evenly and gives a glossy finish to your coating.
- 2 teaspoons peppermint extract: The heart of the recipe, delivering that refreshing minty punch you crave.
- 2 cups confectioners’ sugar: For the sweet, creamy center that melts beautifully on your tongue.
- 2 tablespoons water: Binds the sugar and peppermint into a pliable cream that’s easy to shape.
- Green food coloring (optional): Adds a festive touch and a hint of classic minty color, but totally up to your style!
How to Make Chocolate Mint Creams Recipe
Step 1: Melt the Chocolate
Start by melting your semisweet chocolate chips together with the shortening in a microwave-safe bowl. Heat in 30-second bursts, stirring after each until the mixture is completely smooth. The shortening will give your chocolate coating a gorgeous shine and ensure a silky finish that snaps just right.
Step 2: Flavor the Chocolate
Once melted, stir in the peppermint extract carefully. This enhances the chocolate’s depth with a bright, fresh note that makes these creams so addictive. Make sure it’s evenly combined for consistent mint flavor in every bite.
Step 3: Prepare the Peppermint Creams
In a separate bowl, whisk together your confectioners’ sugar, water, and a few drops of green food coloring if you want that classic minty hue. Mix until smooth and soft but still firm enough to shape. This creamy center is where the magic happens, offering sweetness and that cooling peppermint taste.
Step 4: Shape the Creams
Using about a teaspoon of the peppermint mixture, roll it into small balls, then gently flatten them into discs. Place each one on waxed paper, and pop them into the refrigerator to chill until they’re firm enough to handle without losing their shape.
Step 5: Dip in Chocolate
Now for the fun part—dipping! Using a fork, carefully dip each peppermint disc into your melted chocolate, letting any excess drip off. This creates a thin, even coating that encases the cream perfectly. Set them back down on the waxed paper so they can chill again.
Step 6: Chill and Store
Refrigerate the dipped creams until the chocolate is fully set and glossy. Once firm, transfer your delicious creations to an airtight container and keep them refrigerated until you’re ready to enjoy or share.
How to Serve Chocolate Mint Creams Recipe
Garnishes
To elevate the presentation, sprinkle a tiny pinch of crushed peppermint candy or finely grated dark chocolate on top right after dipping. It adds a lovely texture and a festive look, perfect for gifting or a holiday dessert tray.
Side Dishes
Chocolate mint creams pair beautifully with a hot cup of coffee, strong black tea, or even a glass of cold milk. They also make a fabulous after-dinner treat alongside a fresh fruit platter, balancing sweet and refreshing flavors elegantly.
Creative Ways to Present
Try arranging these chocolates in mini cupcake liners for an elegant look, or gift them in a decorative box lined with parchment paper. You can also stack them in a clear jar tied with a ribbon for a charming, homemade present that anyone would adore.
Make Ahead and Storage
Storing Leftovers
Store any leftover Chocolate Mint Creams in an airtight container in the refrigerator to keep them fresh and prevent the chocolate from sweating. They’ll stay perfect for up to two weeks, so you can enjoy that mint-chocolate bliss whenever the craving strikes.
Freezing
If you want to save them longer, you can freeze these creams. Place them in a single layer on a baking sheet to freeze individually first, then transfer to a freezer-safe container. They’ll keep well for up to two months and thaw beautifully when brought back to room temperature.
Reheating
Because these are chocolate-coated confections, reheating is not generally recommended. Instead, just let frozen creams thaw in the fridge or at room temperature before enjoying to keep the texture perfect.
FAQs
Can I use other kinds of chocolate for the coating?
Absolutely! While semisweet chocolate is traditional, you can experiment with milk or dark chocolate chips depending on your sweetness preference. Just adjust the peppermint accordingly to keep the balance right.
Is there a substitute for shortening in the recipe?
You can use coconut oil as a substitute for shortening, which will give a subtle coconut flavor but achieve a similar smooth and shiny chocolate coating.
How can I make the peppermint creams less sweet?
Reducing the confectioners’ sugar isn’t ideal because it affects the texture of the cream. Instead, you might try adding a tiny pinch of salt to balance the sweetness without compromising the mint cream’s consistency.
Can these be made dairy-free or vegan?
Yes! Choose dairy-free chocolate chips and a vegan shortening or coconut oil, and make sure your confectioners’ sugar is vegan-friendly. The results are just as delicious and inclusive for different diets.
What’s the best way to shape the peppermint creams if I don’t want sticky hands?
Lightly dust your hands with powdered sugar or wear food-safe gloves to make rolling the peppermint cream easier. It keeps the mixture from sticking and helps create smooth, even discs.
Final Thoughts
This Chocolate Mint Creams Recipe is truly a gem to add to your homemade candy repertoire. It’s a joy to make and even more delightful to share, bringing smiles with every bite of that perfect chocolate and mint harmony. I hope you dive in and make these treats soon—they’re bound to become a seasonal favorite or maybe even an anytime indulgence.
Print
Chocolate Mint Creams Recipe
- Prep Time: 30 minutes
- Cook Time: 20 minutes
- Total Time: 50 minutes
- Yield: Approximately 24 chocolates
- Category: Dessert
- Method: No-Cook
- Cuisine: American
Description
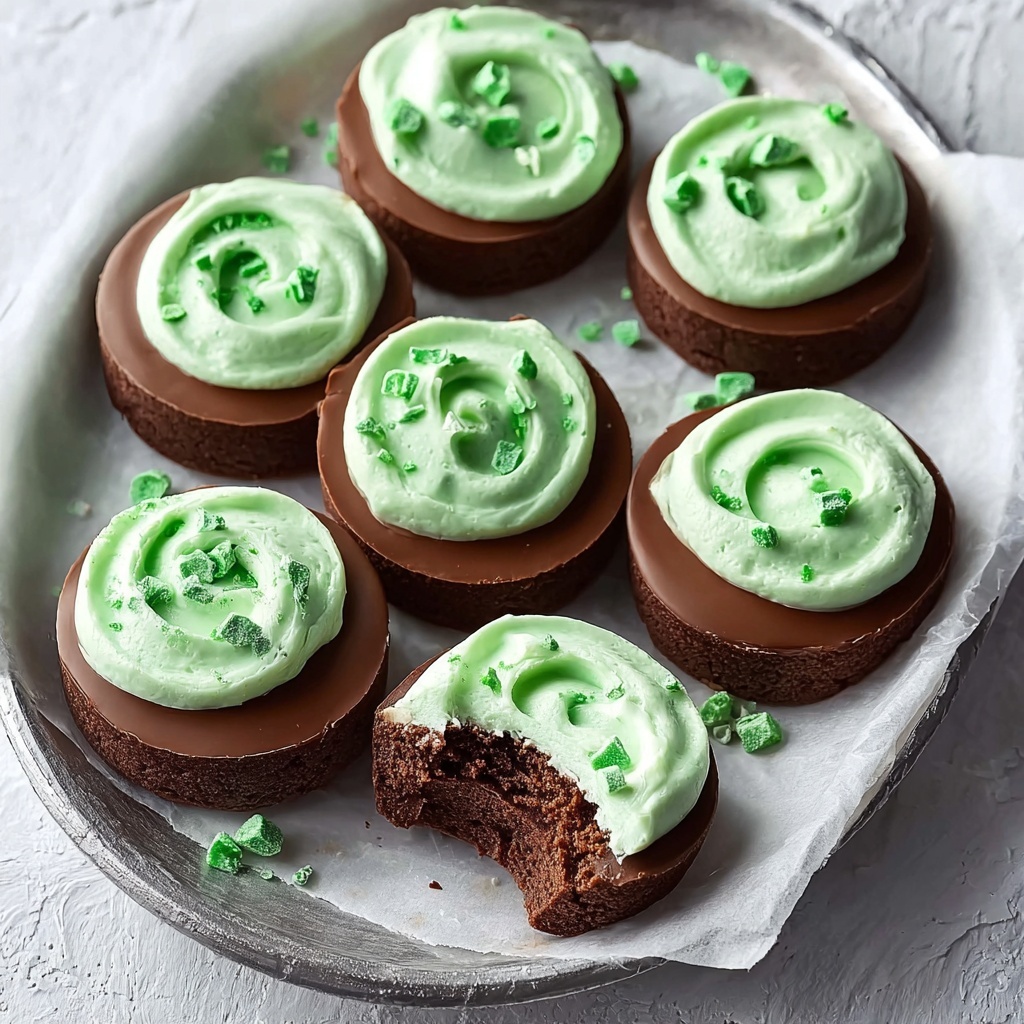
Delight in these homemade Chocolate Mint Creams, featuring smooth semisweet chocolate shells filled with a refreshing peppermint cream center. Perfect for holidays and special occasions, these bite-sized treats combine rich chocolate and cool mint flavors with an optional festive green tint.
Ingredients
Chocolate Coating
- 2 cups semisweet chocolate chips
- 2 tablespoons shortening
- 2 teaspoons peppermint extract
Mint Cream Filling
- 2 cups confectioners’ sugar
- 2 tablespoons water
- Green food coloring (optional)
Instructions
- Melt Chocolate: In a microwave-safe bowl, melt the chocolate chips and shortening in 30-second intervals, stirring thoroughly after each interval until the mixture is smooth and fully melted.
- Add Peppermint Extract: Stir the peppermint extract into the melted chocolate until it is well combined, infusing the chocolate with a fresh mint flavor.
- Prepare Mint Cream Filling: In a separate bowl, combine the confectioners’ sugar, water, and a few drops of green food coloring if desired. Mix thoroughly until the mixture forms a smooth, pliable cream.
- Shape Filling: Roll the peppermint cream mixture into small balls approximately 1 teaspoon each in size. Flatten each ball gently into a disc shape. Place these discs on waxed paper and refrigerate them until they become firm to the touch.
- Coat with Chocolate: Using a fork, carefully dip each chilled peppermint cream disc into the melted chocolate, coating it completely. Allow any excess chocolate to drip off before placing the coated creams back onto waxed paper.
- Chill to Set: Refrigerate the chocolate-coated creams until the chocolate hardens completely. Store finished chocolates in an airtight container in the refrigerator to maintain freshness and firmness.
Notes
- Shortening is used to help the chocolate coating set with a smooth texture and shine.
- Green food coloring is optional but adds a festive touch to the peppermint cream center.
- Ensure the peppermint creams are fully chilled and firm before dipping to avoid deformation.
- Store chocolates in a cool place to prevent melting, ideally in the refrigerator.
- Use waxed paper for easy removal of chocolates without sticking.


