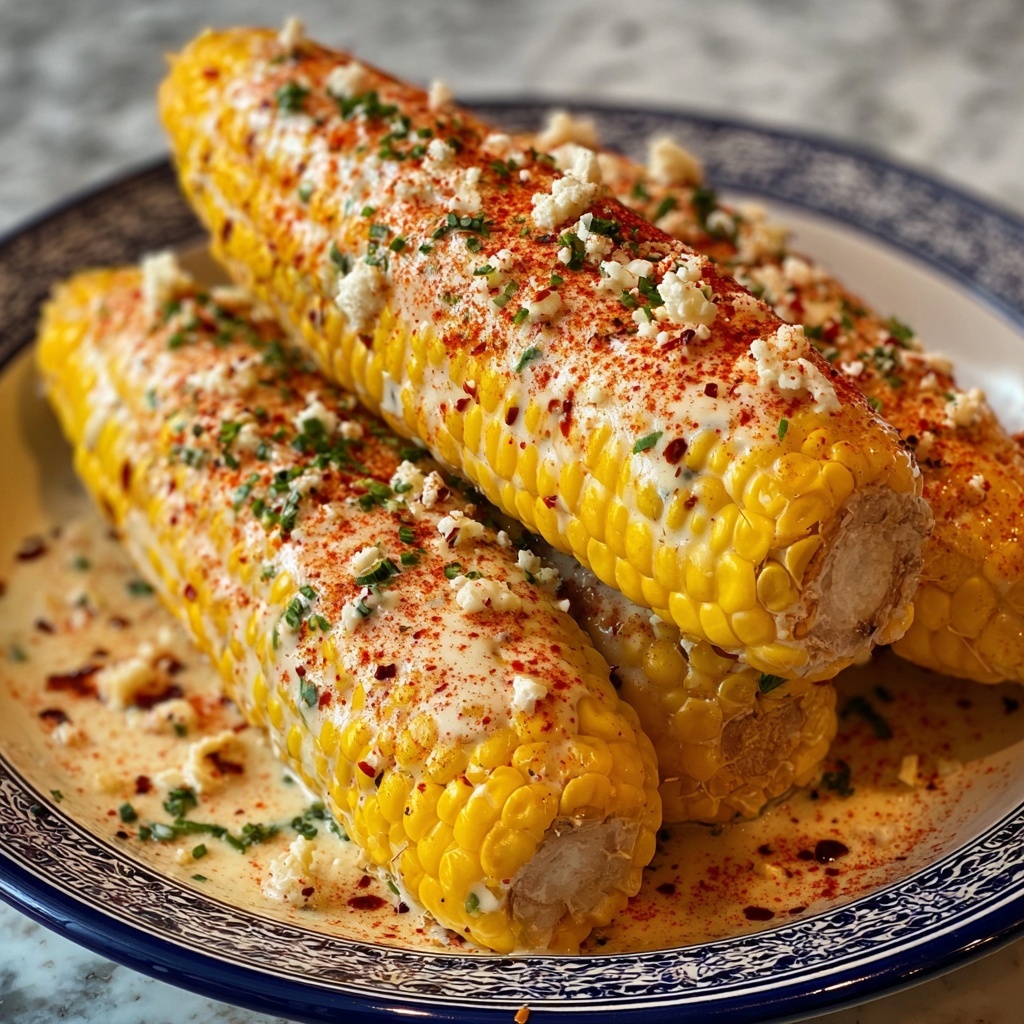
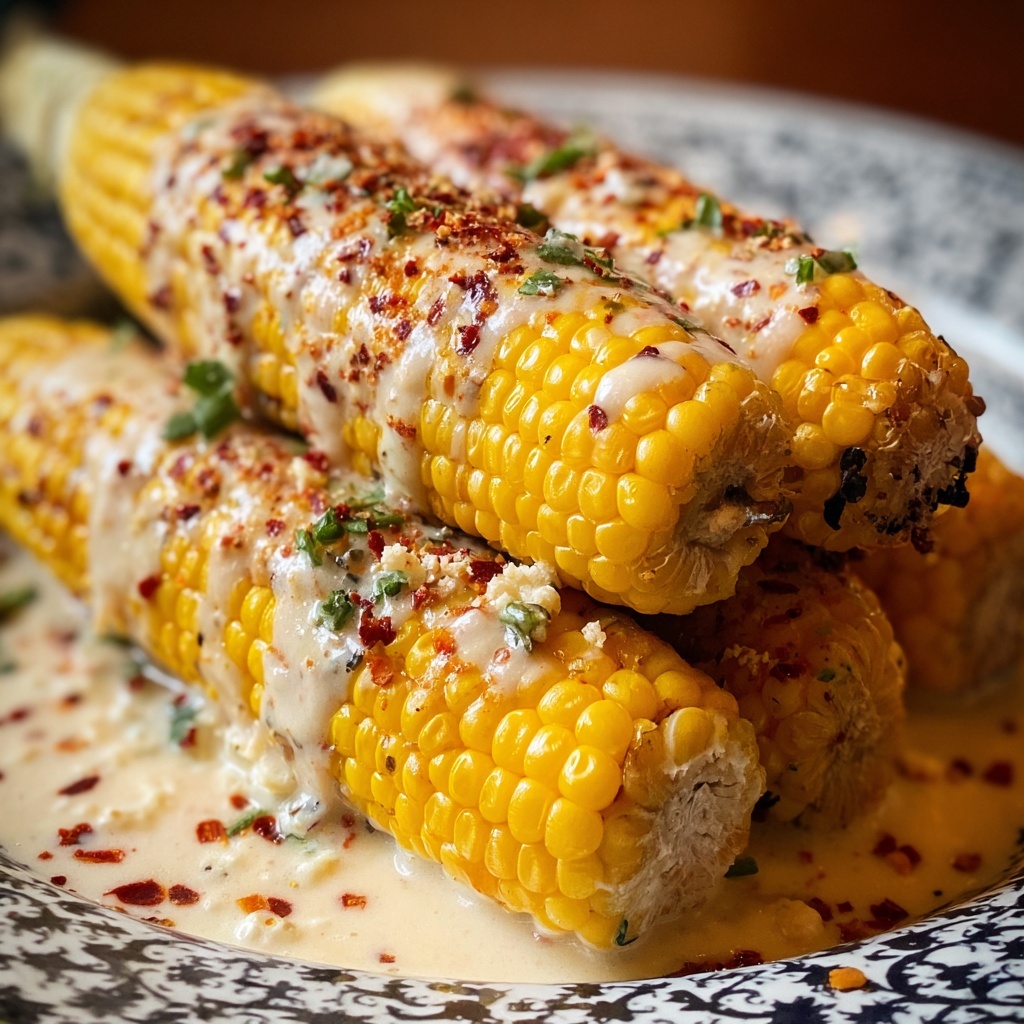
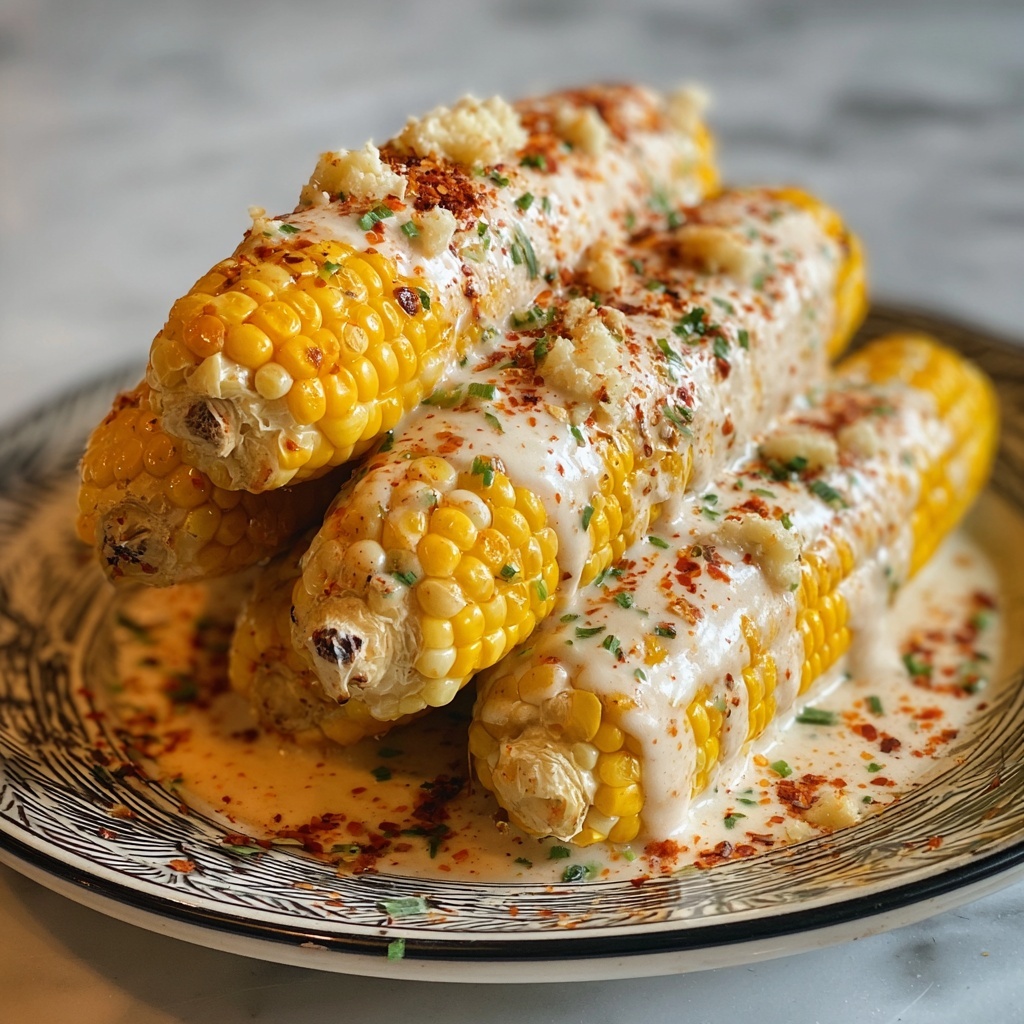
If you’re looking for a mouthwatering, irresistibly flavorful side dish, this Cheesy Garlic Butter Corn on the Cob Recipe is about to become your new go-to. Picture sweet, tender corn kissed by garlicky, buttery goodness and topped with ooey-gooey melted cheeses—all wrapped up in a quick, simple recipe that transforms everyday corn into a star at any meal. Whether you’re grilling for a summer barbecue or boiling for a cozy dinner, this dish brings comfort and bright flavor together in every bite.
Ingredients You’ll Need
The beauty of this Cheesy Garlic Butter Corn on the Cob Recipe lies in its simple, well-chosen ingredients. Each element enhances the corn’s natural sweetness while adding layers of richness, brightness, and that perfect savory punch. With these essentials in your kitchen, you’re just minutes away from a truly delectable treat.
- 4 ears of corn, husked: Fresh corn is the star of this dish; the fresher, the sweeter and juicier your corn on the cob.
- 1/4 cup butter, melted: Butter brings creamy richness that carries the garlic, spices, and cheese perfectly.
- 2 cloves garlic, minced: Fresh garlic infuses the butter with savory warmth that elevates the entire dish.
- 1/2 teaspoon salt: Salt balances sweetness and enhances all the other flavors beautifully.
- 1/4 teaspoon pepper: A mild pepper kick adds subtle depth without overpowering the corn.
- 1/2 cup grated Parmesan cheese: Parmesan provides a sharp, nutty layer that melts smoothly on warm corn.
- 1/4 cup shredded mozzarella cheese: Mozzarella adds stretchy, melty creaminess that’s pure indulgence.
- Fresh parsley, chopped (for garnish): A sprinkle of fresh parsley brings a pop of color and fresh herbal brightness.
How to Make Cheesy Garlic Butter Corn on the Cob Recipe
Step 1: Prepare Your Corn
Start by husking the ears of corn, removing all the silk so you have clean, fresh kernels ready for cooking. This simple prep step ensures that your corn cooks evenly, allowing every juicy bite to soak up the garlic butter and cheese later on.
Step 2: Cook the Corn
You can choose your preferred method here: to boil, bring a large pot of water to a rolling boil and submerge the ears, cooking them for 8 to 10 minutes until tender and sweet. If grilling, preheat your grill to medium-high and place the corn directly on the grates, turning occasionally for about 10 to 12 minutes, until lightly charred and full of smoky flavor. Both methods guarantee a delicious base for your cheesy garlic butter topping.
Step 3: Make the Garlic Butter
While the corn cooks, melt your butter and mix in the freshly minced garlic, salt, and pepper. This simple mixture becomes the flavor powerhouse that will elevate your corn to gourmet status. The warm butter helps to release the garlic’s aroma and evenly distributes the seasoning once brushed onto the corn.
Step 4: Brush with Garlic Butter
Once the corn is hot and tender, generously brush each ear with your prepared garlic butter. This step ensures every kernel glistens with buttery goodness, locking in flavor and moisture while creating the perfect base for the cheeses.
Step 5: Add the Cheeses
Sprinkle your grated Parmesan and shredded mozzarella onto the hot corn immediately after buttering. Because the corn is still warm, the cheeses melt into a dreamy, gooey layer that hugs every kernel, adding irresistible texture and richness to each bite.
Step 6: Garnish and Serve
Finish by scattering freshly chopped parsley over the top. Not only does this fresh herb add a vibrant pop of color, but it also lends a light, herbal contrast that brightens the rich flavors. Serve your cheesy garlic butter corn on the cob right away for the best experience.
How to Serve Cheesy Garlic Butter Corn on the Cob Recipe
Garnishes
Fresh parsley is a classic choice to sprinkle over your cheesy garlic butter corn on the cob, but you can also try finely chopped chives or a dash of smoked paprika for a subtle, smoky sweetness. These small touches add visual appeal and layer extra flavor dimensions.
Side Dishes
This corn on the cob pairs beautifully with grilled meats like steak or chicken, or alongside fresh garden salads and creamy coleslaw. For a true feast, consider complementary sides such as roasted potatoes or a tangy tomato salsa. The buttery, cheesy corn is rich enough to hold its own but versatile enough to enhance any meal.
Creative Ways to Present
Want to wow your guests? Serve your cheesy garlic butter corn on the cob in individual small baskets lined with colorful napkins, or stand ears upright in a rustic wooden tray for charming presentation. You can also cut the kernels off the cob after cooking and toss them with extra cheese and herbs for a crowd-friendly corn salad.
Make Ahead and Storage
Storing Leftovers
If you have leftovers, wrap them tightly in plastic wrap or aluminum foil and store in the refrigerator. They will stay fresh for up to 2 days, but keep in mind the corn’s texture is best enjoyed freshly made.
Freezing
Freezing corn on the cob after adding garlic butter and cheese isn’t recommended because the texture of the corn and cheeses can become grainy or watery when thawed. If you want to freeze, store the plain cooked corn with no toppings for best results.
Reheating
To reheat, place your corn on a baking sheet, cover with foil and warm in a 350°F oven for about 10 minutes. You can also use a microwave, covering the corn to trap moisture and heating in short bursts until warmed through. Add additional butter and cheese if you want to refresh that freshly served appeal.
FAQs
Can I make this recipe without garlic?
Absolutely! While garlic adds wonderful flavor, you can omit it and still enjoy delicious buttery, cheesy corn. Consider adding herbs like thyme or basil for a different twist.
Is it better to grill or boil the corn?
Both methods work wonderfully. Boiling keeps it extra juicy and tender, while grilling adds smoky flavor and beautiful char marks. Choose based on your mood and available equipment!
Can I use different cheeses?
Definitely. Parmesan and mozzarella are classic, but try sharp cheddar for a robust bite, or cotija cheese for a tangy Mexican flair. Mix and match to suit your taste.
How do I prevent the cheese from clumping?
Sprinkle the cheese onto the corn while it’s still hot so it melts smoothly. Also, using finely grated cheese helps it melt faster and more evenly without clumping.
Is this recipe suitable for a vegetarian diet?
Yes! This Cheesy Garlic Butter Corn on the Cob Recipe contains no meat or animal products beyond dairy and butter, fitting well within vegetarian guidelines. For a vegan version, swap butter and cheese with plant-based alternatives.
Final Thoughts
There’s something truly magical about a recipe that’s so simple yet packed with layers of flavor and comfort, and this Cheesy Garlic Butter Corn on the Cob Recipe does exactly that. It’s the kind of side dish that steals the show and brings smiles around the table. I can’t wait for you to make it, savor every buttery, garlicky, cheesy bite, and add it to your list of favorites too!
Print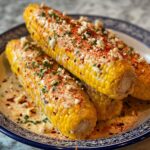
Cheesy Garlic Butter Corn on the Cob Recipe
- Prep Time: 5 minutes
- Cook Time: 10 minutes
- Total Time: 15 minutes
- Yield: 4 servings
- Category: Side Dish
- Method: Grilling
- Cuisine: American
Description
This Cheesy Garlic Butter Corn on the Cob recipe delivers a rich and flavorful side dish perfect for any meal. Corn is cooked either by boiling or grilling, then generously brushed with a savory garlic butter blend and topped with melted Parmesan and mozzarella cheeses. Finished with fresh parsley, this dish is quick, easy, and irresistibly delicious.
Ingredients
Corn
- 4 ears of corn, husked
Garlic Butter
- 1/4 cup butter, melted
- 2 cloves garlic, minced
- 1/2 teaspoon salt
- 1/4 teaspoon pepper
Cheese
- 1/2 cup grated Parmesan cheese
- 1/4 cup shredded mozzarella cheese
Garnish
- Fresh parsley, chopped (for garnish)
Instructions
- Preheat Grill or Boil Water: If grilling, preheat your grill to medium-high heat. Alternatively, bring a large pot of water to a boil for boiling the corn.
- Cook Corn: For boiling, place husked corn in boiling water and cook for 8–10 minutes until tender. For grilling, place corn on the grill and cook for 10–12 minutes, turning occasionally to ensure even char and tenderness.
- Prepare Garlic Butter: While the corn is cooking, mix melted butter with minced garlic, salt, and pepper until well combined.
- Brush Corn with Garlic Butter: Once the corn is cooked and still hot, generously brush each ear with the prepared garlic butter, ensuring full coverage.
- Add Cheese: Sprinkle grated Parmesan and shredded mozzarella evenly over the hot buttered corn to allow the cheese to melt slightly.
- Garnish and Serve: Finish by garnishing with freshly chopped parsley. Serve immediately while warm and enjoy.
Notes
- Grilling adds a smoky flavor and a delicious char to the corn, but boiling is a great alternative for a softer texture.
- For a spicier twist, add a pinch of chili powder or cayenne pepper to the garlic butter.
- Use fresh garlic for best flavor; garlic powder can be used in a pinch but will be less vibrant.
- Parmesan cheese adds a sharp, nutty flavor while mozzarella contributes creaminess — adjust the ratios to your taste.
- This recipe can be easily doubled or tripled for larger gatherings.
- To keep the corn warm while preparing multiple ears, wrap cooked corn in foil.
