
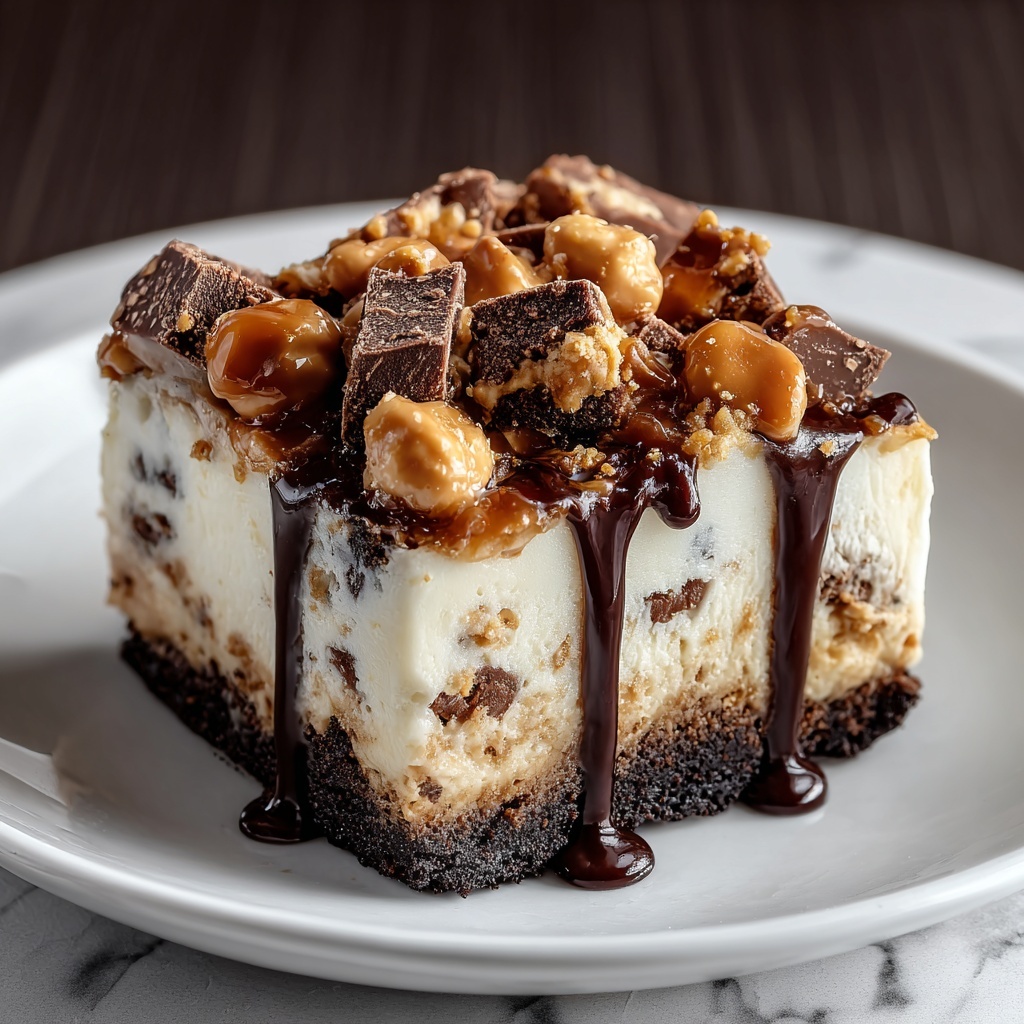
If you are looking for a dessert that combines nostalgic candy bar crunch with a luscious, creamy texture, the Butterfinger Candy Bar Poke Cake Recipe is your dream come true. This cake’s rich chocolate or vanilla base gets infused with a decadent pudding filling, while chopped Butterfinger bars add an irresistible crunch topping. Every slice delivers a perfect balance of sweet, creamy, and crunchy, making it a guaranteed crowd-pleaser for any occasion or simple treat-yourself moment.
Ingredients You’ll Need
The magic behind this Butterfinger Candy Bar Poke Cake Recipe is in its straightforward but thoughtfully chosen ingredients. Each component plays a vital role—whether it’s the lightness of the whipped topping, the dense creaminess from the pudding, or the satisfyingly crunchy Butterfinger pieces that elevate every bite.
- 1 box chocolate or vanilla cake mix: The base of your cake, providing moistness and flavor with ease.
- 1 package instant pudding mix (vanilla or chocolate): This turns into the luscious filling that seeps into your cake.
- 2 cups cold milk: Needed to whisk the pudding mix into that perfect creamy texture.
- 1 can (14 oz) sweetened condensed milk: Adds richness and a touch of extra sweetness to the filling.
- 1 tub (8 oz) whipped topping (Cool Whip), thawed: Offers light fluffiness, keeping the filling airy and smooth.
- 4–5 Butterfinger candy bars, chopped: The star topping that delivers a sensational crunch and peanut butter flavor.
- Butter and sugar: Optional, to enrich the cake or for extra sweetness if you desire.
- Peanut butter: Perfect for drizzling and amplifying that peanutty candy bar vibe.
- Caramel sauce: Adds a luscious finish and complements the butterfinger crunch beautifully.
How to Make Butterfinger Candy Bar Poke Cake Recipe
Step 1: Bake the Cake
Start by preparing your boxed cake mix according to the package instructions—moisture, temperature, and timing are key here. Pour the batter into a greased 9×13-inch pan to ensure it doesn’t stick, then bake as directed. When the cake is ready, allow it to cool until it’s warm but easy to handle. This temperature is perfect for the next step so the filling can soak in just right.
Step 2: Poke Holes in the Cake
Grab the handle of a wooden spoon or a regular skewer and poke holes all over the surface of the warm cake. Don’t be shy—space them evenly for the filling to deeply penetrate, turning every bite irresistibly moist and flavorful. These holes transform a simple cake into a dreamy, filling-infused sensation.
Step 3: Prepare the Filling
In a mixing bowl, whisk the instant pudding mix and cold milk until the mixture thickens beautifully. Then, stir in the sweetened condensed milk, mixing thoroughly to blend the flavors and achieve that extra creamy richness. Finally, gently fold in the thawed whipped topping to keep this filling light, airy, and irresistible.
Step 4: Pour Filling Over Cake
Slowly spoon or pour the pudding mixture across the cake, letting it seep into every hole you poked earlier. Be generous and patient to cover the entire surface so the cake absorbs maximum flavor. This step is key—because it elevates the simple cake to a stunning layered dessert with every forkful bursting with creamy goodness.
Step 5: Chill and Apply Toppings
Cover your masterpiece with plastic wrap and let it rest in the refrigerator for at least 2 hours. This chilling time allows the filling to set perfectly. Just before serving, sprinkle a generous amount of chopped Butterfinger candy bars on top to provide that signature crispy, peanut buttery crunch that makes this poke cake unforgettable.
How to Serve Butterfinger Candy Bar Poke Cake Recipe
Garnishes
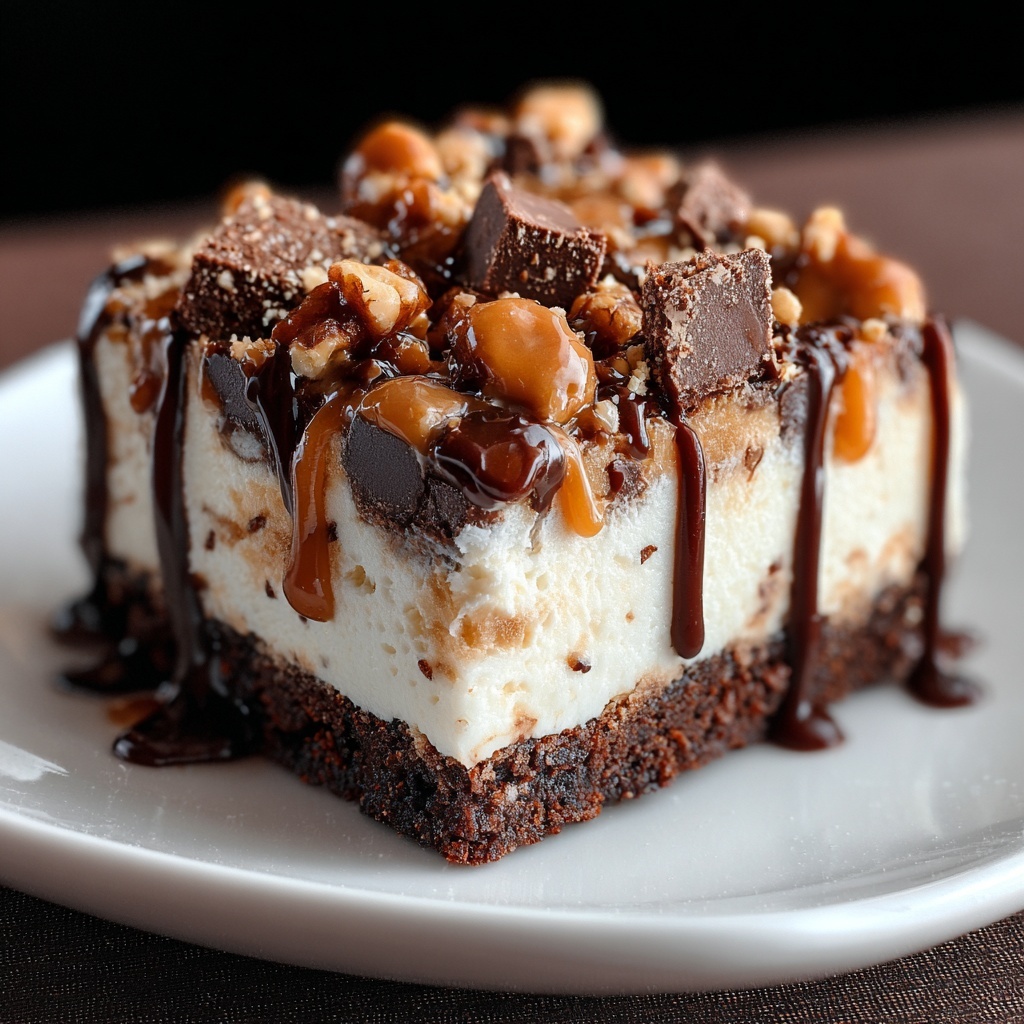
For the ultimate showstopper presentation, drizzle some smooth peanut butter and caramel sauce over the chopped Butterfinger topping. These final touches add glossy appeal and deepen the flavor profile, turning your cake into a dessert everyone will be eager to dive into right away.
Side Dishes
Serve the Butterfinger Candy Bar Poke Cake Recipe alongside fresh berries or a light vanilla ice cream to balance its richness. Alternatively, a cup of strong coffee or milk perfectly complements the sweetness, creating a cozy and satisfying experience whether it’s a casual gathering or a special celebration.
Creative Ways to Present
Looking to wow your guests? Present individual servings in clear dessert cups layered with the poke cake, a dollop of whipped cream, and an extra Butterfinger garnish. Or assemble mini poke cakes using cupcake tins for a fun, portable option that still delivers that indulgent Butterfinger magic.
Make Ahead and Storage
Storing Leftovers
Once made, the Butterfinger Candy Bar Poke Cake Recipe keeps well in the refrigerator for up to 3 days. Store it in an airtight container or cover tightly with plastic wrap to preserve moisture and prevent the toppings from absorbing fridge odors.
Freezing
While fresh is best, you can freeze the cake before adding the whipped topping and candy bar pieces. Wrap the cake tightly in plastic wrap and foil, then freeze for up to 2 months. Thaw in the refrigerator overnight, then add the toppings fresh for the best texture and flavor.
Reheating
This cake is ideal served chilled, so reheating is not recommended. If you prefer warmer cake, gently warm a single slice in the microwave for about 10 seconds, but avoid overheating to preserve its moist softness and creamy filling.
FAQs
Can I use homemade cake instead of boxed cake mix?
Absolutely! A moist homemade chocolate or vanilla cake works wonderfully in this Butterfinger Candy Bar Poke Cake Recipe. Just ensure it’s baked in a 9×13-inch pan and cooled enough to poke holes and absorb the filling evenly.
What variations can I try with the pudding filling?
Vanilla and chocolate pudding are classic choices, but you can get creative with butterscotch or peanut butter pudding for unique flavors that still complement the Butterfinger bars perfectly.
Can I substitute the Butterfinger candy bars with other candies?
While Butterfinger bars provide a uniquely crispy, peanut buttery crunch, similar candy bars like Heath or Butterfingers’ close cousins can be used if you’re after a different texture or flavor profile.
How long should the cake chill before serving?
At least 2 hours of refrigeration is essential for the filling to set deeply into the cake and for the flavors to meld deliciously together. Overnight chilling is even better if you want a show-stopping texture.
Is this cake suitable for kids’ parties?
Definitely! The Butterfinger Candy Bar Poke Cake Recipe is a huge hit with kids thanks to its sweet, creamy filling and crunchy candy topping. Just be sure to serve it with care to avoid sticky fingers!
Final Thoughts
There is something truly magical about the way the Butterfinger Candy Bar Poke Cake Recipe combines ease, flavor, and fun texture. It’s a treat to make and an even bigger joy to share with friends and family. Once you try it, this poke cake will easily become one of your favorite go-to desserts for celebrating life’s sweetest moments—so go ahead and dive in, you won’t regret it!
Print
Butterfinger Candy Bar Poke Cake Recipe
- Prep Time: 20 minutes
- Cook Time: 40 minutes
- Total Time: 3 hours 30 minutes
- Yield: 12 servings
- Category: Dessert
- Method: Baking
- Cuisine: American
Description
This Butterfinger Candy Bar Poke Cake is a delightfully rich and creamy dessert featuring a moist chocolate or vanilla cake base filled with a luscious vanilla or chocolate pudding mixture. The cake is ‘poked’ to allow the creamy filling to seep through each bite, then topped with crunchy chopped Butterfinger candy bars, and drizzled with peanut butter and caramel sauce for an irresistible combination of textures and flavors.
Ingredients
Cake Base
- 1 box chocolate or vanilla cake mix (plus ingredients needed according to box instructions)
- Butter and sugar (optional, for extra richness in cake base)
Filling
- 1 package instant pudding mix (vanilla or chocolate)
- 2 cups cold milk
- 1 can (14 oz) sweetened condensed milk
- 1 tub (8 oz) whipped topping (Cool Whip), thawed
Toppings
- 4–5 Butterfinger candy bars, chopped
- Peanut butter (for drizzle)
- Caramel sauce (for drizzling)
Instructions
- Bake the Cake: Prepare the boxed cake mix according to the package instructions. Pour the batter into a greased 9×13-inch baking pan and bake as directed. Once baked, allow the cake to cool slightly until it is warm but manageable to handle.
- Poke Holes in the Cake: Using the handle of a wooden spoon or a skewer, poke holes evenly spaced across the entire surface of the warm cake. These holes help the filling absorb into every bite, enhancing moisture and flavor.
- Prepare the Filling: In a mixing bowl, whisk the instant pudding mix with 2 cups of cold milk until it thickens. Then stir in the sweetened condensed milk until fully combined. Gently fold in the thawed whipped topping, mixing carefully to maintain a light and fluffy texture.
- Pour Filling Over Cake: Slowly pour or spoon the creamy pudding mixture evenly over the surface of the cake, making sure it seeps into all the poke holes and covers the surface completely to maximize flavor absorption.
- Chill and Apply Toppings: Cover the cake with plastic wrap and refrigerate for at least 2 hours to allow the filling to set properly. Before serving, sprinkle chopped Butterfinger candy bars generously over the top to provide a crunchy finish. Drizzle with peanut butter and caramel sauce if desired.
Notes
- Use a 9×13-inch pan for optimal cake thickness and cooking time.
- Ensure the cake is warm when poking holes to allow filling to absorb better.
- For an extra rich cake base or topping, brush melted butter and sprinkle sugar before baking or after filling.
- Chilling the cake is important to let the pudding filling set completely.
- Feel free to adjust the drizzle amounts to preference or substitute with chocolate syrup.


