
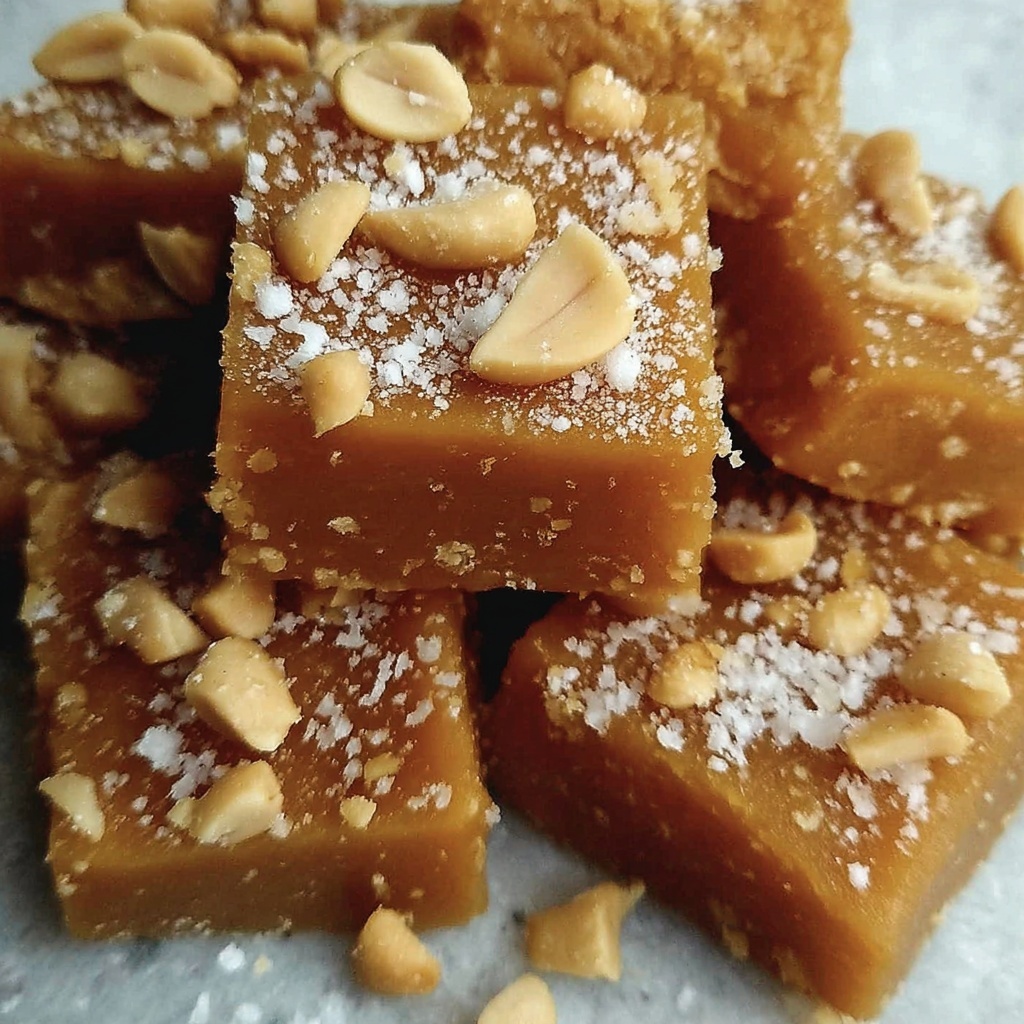
If you have a sweet tooth and love the rich, nutty flavors of Brazil, you are going to be absolutely thrilled with this Brazilian Peanut Candy: No-Bake Treat Recipe. It combines the crunch of roasted peanuts with the smooth creaminess of condensed milk and peanut butter, resulting in a deliciously addictive snack you can whip up without ever turning on the stove. This no-bake delight is perfect for when you want something sweet, straightforward, and utterly satisfying, making it a favorite for gatherings or simply treating yourself.
Ingredients You’ll Need
This Brazilian Peanut Candy: No-Bake Treat Recipe calls for simple, accessible ingredients that each play an important role in creating the perfect balance of texture, flavor, and appearance. From the nuttiness of roasted peanuts to the sweet creaminess of condensed milk, every element contributes wonderfully to the final result.
- 2 cups roasted, skinless peanuts (opt for unsalted): Provides the rich, crunchy base and intense peanut flavor integral to this candy.
- 1 cup Marie biscuits (plain tea biscuits can be substitutes): Adds a subtle sweetness and crumbly texture that complements the peanuts perfectly.
- 1 can condensed milk (can use coconut cream for dairy-free option): Brings sweetness and creamy moisture, binding the mixture together flawlessly.
- 1/2 cup sugar (consider reducing if using sweetened condensed milk): Enhances sweetness and helps form a sturdy candy texture.
- 1/2 cup peanut butter (choose between creamy or crunchy): Intensifies the peanut taste and adds luscious creaminess to the mix.
- 1/2 cup crushed peanuts (adjust quantity based on preference): Offers extra crunch and a beautiful finished look when sprinkled on top.
- 1 sheet parchment paper (for lining the baking dish): Keeps the candy from sticking and allows for easy removal after chilling.
How to Make Brazilian Peanut Candy: No-Bake Treat Recipe
Step 1: Prepare the Baking Dish
Start by lining your baking dish with a sheet of parchment paper. This simple step is essential because it prevents the candy from sticking to the dish, helping you lift it out in perfect squares later on without any hassle.
Step 2: Blend the Base Ingredients
Next, take your roasted peanuts and Marie biscuits, and blend them together until they’re finely ground. This creates the base texture of your candy that’s both crumbly and nutty, setting the stage for the delicious flavors to come.
Step 3: Add the Sweetness
Now, add the sugar to your ground mix and pulse it again until everything is combined evenly. The sugar helps to sweeten and give some structure to the final treat, working beautifully with the other ingredients.
Step 4: Mix in the Creamy Elements
Pour in the condensed milk and peanut butter next. Stir or pulse until you form a cohesive, dough-like mixture that’s sticky enough to hold together but still pliable for pressing into the dish.
Step 5: Shape and Chill
Press this peanutty dough evenly into your lined baking dish. Be sure to pack it down firmly so the candy sets with a good compact texture. Sprinkle crushed peanuts on top for that irresistible crunch, pressing them gently into the surface so they stick well.
Step 6: Refrigerate
Pop your baking dish into the refrigerator for at least one hour to let the candy chill and firm up. For the best flavor and texture, leaving it overnight is even better—plus, it’s an easy make-ahead step!
Step 7: Cut and Store
After chilling, lift the candy slab out using the parchment paper. Cut into bite-sized squares, and store them in an airtight container to keep them fresh and delicious for days.
How to Serve Brazilian Peanut Candy: No-Bake Treat Recipe
Garnishes
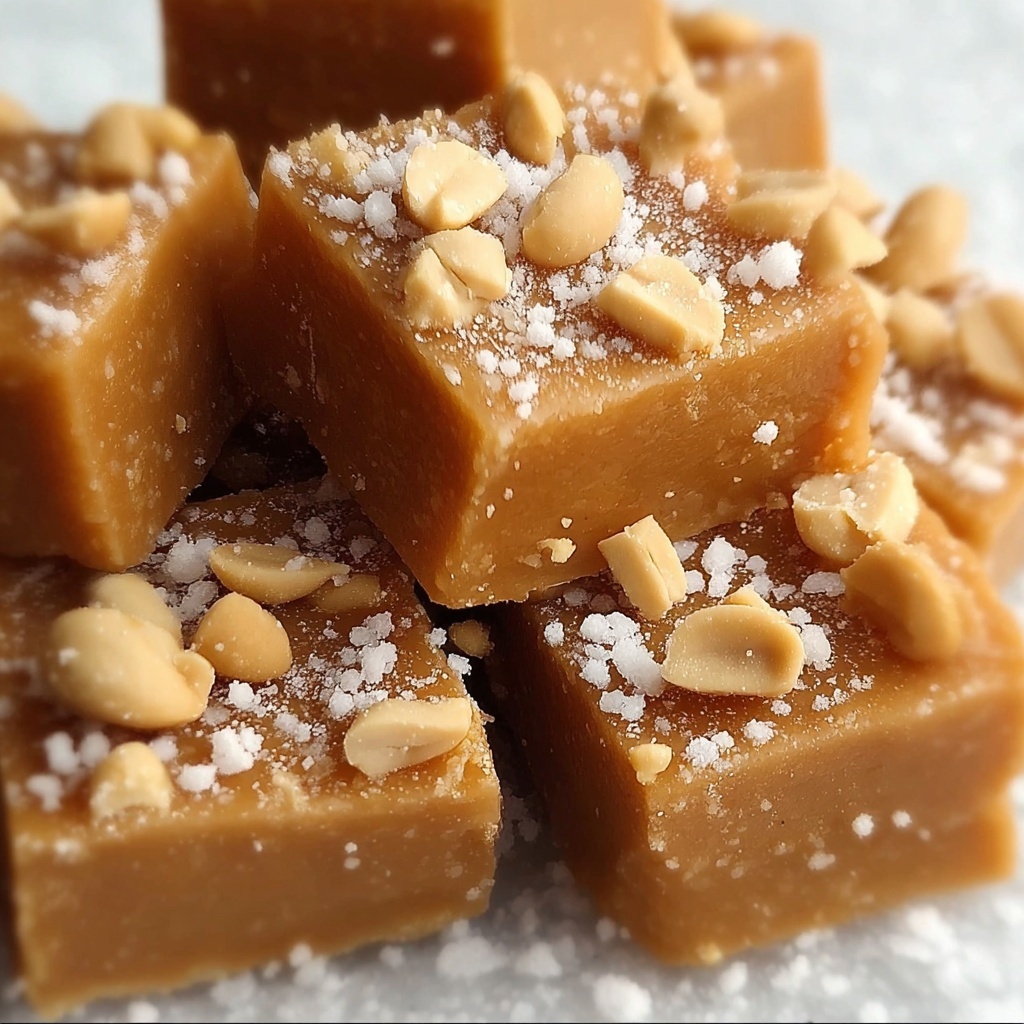
While the crushed peanuts on top already add an exciting crunch, you can get creative by sprinkling a little sea salt for contrast or dusting some cocoa powder for a hint of chocolatey richness. A drizzle of melted chocolate is also fantastic for an extra indulgent touch.
Side Dishes
This candy pairs beautifully with a hot cup of coffee or tea, making it a perfect afternoon pick-me-up. You can also serve it alongside fresh fruit or a simple scoop of vanilla ice cream for a balanced dessert experience that marries nutty sweetness with refreshing flavors.
Creative Ways to Present
For parties or gift-giving, try presenting your Brazilian Peanut Candy: No-Bake Treat Recipe in small, colorful cupcake liners or wrapped individually in parchment paper tied with twine. This makes each piece feel special and adds charm to your homemade sweets.
Make Ahead and Storage
Storing Leftovers
Keep any leftover Brazilian Peanut Candy in an airtight container at room temperature if your kitchen is cool, or store it in the refrigerator to maintain freshness. It retains its flavor and texture wonderfully for up to a week.
Freezing
You can freeze the candy to enjoy later by wrapping individual pieces in plastic wrap and placing them in a sealed freezer bag. They freeze well for up to three months. When ready to eat, thaw them in the refrigerator to avoid condensation ruining the texture.
Reheating
Since this is a no-bake treat, reheating isn’t necessary or recommended. It’s best enjoyed chilled or at room temperature to preserve that perfect chewy-crunchy consistency that makes this recipe so irresistible.
FAQs
Can I use salted peanuts instead of unsalted?
Yes, but be mindful that salted peanuts can alter the sweetness balance. If you prefer a slightly savory note, salted peanuts will add a lovely contrast, but adjust the sugar quantity accordingly to avoid it becoming overly sweet.
Is there a dairy-free option for this recipe?
Absolutely! Substitute the condensed milk with coconut cream or a dairy-free sweetened condensed milk alternative. This will still provide creaminess and sweetness while keeping the recipe vegan-friendly and lactose-free.
How crunchy is the final candy?
The candy has a delightful balance of textures — it’s chewy and firm but also features crunchy bits from the roasted peanuts both inside and sprinkled on top. This mix of textures is part of what makes this Brazilian Peanut Candy so special.
Can I use crunchy peanut butter instead of creamy?
You sure can! Using crunchy peanut butter will add more texture and nutty chunks inside the candy, enhancing the overall crunchiness. If you prefer a smoother texture, go for creamy peanut butter.
How long does it take to set?
Chilling the candy for at least one hour is enough for it to firm up, but leaving it overnight yields the best texture and flavor. The longer chill time helps the flavors meld and the candy become perfectly sliceable.
Final Thoughts
There is something genuinely wonderful about making and sharing the Brazilian Peanut Candy: No-Bake Treat Recipe. It’s simple to prepare, wonderfully tasty, and perfect for any occasion when you want a little something sweet without fuss. I encourage you to try making this treat soon — once you do, it might just become one of your favorite go-to recipes to impress friends and satisfy your own sweet cravings!
Print
Brazilian Peanut Candy: No-Bake Treat Recipe
- Prep Time: 20 minutes
- Cook Time: 0 minutes
- Total Time: 1 hour 20 minutes
- Yield: 12 servings
- Category: Dessert
- Method: No-Cook
- Cuisine: Brazilian
- Diet: Vegetarian
Description
This delicious Brazilian peanut candy is a no-bake treat that’s easy to make and perfect for peanut lovers. Combining roasted peanuts, Marie biscuits, condensed milk, and peanut butter, this sweet and crunchy dessert is chilled to perfection for a rich and satisfying bite. Ideal as a homemade snack or dessert, it requires minimal ingredients and effort.
Ingredients
Dry Ingredients
- 2 cups roasted, skinless peanuts (unsalted preferred)
- 1 cup Marie biscuits (or plain tea biscuits)
- 1/2 cup sugar (adjust based on sweetness preference)
- 1/2 cup crushed peanuts (for topping)
Wet Ingredients
- 1 can condensed milk (or coconut cream for a dairy-free alternative)
- 1/2 cup peanut butter (creamy or crunchy)
Other
- 1 sheet parchment paper (for lining the baking dish)
Instructions
- Prepare the baking dish: Line a baking dish with parchment paper to ensure the candy does not stick and can be easily removed later.
- Grind peanuts and biscuits: Use a blender or food processor to finely ground the roasted peanuts and Marie biscuits until they have a consistent texture.
- Combine sugar: Add the sugar to the ground mixture and pulse again until everything is well incorporated and uniform.
- Add liquids: Mix in the condensed milk and peanut butter thoroughly until the mixture forms a dough-like consistency that can be pressed.
- Press mixture into dish: Evenly press the dough into the prepared baking dish, ensuring the surface is smooth and compact.
- Add crushed peanuts: Sprinkle the crushed peanuts on top of the pressed mixture and gently press them into the surface to adhere.
- Chill the candy: Place the dish in the refrigerator and chill for at least one hour, or overnight to enhance the flavor and firmness of the candy.
- Cut and serve: Once set, remove the candy from the baking dish using the parchment paper, cut into squares, and store in an airtight container.
Notes
- For a dairy-free option, substitute the condensed milk with thick coconut cream.
- You can adjust the sugar quantity according to your preference or based on the sweetness of the condensed milk used.
- Use crunchy peanut butter for added texture or creamy for a smoother candy.
- Store the candy in an airtight container in the refrigerator to maintain freshness.
- This candy does not require baking, making it simple and quick to prepare.


