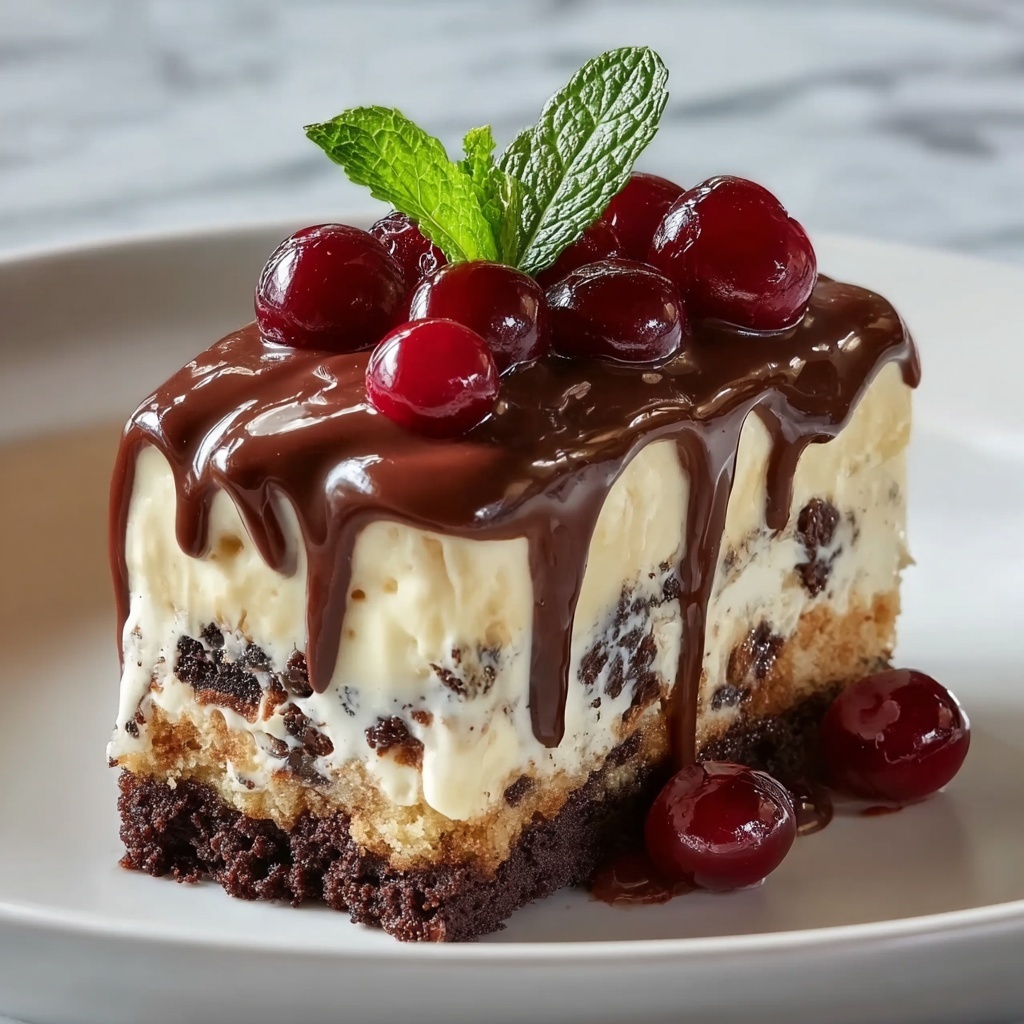
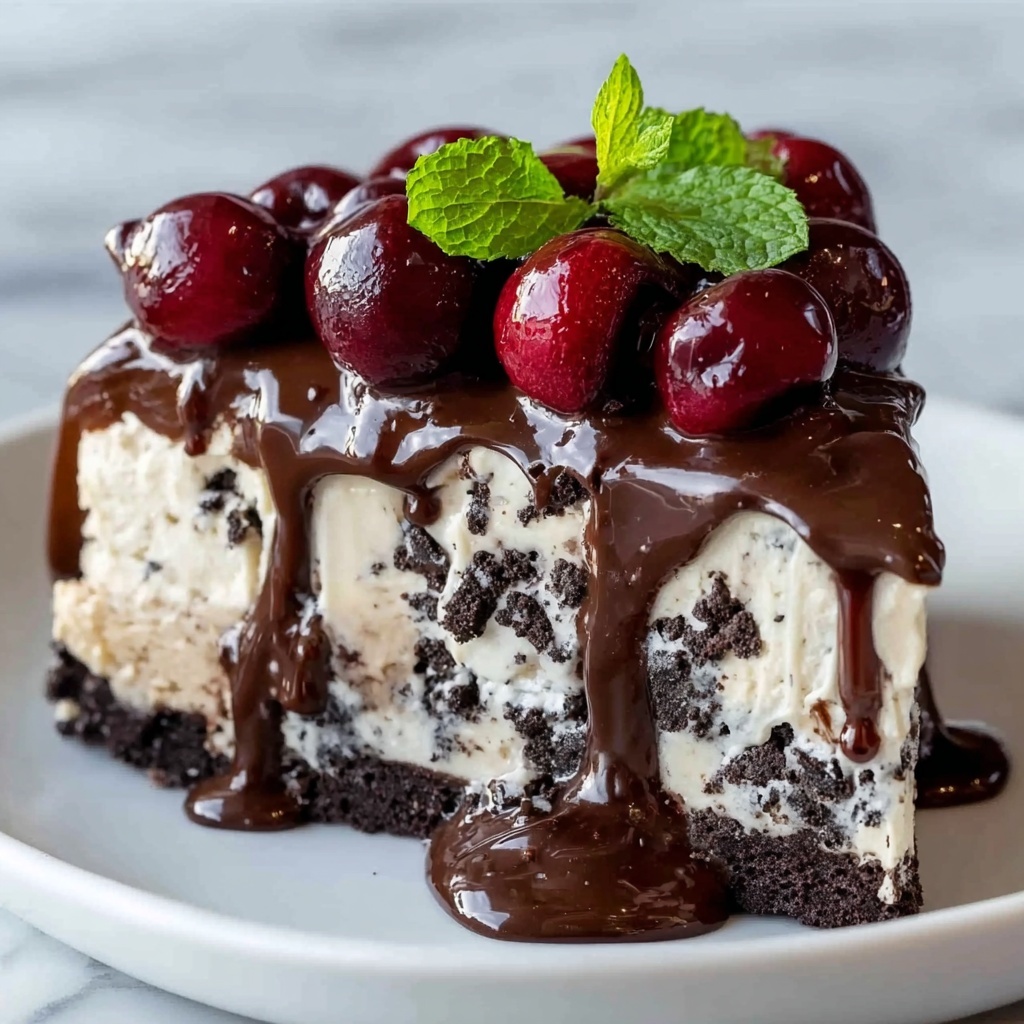
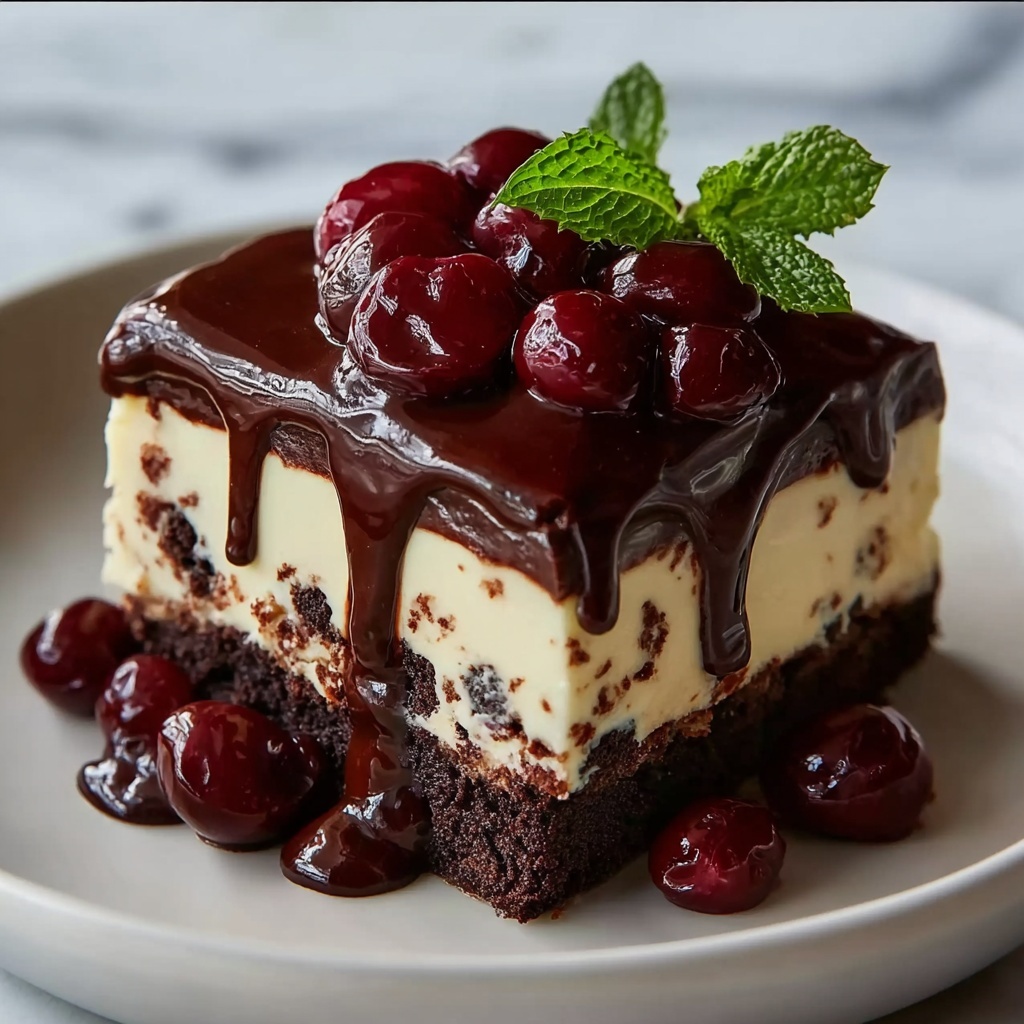
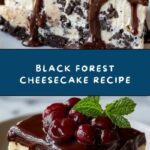
If you are ready to indulge in a dessert that perfectly balances rich chocolate, smooth cheesecake, and luscious cherries, then this Black Forest Cheesecake Recipe is your new best friend in the kitchen. Imagine biting into a creamy cocoa-infused cheesecake resting on a chocolate cookie crust, all topped with vibrant cherry pie filling and fluffy whipped cream—every forkful is a celebration of classic flavors reinvented with a luxurious twist. This recipe captures the heart of the traditional Black Forest cake but in a decadently creamy, sliceable cheesecake form that’s bound to wow your family and friends.
Ingredients You’ll Need
Gathering the right ingredients is crucial, and with this recipe, simple staples transform into an unforgettable dessert. Each ingredient plays a key role—whether adding texture, depth, or brightness—so make sure to use fresh, quality products for the best results.
- Chocolate cookie crumbs: They create a sturdy, crunchy crust that holds all the creamy filling perfectly in place.
- Granulated sugar: Sweetens the crust and filling just right, balancing the tart cherries and the cocoa powder.
- Unsalted butter: Melted to bind the crust crumbs together, providing richness without overpowering flavors.
- Cream cheese: The star of the cheesecake, softened for a smooth and creamy texture that’s essential to every bite.
- Unsweetened cocoa powder: Adds a deep chocolate flavor that beautifully contrasts with the cherries’ tartness.
- Eggs: They help give structure to the cheesecake while keeping it silky and dense.
- Sour cream and heavy cream: These add moisture and a slight tanginess that lifts the chocolate and cherry flavors.
- Vanilla and almond extract: Infuse the filling with warm, aromatic notes that enhance the overall depth.
- Cherry pie filling or homemade cherry topping: The crowning jewel that delivers sweet-tart bursts of juicy fruit.
- Heavy whipping cream, powdered sugar, and vanilla extract: Whipped into clouds of cream to add a light, airy finish.
- Chocolate shavings: The final touch for texture and visual delight.
How to Make Black Forest Cheesecake Recipe
Step 1: Prepare the Crust
Preheat your oven to 325 degrees Fahrenheit and grease a 9-inch springform pan, wrapping it with foil to prevent leaks. Combine the chocolate cookie crumbs, sugar, and melted butter in a bowl, then press this mixture firmly into the bottom of the pan. Bake for 8 to 10 minutes to set the crust, then remove and allow it to cool slightly — this step ensures a crisp base that supports the luscious cheesecake filling.
Step 2: Make the Filling
In a large bowl, beat the softened cream cheese with sugar until it reaches a smooth, creamy consistency. Blend in the unsweetened cocoa powder completely to infuse the filling with chocolate richness. Add the eggs one at a time, gently mixing after each addition to maintain the perfect texture. Stir in sour cream, heavy cream, vanilla, and almond extracts for that classic flavor harmony.
Step 3: Bake the Cheesecake
Pour your silky filling over the cooled crust in the springform pan. Place the pan inside a larger roasting pan and pour hot water halfway up the sides to create a water bath — this gentle cooking method prevents cracks and keeps the cheesecake creamy. Bake for 60 to 70 minutes until the center is mostly set but has a slight jiggle.
Step 4: Cool and Chill
Turn off the oven and leave the door slightly open, allowing the cheesecake to cool gradually for about an hour. This slow cooling step helps prevent cracks and keeps the texture perfect. Afterward, refrigerate the cheesecake for at least 4 hours or overnight to let the flavors develop fully and the texture firm up beautifully.
Step 5: Add the Topping
Once chilled, spread an even layer of cherry pie filling over the top, creating that signature Black Forest cherry finish. Whip the heavy cream with powdered sugar and vanilla until stiff peaks form, then dollop or pipe onto the cheesecake. Finally, sprinkle chocolate shavings on top to add texture and an elegant touch that makes the dessert irresistible.
How to Serve Black Forest Cheesecake Recipe
Garnishes
For a picture-perfect presentation, fresh cherries with stems make a stunning garnish alongside the whipped cream peaks. A dusting of cocoa powder or extra chocolate shavings can add a fanciful edge, turning your dessert into a centerpiece.
Side Dishes
If you want to pair this cheesecake with something, a light espresso or black coffee complements the rich chocolate cherry flavors beautifully. Alternatively, a scoop of vanilla bean ice cream or a drizzle of chocolate sauce can elevate the experience.
Creative Ways to Present
If you’re hosting, consider serving individual slices with a drizzle of cherry syrup or a small pool of whipped cream on the side. For a festive touch, arrange the slices on a decorative platter with sprigs of mint or edible flowers, making the moment special and inviting.
Make Ahead and Storage
Storing Leftovers
Leftover Black Forest Cheesecake should be stored covered in the refrigerator. Keep it sealed well with plastic wrap or in an airtight container to maintain freshness and prevent it from absorbing any fridge odors. It’s best enjoyed within 3 to 4 days.
Freezing
If you want to keep your cheesecake fresh for longer, freezing is an excellent option. Wrap the whole cheesecake or individual slices tightly in plastic wrap and aluminum foil before placing them in the freezer. Frozen cheesecake will maintain its flavor and texture for up to 2 months.
Reheating
Because cheesecake is typically enjoyed chilled, reheating isn’t necessary. Simply thaw frozen slices overnight in the fridge for the best texture and flavor. Room temperature slices allow the flavors to shine without losing their creamy richness.
FAQs
Can I use fresh cherries instead of cherry pie filling?
Absolutely! Fresh cherries can make your Black Forest Cheesecake Recipe even more vibrant. Simply cook them down slightly with sugar to achieve that delightful syrupy consistency that spreads easily on top.
What if I don’t have a springform pan?
A springform pan is ideal for easy removal without ruining the cheesecake’s shape, but if you don’t have one, use a regular cake pan lined with parchment paper for easier slicing and serving.
Why is the water bath important when baking?
The water bath creates gentle, even heat around the cheesecake, preventing cracks and ensuring a creamy, smooth texture—invaluable for any baked cheesecake including this Black Forest Cheesecake Recipe.
Can I make this cheesecake vegan or dairy-free?
This recipe relies heavily on dairy for its texture and flavor, but you can substitute cream cheese and cream with plant-based alternatives. Keep in mind the texture and taste may vary, so some experimenting may be needed.
How long does it take for the cheesecake flavors to develop?
For the best taste, chilling the cheesecake overnight allows the flavors to meld beautifully. The chocolate and cherry notes intensify, making each bite more luscious than the first.
Final Thoughts
This Black Forest Cheesecake Recipe is truly a crowd-pleaser, merging beloved classic tastes into a rich, creamy dessert that dazzles with every slice. Whether you’re making it for a special occasion or a cozy family night, trust me, it will be cherished and savored. So go ahead, dive into this delightful recipe—it’s guaranteed to become one of your favorites, just like it is for me.
Print
Black Forest Cheesecake Recipe
- Prep Time: 25 minutes
- Cook Time: 70 minutes
- Total Time: 5 hours 35 minutes
- Yield: 12 servings
- Category: Dessert
- Method: Baking
- Cuisine: German-American
- Diet: Vegetarian
Description
This Black Forest Cheesecake combines the rich, creamy texture of a classic baked cheesecake with luscious chocolate and cherry flavors. Featuring a chocolate cookie crust and a silky cocoa-infused cream cheese filling, this indulgent dessert is topped with a vibrant cherry pie filling, whipped cream, and decorative chocolate shavings. Perfect for special occasions, the cheesecake is baked in a water bath to ensure a smooth and crack-free finish, then chilled overnight to develop deep, harmonious flavors.
Ingredients
For the Crust
- 1 1/2 cups chocolate cookie crumbs
- 1/4 cup granulated sugar
- 6 tablespoons unsalted butter, melted
For the Filling
- 24 ounces cream cheese, softened
- 1 cup granulated sugar
- 1/4 cup unsweetened cocoa powder
- 3 large eggs, room temperature
- 1/2 cup sour cream
- 1/2 cup heavy cream
- 1 teaspoon vanilla extract
- 1/2 teaspoon almond extract
For the Topping
- 1 can (21 ounces) cherry pie filling or 2 cups homemade cherry topping
- 1 cup heavy whipping cream
- 2 tablespoons powdered sugar
- 1/2 teaspoon vanilla extract
- Chocolate shavings for garnish
Instructions
- Prepare the crust: Preheat the oven to 325°F. Grease a 9-inch springform pan and wrap the outside with foil to prevent leaks. In a bowl, combine chocolate cookie crumbs, sugar, and melted butter. Press the mixture firmly and evenly into the bottom of the pan. Bake for 8 to 10 minutes until set, then remove from the oven and let cool slightly.
- Make the filling: In a large mixing bowl, beat the softened cream cheese and granulated sugar until smooth and creamy. Add the cocoa powder and mix until fully incorporated. Add eggs one at a time, beating just until combined after each addition to avoid overmixing. Blend in sour cream, heavy cream, vanilla extract, and almond extract until the batter is smooth and uniform.
- Assemble and bake: Pour the filling over the cooled crust in the springform pan. Place the pan into a larger roasting pan and carefully add hot water until it reaches halfway up the sides of the springform pan to create a water bath. Bake the cheesecake for 60 to 70 minutes, or until the center is set but still slightly jiggly.
- Cool gradually: Turn off the oven and leave the door slightly open. Allow the cheesecake to cool gradually inside the oven for 1 hour to prevent cracking.
- Chill: Remove the cheesecake from the water bath and foil. Refrigerate for at least 4 hours, preferably overnight, to fully set and develop flavors.
- Add toppings: Before serving, spread the cherry pie filling evenly over the top of the chilled cheesecake. In a chilled bowl, whip the heavy cream with powdered sugar and vanilla extract until stiff peaks form. Pipe or spoon the whipped cream atop the cherry layer, then garnish with chocolate shavings.
Notes
- Ensure all dairy ingredients are at room temperature to achieve a smooth, lump-free batter.
- Avoid overmixing the batter to prevent cracking during baking.
- Baking the cheesecake in a water bath helps maintain moisture and creates a creamy texture.
- Chilling the cheesecake overnight enhances flavor and improves slicing.
- Use a sharp knife dipped in hot water and wiped dry for clean slices when serving.