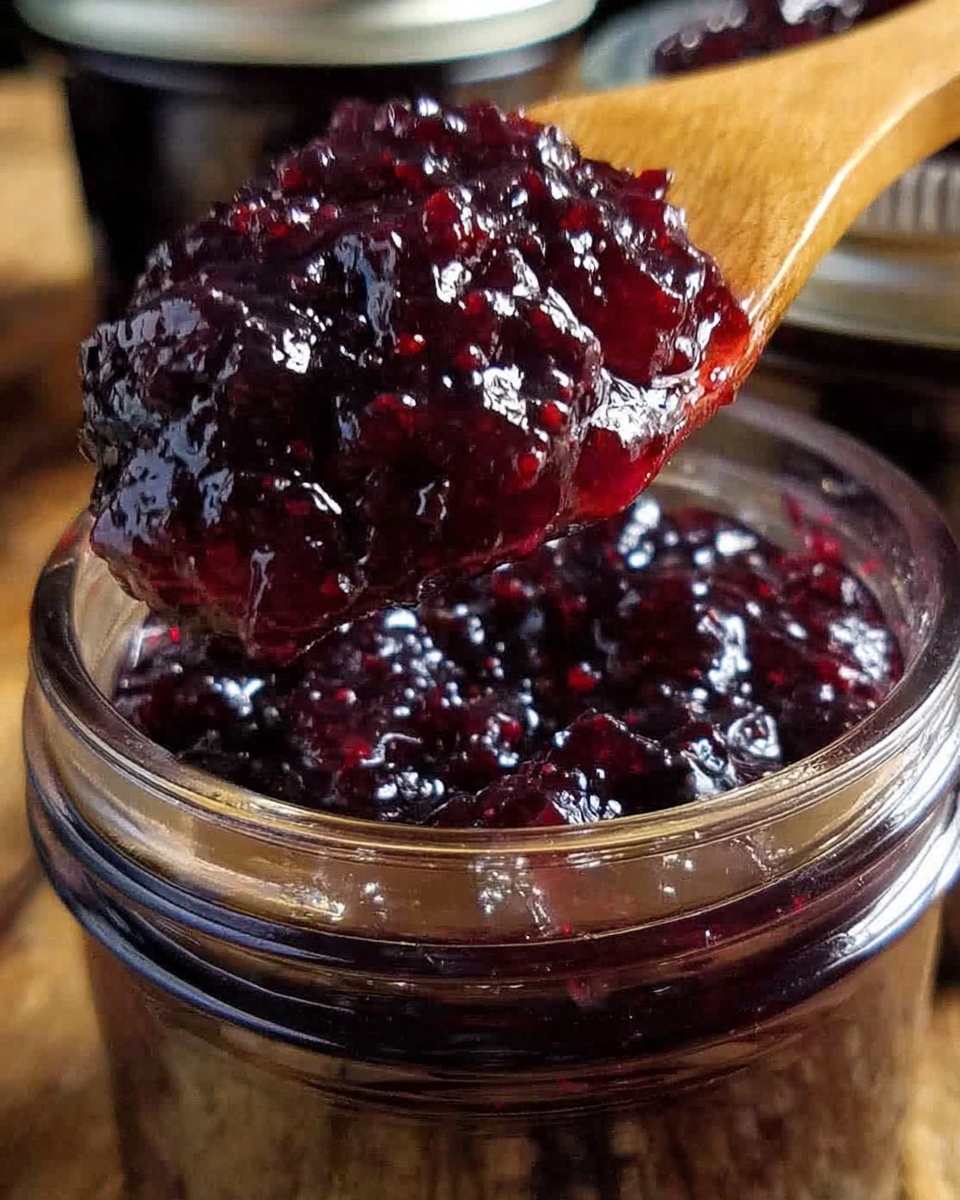
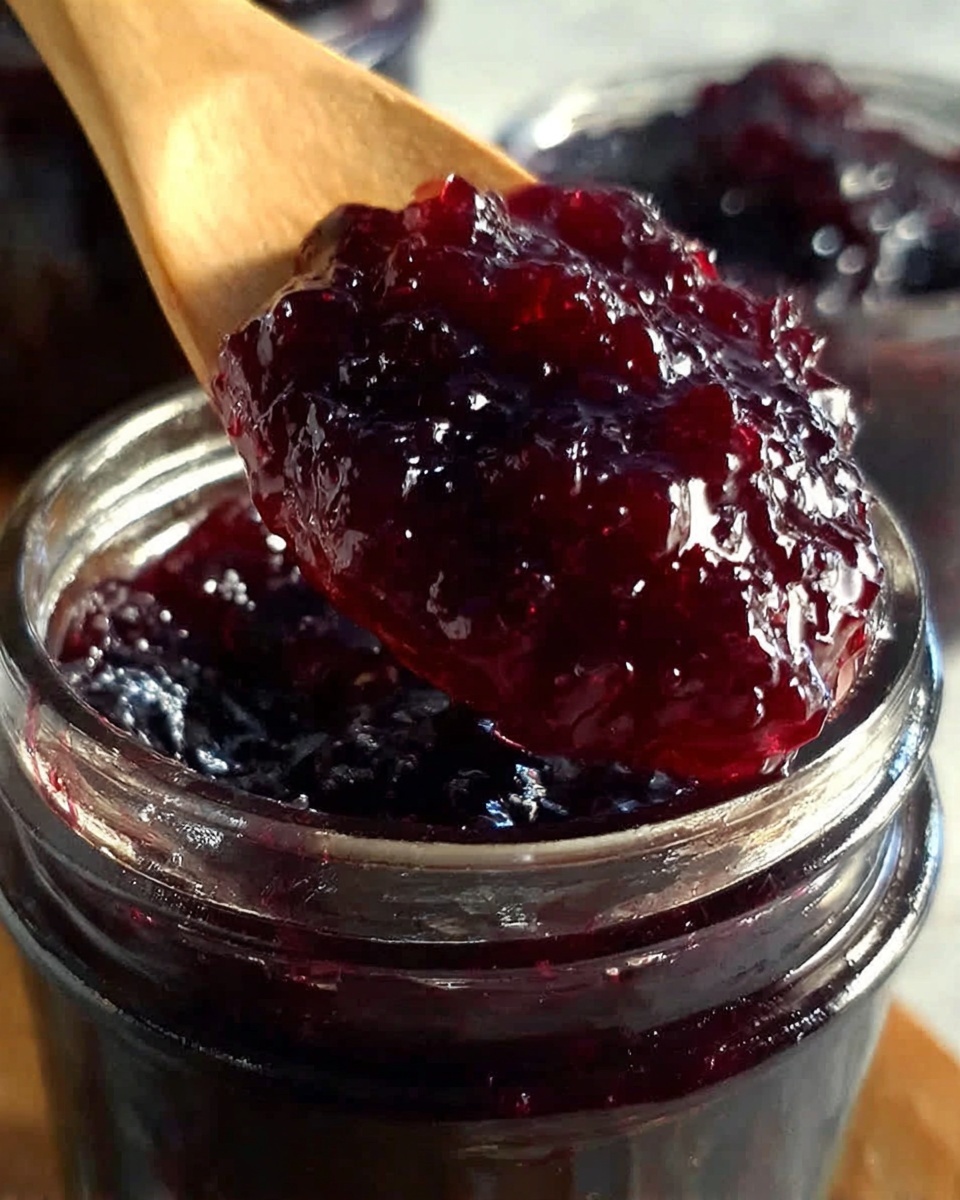
If you’ve ever dreamed of capturing the vibrant, sweet-tart essence of fresh blackberries and spreading it on your morning toast, you’re going to adore this Best Homemade Blackberry Jam Recipe. It’s a delightful blend of ripe berries, just the right touch of lemon, and a simple cooking process that transforms humble ingredients into a jar of pure sunshine. Whether you’re a jam-lover or someone wanting to try preserving seasonal fruit, this recipe brings the garden’s bounty straight to your kitchen with a wonderful homemade charm.
Ingredients You’ll Need
The magic of this jam shines because of its simple, wholesome ingredients. Each one plays a vital role: the blackberries provide the rich color and natural sweetness, sugar balances the tartness, and lemon juice adds brightness and aids preservation.
- 4 cups fresh blackberries (rinsed): Choose ripe, plump berries for the fullest flavor and best color.
- 2 cups granulated sugar: The perfect sweetness level, it helps the jam set and keeps it deliciously balanced.
- 2 tablespoons lemon juice: Adds a zesty tang and helps preserve the jam’s freshness.
- 1 tablespoon lemon zest (optional): Boosts brightness with a subtle citrus aroma that enhances the berry flavor.
- 1 packet (1.75 oz) fruit pectin (optional): Great for a thicker jam, but you can skip it if you prefer a looser spread.
How to Make Best Homemade Blackberry Jam Recipe
Step 1: Prepare and Mash the Blackberries
Begin by combining the fresh blackberries with the lemon juice in a large saucepan over medium heat. Using a potato masher or the back of a spoon, gently mash the berries to release their natural juices. This step is crucial as it unlocks the vibrant blackberry flavor and creates the base for your jam’s luscious texture.
Step 2: Add Sugar and Lemon Zest
Once your berries have released their juices, stir in the granulated sugar along with the optional lemon zest. The sugar sweetens the tart berries while the zest gives an extra dimension of freshness. Bring this mixture to a gentle boil, stirring frequently to ensure the sugar dissolves evenly and nothing sticks to the bottom.
Step 3: Incorporate Fruit Pectin (If Using)
If you choose to use fruit pectin, add it now according to the package instructions. Continue to boil the mixture for 1 to 2 minutes while stirring constantly. Pectin helps your jam set up faster and gives it a perfect spreadable consistency that holds up beautifully on bread or pastries.
Step 4: Simmer Until Thickened
Reduce the heat slightly and let your jam simmer for 10 to 15 minutes. Keep stirring gently and test the thickness by placing a spoonful on a cold plate—if it wrinkles when pushed with your finger, your jam is ready. This simmering phase deepens the flavors and concentrates the sugars, resulting in that irresistible jam consistency.
Step 5: Cool and Jar the Jam
Remove the saucepan from heat and allow the jam to cool slightly before pouring it into sterilized jars. Sealing the jars while the jam is warm helps preserve freshness. Store the jam in the refrigerator for up to three weeks or process it in a water bath to enjoy your homemade blackberry goodness for months.
How to Serve Best Homemade Blackberry Jam Recipe

Garnishes
A spoonful of this blackberry jam is beautiful on its own, but adding a sprig of fresh mint or a few whole blackberries on top can make your serving extra special. The bright green of the mint adds a lovely contrast to the rich purple color, making it as pretty as it is delicious.
Side Dishes
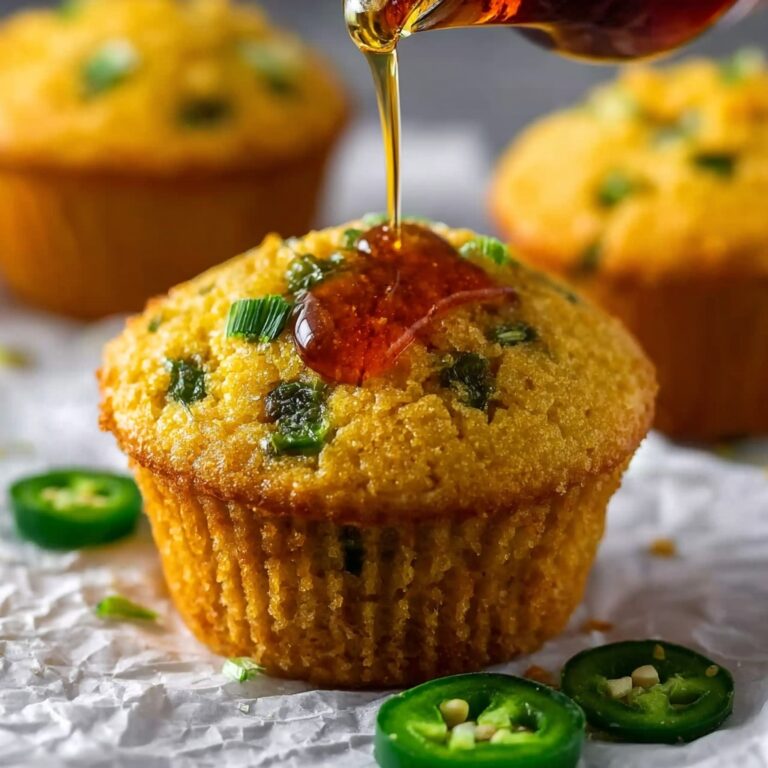
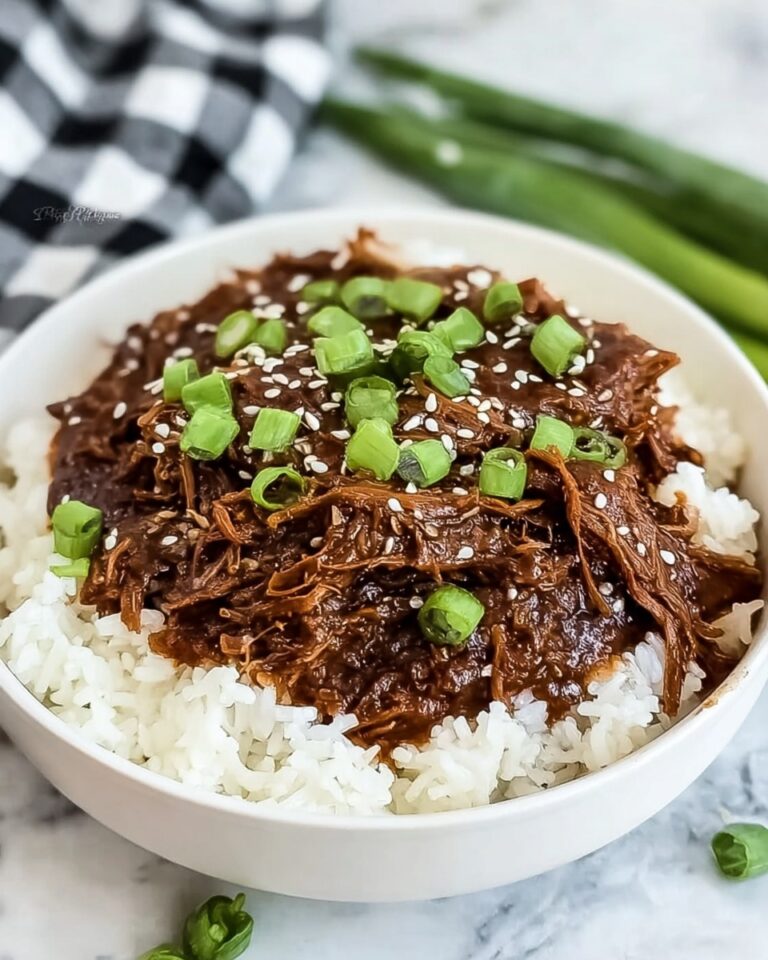
Think beyond toast! This jam pairs wonderfully with warm scones, creamy yogurt, or a simple cheesecake. It’s also an incredible companion for savory dishes like roasted pork or grilled chicken, where the sweet but slightly tart jam adds a burst of freshness.
Creative Ways to Present
For an unforgettable breakfast or dessert, layer the jam into parfait glasses with whipped cream or granola. You can also swirl it into oatmeal or spread it between cake layers for a luscious surprise in every bite. The possibilities with this homemade jam are endless and always rewarding.
Make Ahead and Storage
Storing Leftovers
Once opened, keep leftover jam refrigerated and tightly sealed. It will stay fresh and flavorful for about three weeks, making it easy to enjoy a little touch of homemade blackberry goodness anytime you wish.
Freezing
If you want to preserve your jam for longer, freezing it is an excellent option. Pour the cooled jam into a freezer-safe container, leaving some space for expansion. Frozen jam retains its flavor and texture for up to six months, allowing you to savor summer’s harvest even in the off-season.
Reheating
When you’re ready to use frozen jam, thaw it in the refrigerator overnight. For a smoother texture, gently warm the jam over low heat while stirring—this brings back its spreadable consistency without losing that fresh homemade flavor.
FAQs
Can I make this jam without fruit pectin?
Absolutely! The fruit pectin is optional and mainly helps the jam thicken faster. If you skip it, just simmer the jam a bit longer until it reaches your preferred consistency.
How do I get seedless blackberry jam?
To make seedless jam, strain the mashed berries through a fine mesh sieve before cooking. This will remove the seeds and give you a smooth, silky texture.
Is this jam recipe vegan and gluten-free?
Yes, this recipe is naturally vegan and gluten-free, making it perfect for a variety of dietary preferences without any alterations.
How long does homemade blackberry jam last?
Stored properly in the refrigerator, your jam will stay fresh for up to three weeks. If properly canned in a water bath, it can last for several months.
Can I double this Best Homemade Blackberry Jam Recipe?
Definitely! You can double the ingredients, but keep in mind that the cooking time might need to be extended slightly to reach the desired thickness.
Final Thoughts
There’s something truly special about making your own jam, capturing that bright, juicy blackberry flavor in a jar you crafted yourself. This Best Homemade Blackberry Jam Recipe is straightforward, uses simple ingredients, and delivers an irresistible result that you’ll want to share with everyone you love. Give it a try—you might just find your new favorite way to enjoy summer berries all year long!
Print
Best Homemade Blackberry Jam Recipe
- Prep Time: 10 minutes
- Cook Time: 15 minutes
- Total Time: 25 minutes
- Yield: 2 cups
- Category: Condiment
- Method: Stovetop
- Cuisine: American
- Diet: Vegan,Gluten Free
Description
This Best Homemade Blackberry Jam recipe delivers a deliciously sweet and tangy spread made from fresh blackberries, perfect for adding a burst of summer flavor to your breakfasts and snacks. Made with simple ingredients and cooked on the stovetop, it’s easy to prepare whether you prefer a traditional chunky jam or a smoother, seedless variety.
Ingredients
Jam Ingredients
- 4 cups fresh blackberries, rinsed
- 2 cups granulated sugar
- 2 tablespoons lemon juice
- 1 tablespoon lemon zest (optional)
- 1 packet (1.75 oz) fruit pectin (optional, for thicker jam)
Instructions
- Prepare the Berries: In a large saucepan over medium heat, combine the blackberries and lemon juice. Gently mash the berries using a potato masher or the back of a spoon to release their natural juices.
- Add Sugar and Zest: Stir in the granulated sugar and lemon zest, then bring the mixture to a gentle boil, stirring frequently to dissolve the sugar and prevent burning.
- Add Pectin if Using: If you are using fruit pectin for a thicker consistency, add it according to the packet instructions, and continue boiling the mixture for 1–2 minutes, stirring constantly to fully incorporate.
- Simmer the Jam: Reduce the heat slightly and let the jam simmer for 10–15 minutes, stirring occasionally, until it thickens and reaches your desired consistency. Check the thickness by placing a spoonful on a cold plate; if it wrinkles when pushed, the jam is ready.
- Cool and Store: Remove the saucepan from heat and allow the jam to cool slightly. Then pour the hot jam into sterilized jars and seal them. Refrigerate for up to 3 weeks or process the jars in a water bath for longer-term storage.
Notes
- For a seedless jam, strain the mashed berries through a fine mesh sieve before cooking.
- This recipe can be doubled; however, cooking time may need to be extended slightly to achieve proper thickness.
- Use sterilized jars and proper canning techniques for safe long-term storage.
