
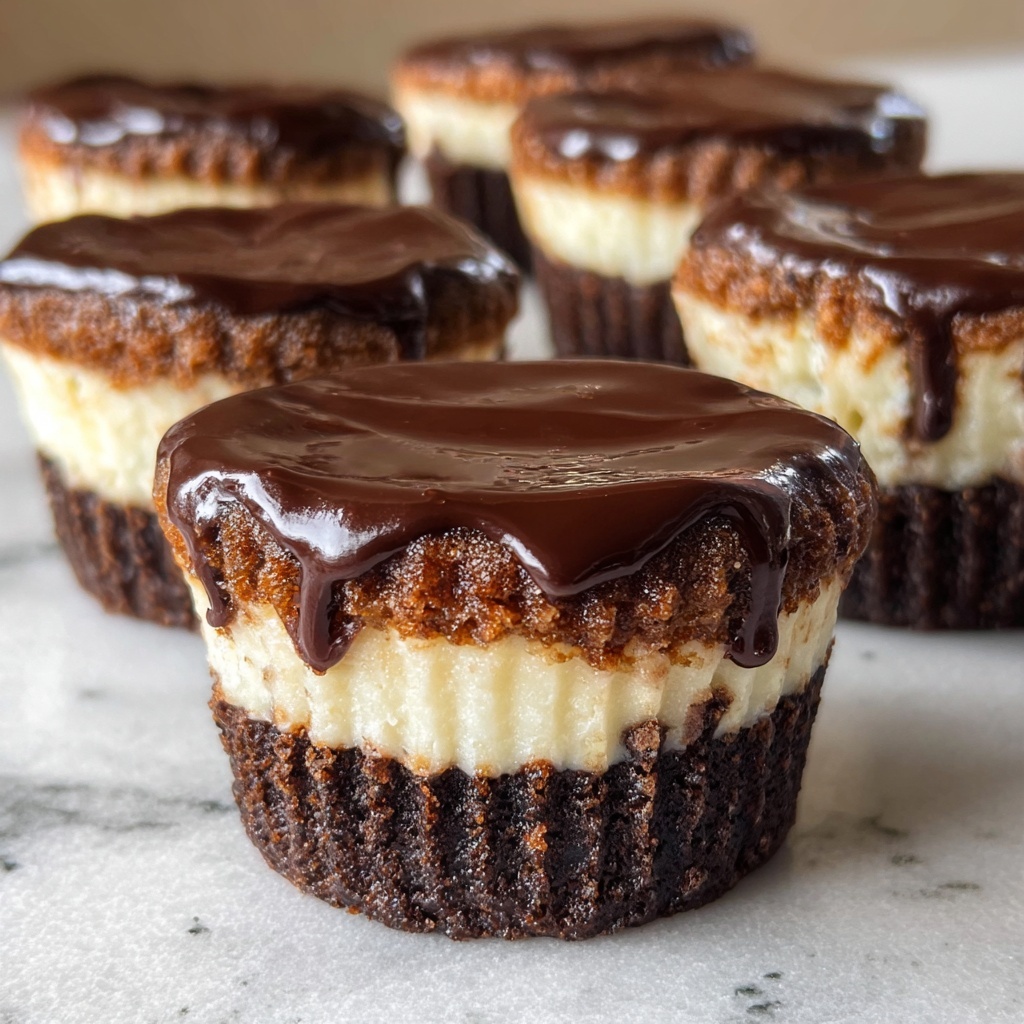
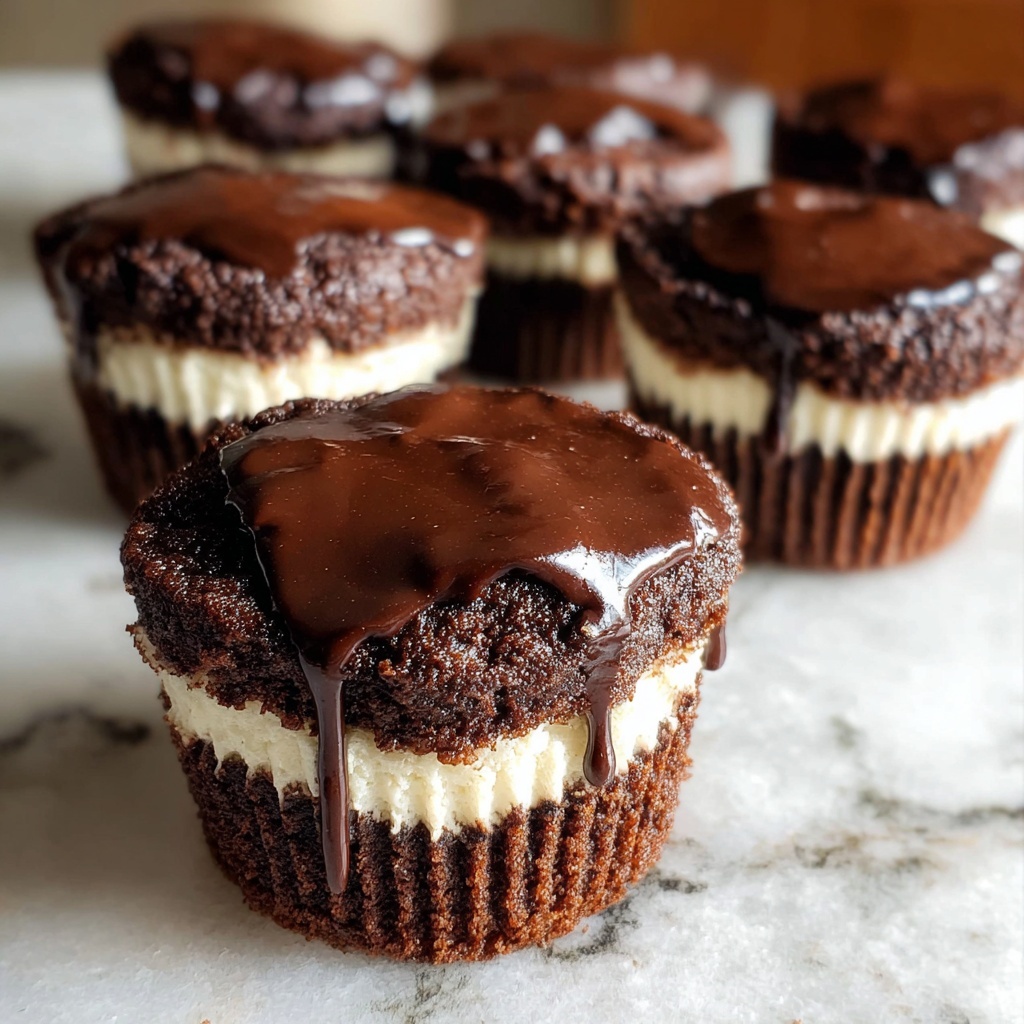
If you’ve ever dreamed of the perfect sweet snack that combines the creamy richness of peanut butter with the decadent smoothness of chocolate, then this Peanut Butter Chocolate Cups Recipe is your new best friend in the kitchen. It’s a simple yet divine treat that you can whip up quickly, rewarding every bite with a luscious blend of flavors that just melt together in the most satisfying way. These cups strike the perfect balance between indulgence and nostalgia, making them ideal for sharing or sneaking in a little self-pampering whenever the craving hits.
Ingredients You’ll Need
Gathering the right ingredients is key to nailing this homemade delight. Each one plays a crucial role in crafting that perfect texture and flavor combo, from the gooey peanut butter to the rich chocolate that envelops every bite in velvety goodness.
- Peanut butter: Use a creamy variety for smooth filling that won’t overpower the sweetness.
- Chocolate chips: Semi-sweet or dark for that luscious, melt-in-your-mouth chocolate layer.
- Honey: Adds a natural sweetness and a slight floral note that balances the peanut butter.
- Vanilla extract: A small splash enhances the overall flavor, making every bite extra special.
- Cupcake liners: Essential for easy handling and portioning of your peanut butter chocolate cups.
How to Make Peanut Butter Chocolate Cups Recipe
Step 1: Melt the chocolate chips
Start by gently melting your chocolate chips in a microwave-safe bowl. Heat in short bursts, stirring in between, so you get a silky smooth texture without burning the chocolate. This is the luscious base that will envelop your peanut butter filling and give these cups their gorgeous shine.
Step 2: Stir in honey and vanilla extract
Once melted, mix in the honey and vanilla extract. These simple additions infuse the chocolate with subtle layers of sweetness and warmth, elevating the flavor beyond just plain chocolate and making your Peanut Butter Chocolate Cups Recipe completely irresistible.
Step 3: Pour a chocolate layer into cupcake liners
Carefully spoon a thin layer of the chocolate mixture into each cupcake liner. This creates a solid base that will harden into a beautiful shell after chilling. Precision here ensures every cup has a perfect balance of chocolate to peanut butter inside.
Step 4: Chill for 10 minutes
Pop the tray into the fridge to let the chocolate set just enough to support the next peanut butter layer. This quick chill is crucial because it keeps the layers separate and clean when you add the filling.
Step 5: Add a layer of peanut butter
Next, gently spoon a dollop of creamy peanut butter over the chilled chocolate base in each liner. This rich, nutty layer is the heart of the Peanut Butter Chocolate Cups Recipe, offering that unmistakable contrast in flavor and texture that brings everything to life.
Step 6: Cover with more melted chocolate
Top off the peanut butter with the remaining melted chocolate, carefully spreading it to cover the filling completely. This final chocolate coat seals the pockets of peanut butter, creating a perfectly encapsulated treat that’s ready to set.
Step 7: Chill for another 20 minutes
Return the cups to the fridge for a longer chill to firm up fully. Here, the layers meld into a beautiful bite-size candy that’s just waiting to delight your taste buds.
Step 8: Remove from liners and serve
When fully set, peel back the cupcake liners to reveal your glossy peanut butter chocolate cups. Now, it’s time to indulge or share these little treasures with friends and family. Each bite is a perfect harmony of smooth chocolate and creamy peanut butter bliss.
How to Serve Peanut Butter Chocolate Cups Recipe
Garnishes
Consider sprinkling a tiny pinch of sea salt or crushed peanuts on top of the final chocolate layer before chilling. The salt enhances the sweetness and adds a delightful crunch, while peanuts bring an extra nutty dimension that works beautifully with the peanut butter.
Side Dishes
These cups are delightful on their own but also shine when paired with fresh fruit like sliced strawberries or a cup of rich, creamy milk. They make a wonderful companion at dessert tables or as an afternoon pick-me-up with your favorite coffee.
Creative Ways to Present
For a festive touch, line a pretty box with parchment paper and nestle your peanut butter chocolate cups inside wrapped individually. They also make fantastic edible gifts or party favors! Alternatively, stack them on a dessert platter for a stunning visual appeal that invites everyone to dig in.
Make Ahead and Storage
Storing Leftovers
You can keep any extras in an airtight container in the refrigerator for up to a week. Keeping them cold preserves the chocolate’s firmness and the peanut butter’s creamy texture, ensuring every bite remains just as heavenly as when freshly made.
Freezing
Want to save some for later? Place the cups on a baking sheet to freeze individually, then transfer them to a sealed freezer bag. They freeze beautifully for up to 2 months. When you’re ready for a treat, just thaw them in the fridge overnight to maintain their perfect consistency.
Reheating
Since these cups are best enjoyed chilled, there’s no need to heat them up. If you prefer a softer texture, letting them sit at room temperature for 10 to 15 minutes before eating works wonders without melting the chocolate too much.
FAQs
Can I use natural peanut butter in this recipe?
Absolutely! Natural peanut butter works well, but keep in mind it may be a bit more runny. You might need to chill it a little longer to help it firm up inside your chocolate cups.
Is it possible to use dark chocolate instead of semi-sweet?
Yes, using dark chocolate is a fantastic option if you prefer a richer, more intense chocolate flavor. It pairs wonderfully with the sweetness of the peanut butter and honey.
How do I prevent the chocolate from seizing when melting?
Heat the chocolate in short intervals and stir regularly. Avoid any contact with water, as even a drop can cause the chocolate to seize and become grainy.
Can I make these peanut butter chocolate cups vegan?
By choosing vegan chocolate chips, natural peanut butter without animal-derived additives, and a plant-based sweetener alternative to honey, you can absolutely enjoy a vegan version of this recipe!
What’s the best way to ensure the layers don’t mix?
Chilling the chocolate layers before adding the peanut butter filling is essential. This step allows each layer to set firm enough so they remain distinct and beautiful once fully assembled.
Final Thoughts
If you’re searching for a quick, indulgent treat that feels like a warm hug in dessert form, you can’t go wrong with this Peanut Butter Chocolate Cups Recipe. It’s a crowd-pleaser that’s simple enough for busy weeknights yet special enough to impress at any gathering. Trust me, once you try making these, you’ll find yourself coming back to this recipe again and again because those moments of pure bliss are just too good to resist.
Print
Peanut Butter Chocolate Cups Recipe
- Prep Time: 10 minutes
- Cook Time: 0 minutes
- Total Time: 30 minutes
- Yield: 12 servings
- Category: Dessert
- Method: No-Cook
- Cuisine: American
Description
These Peanut Butter Chocolate Cups are a simple and delicious homemade treat combining creamy peanut butter and rich chocolate. Perfect for satisfying your sweet tooth, they require just a few ingredients and minimal prep time, resulting in a delightful, no-bake dessert that’s perfect for any occasion.
Ingredients
Ingredients
- 1 cup peanut butter
- 1 cup chocolate chips
- 1/4 cup honey
- 1/2 teaspoon vanilla extract
Instructions
- Melt the Chocolate: Place the chocolate chips in a microwave-safe bowl and heat in 30-second intervals, stirring in between, until fully melted and smooth.
- Mix in Honey and Vanilla: Stir the honey and vanilla extract into the melted chocolate until completely combined and glossy.
- Pour Chocolate Layer: Spoon a layer of the melted chocolate mixture into cupcake liners, covering the bottom evenly.
- Chill the Bottom Layer: Place the cupcake liners in the refrigerator and chill for 10 minutes, allowing the chocolate to set slightly.
- Add Peanut Butter Layer: Spoon peanut butter on top of the chilled chocolate layer in each cup, spreading gently to cover evenly without breaking the bottom layer.
- Cover with Chocolate: Pour the remaining melted chocolate over the peanut butter layer, covering it completely.
- Final Chill: Return the cups to the refrigerator and chill for an additional 20 minutes until the chocolate is fully set and firm.
- Serve: Remove the peanut butter chocolate cups from the cupcake liners carefully and serve immediately or store in a cool place until ready to enjoy.
Notes
- Use natural or creamy peanut butter for smooth texture.
- If the chocolate hardens in the bowl, gently reheat it in the microwave in short bursts.
- Line a tray with wax paper to place cups for easier handling when transferring to fridge.
- You can substitute honey with maple syrup for a different sweetener.
- Store these cups in an airtight container in the refrigerator for up to one week.
