
“`html
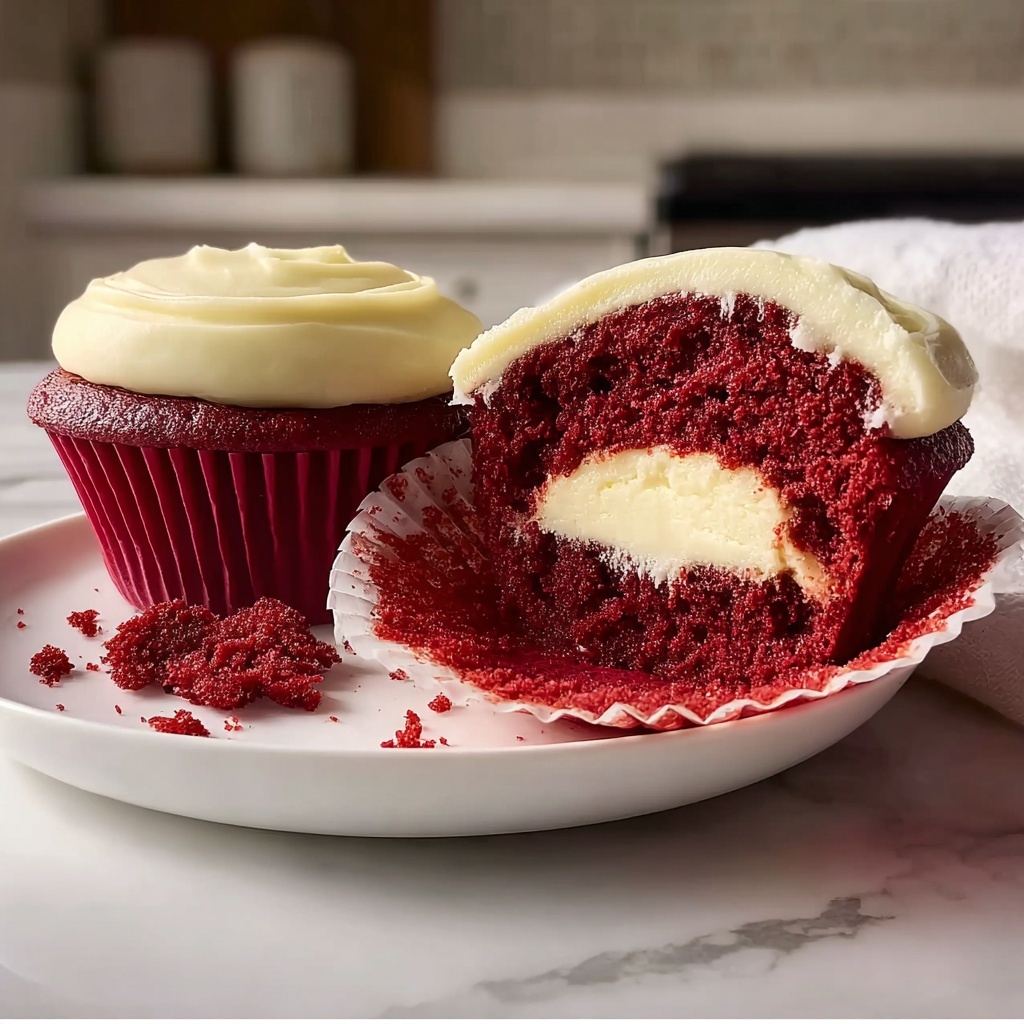
If you’re on the hunt for a dessert that perfectly balances luscious chocolate notes with vibrant, festive flair, look no further than this sensational Red Velvet Cookie Cups Recipe. These adorable, bite-sized delights take classic red velvet flavor and bake it into a tender, chewy cookie cup that’s just waiting to be filled with dreamy cream cheese frosting. It’s a recipe that’s as fun to make as it is to eat, and once you try it, you’ll understand why it quickly becomes a beloved treat for holidays, parties, or anytime you want to indulge your sweet tooth with something truly special.
Ingredients You’ll Need
Gathering the right ingredients for the Red Velvet Cookie Cups Recipe is simple but crucial. Each component has its role—adding richness, moisture, or that signature striking color—resulting in a perfectly balanced treat.
- Unsalted butter: Softened butter ensures creamy texture and rich flavor in the cookie base.
- Granulated sugar: Adds sweetness and helps create the perfect chewy bite.
- Brown sugar: Packed for moisture and a subtle caramel undertone to deepen flavor.
- Large eggs: Bind ingredients together and contribute to a tender crumb.
- Vanilla extract: Infuses the dough with warmth and enhances the chocolate notes.
- All-purpose flour: Provides structure to the cookie cups, balancing softness and firmness.
- Cocoa powder: Just a touch to amplify the red velvet’s classic chocolate essence.
- Baking soda: Helps the cookie cups rise just right for that perfect cup shape.
- Salt: Balances sweetness while boosting all other flavors.
- Red food coloring: The star of the show, giving these cookie cups their signature vibrant hue.
- Cream cheese: Softened and whipped for an irresistibly smooth and tangy frosting.
- Powdered sugar: Sweetens the frosting without graininess for a silky finish.
How to Make Red Velvet Cookie Cups Recipe
Step 1: Preheat and Prepare
Start by preheating your oven to 350°F (175°C). While the oven warms up, grease your muffin tin thoroughly or line it with silicone cups to help your cookie cups release easily after baking.
Step 2: Cream the Butter and Sugars
In a large mixing bowl, cream together the softened unsalted butter with both granulated and brown sugar until the mixture is light and fluffy. This is what gives the cookie cups their wonderful texture and sweetness.
Step 3: Add Eggs and Vanilla
Beat in the eggs one at a time, followed by the vanilla extract. These wet ingredients enrich the dough and add the foundation of flavor that will shine through.
Step 4: Combine Dry Ingredients
In a separate bowl, whisk together the all-purpose flour, cocoa powder, baking soda, and salt. This ensures your dry ingredients are evenly mixed and ready to blend into the wet mix seamlessly.
Step 5: Mix Dry Into Wet Ingredients
Gradually add the flour mixture to the butter and sugar mixture, stirring until just combined. Overmixing can lead to tough cookies, so be gentle here for that tender crumb.
Step 6: Add the Red Food Coloring
Now for the showstopper: mix in the red food coloring until the dough reaches that unmistakable deep red hue. Feel free to add more for a brighter color or less for a subtler tone.
Step 7: Scoop Into Muffin Tin
Use a cookie scoop or spoon to evenly portion the dough into your prepared muffin tin, filling each cup almost to the top but not overflowing. This will allow the cookie cups to bake up perfectly without spilling over.
Step 8: Bake and Cool
Bake your cookie cups in the preheated oven for 12 to 15 minutes. They’re done when the edges look set and the centers appear just slightly underbaked. Let them cool completely in the pan so they firm up enough to hold the frosting.
Step 9: Prepare the Cream Cheese Frosting
While your cookie cups cool, whip together softened cream cheese, powdered sugar, and vanilla extract until smooth and creamy. This frosting is the perfect tangy contrast to the rich, sweet cookie cups.
Step 10: Pipe the Frosting Into Cookie Cups
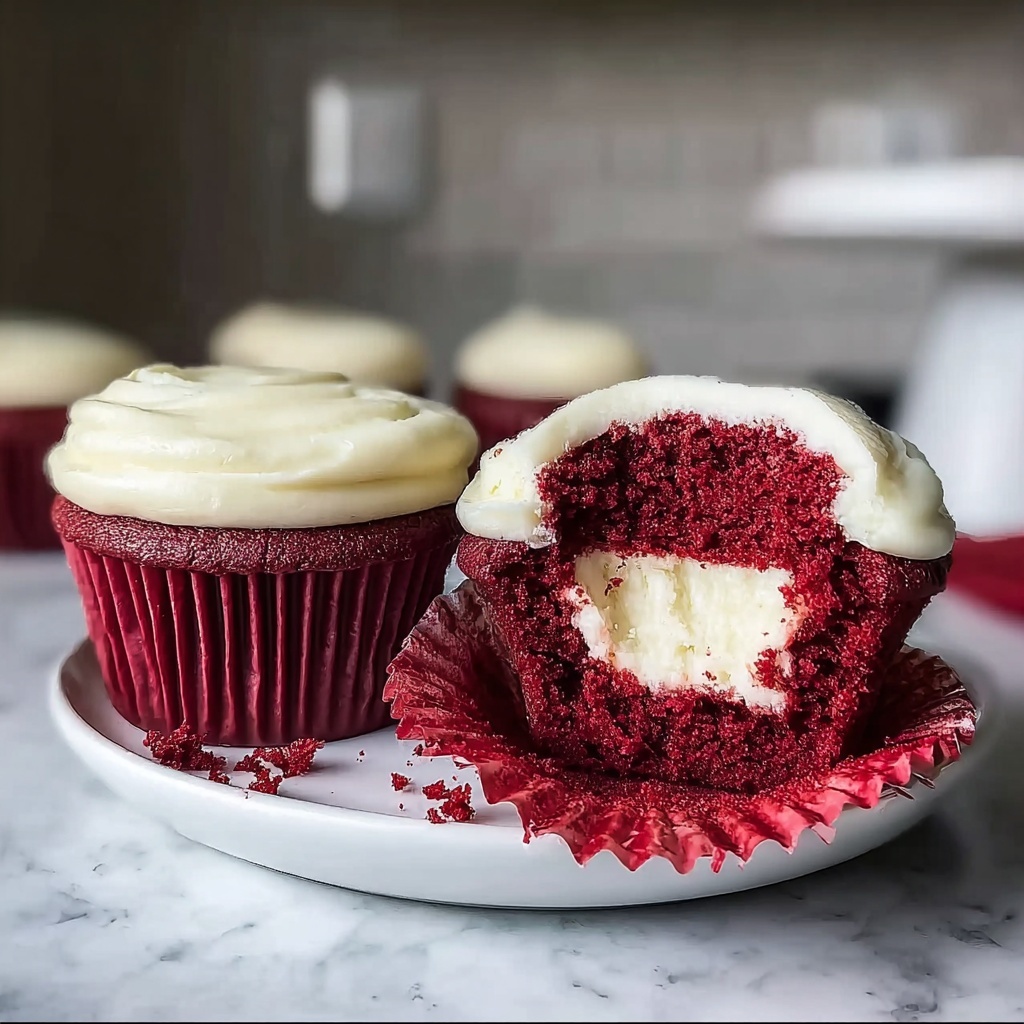
Once cooled, fill each cookie cup with the cream cheese frosting. Using a piping bag or a simple spoon, create a pretty swirl or mound for an inviting presentation that’s as delightful to look at as it is to eat.
How to Serve Red Velvet Cookie Cups Recipe
Garnishes
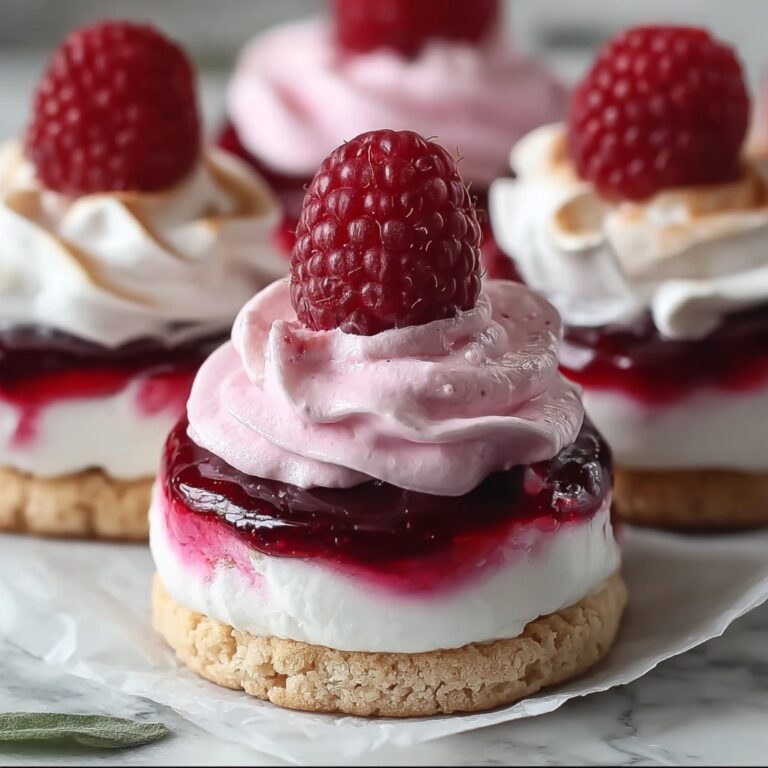
Enhance your cookie cups with garnishes like mini chocolate chips, festive sprinkles, or a dusting of cocoa powder. Adding a fresh raspberry or a sprinkle of finely chopped nuts can give a lovely texture contrast and elevated presentation.
Side Dishes
These Red Velvet Cookie Cups pair beautifully with a cold glass of milk or a rich cup of coffee. For a special occasion, serve alongside a scoop of vanilla ice cream or fresh berries to balance the sweetness.
Creative Ways to Present
Serve these cookie cups on a tiered dessert tray for an eye-catching display or nestle them in colorful mini cupcake liners for easy handling at parties. You can also layer them in a jar with frosting between each cookie cup for a fun dessert parfait twist.
Make Ahead and Storage
Storing Leftovers
Store any leftover cookie cups in an airtight container in the refrigerator. The cream cheese frosting stays fresh and the cookies retain their texture for up to 3 days when kept chilled.
Freezing
You can freeze the cookie cups without frosting for up to 3 months. Place them in a single layer on a baking sheet to freeze first, then transfer to a freezer-safe container. Thaw in the refrigerator before frosting for best results.
Reheating
If you want warm cookie cups, pop them in the microwave for 10-15 seconds. Avoid heating the frosting directly; add the frosting after warming to maintain its creamy texture and flavor.
FAQs
Can I make these cookie cups without red food coloring?
Absolutely! While the red food coloring gives the iconic red velvet look, omitting it won’t affect the delicious taste. Your cookie cups will be a subtle mocha color but just as tasty.
What can I use instead of cream cheese frosting?
If cream cheese isn’t your thing, try a simple whipped buttercream or even a chocolate ganache for a rich and decadent alternative that pairs nicely with red velvet flavor.
Are Red Velvet Cookie Cups Recipe gluten-free friendly?
This classic recipe calls for all-purpose flour, which contains gluten. To make it gluten-free, substitute with a gluten-free flour blend that measures like all-purpose flour, ensuring you get a similar texture.
How do I prevent the cookie cups from sticking to the muffin tin?
Make sure to generously grease your muffin tin or use silicone baking cups. This step is key to easily releasing the cookie cups without breaking their delicate edges.
Can this recipe be doubled for a bigger batch?
Yes! The Red Velvet Cookie Cups Recipe scales up beautifully. Just double all the ingredients and bake in multiple muffin tins as needed, keeping the same baking time and temperature.
Final Thoughts
Making this Red Velvet Cookie Cups Recipe is like treating yourself to a little celebration in every bite. The vibrant color, tender cookie, and luscious frosting combine to create a dessert that’s impossible not to love. Whether it’s for a festive gathering or a cozy night in, I wholeheartedly encourage you to bake these delightful cups and enjoy the smiles they bring to your friends and family.
“`
Print
Red Velvet Cookie Cups Recipe
- Prep Time: 15 minutes
- Cook Time: 15 minutes
- Total Time: 30 minutes
- Yield: 24 servings
- Category: Dessert
- Method: Baking
- Cuisine: American
Description
These Red Velvet Cookie Cups combine the rich, chocolatey flavor of red velvet cake with the convenience and fun of bite-sized cookie cups. Topped with a smooth and creamy cream cheese frosting, they offer the perfect balance of sweet and tangy in every indulgent bite. Ideal for parties, holiday treats, or whenever you crave a luscious dessert that’s both visually appealing and delicious.
Ingredients
Cookie Dough
- 1 cup unsalted butter, softened
- 1 cup granulated sugar
- 1 cup brown sugar, packed
- 2 large eggs
- 2 teaspoons vanilla extract
- 2 1/2 cups all-purpose flour
- 1 tablespoon cocoa powder
- 1 teaspoon baking soda
- 1 teaspoon salt
- 1 tablespoon red food coloring
Cream Cheese Frosting
- 1 cup cream cheese, softened
- 1/2 cup powdered sugar
- 1 teaspoon vanilla extract
Instructions
- Preheat Oven: Preheat your oven to 350°F (175°C) to ensure it’s ready for baking the cookie cups.
- Cream Butter and Sugars: In a large mixing bowl, cream together the softened butter, granulated sugar, and brown sugar until the mixture is light and fluffy, which helps incorporate air and improves texture.
- Add Eggs and Vanilla: Beat in the eggs one at a time and add vanilla extract, mixing thoroughly to combine all wet ingredients evenly.
- Combine Dry Ingredients: In a separate bowl, sift together the all-purpose flour, cocoa powder, baking soda, and salt to ensure they are evenly distributed.
- Mix Dry Into Wet: Gradually add the dry ingredients into the wet mixture, stirring carefully until just combined to avoid overmixing, which can make cookies tough.
- Add Red Food Coloring: Stir in the red food coloring thoroughly until the dough achieves a uniform vibrant red color.
- Prepare Muffin Tin: Grease a muffin tin well to prevent sticking, then scoop the cookie dough evenly into each cup, filling about three-quarters full.
- Bake: Place the muffin tin in the preheated oven and bake for 12-15 minutes, or until the edges are set and the centers are slightly soft but cooked through.
- Cool Completely: Remove the muffin tin from the oven and allow the cookie cups to cool completely in the tin; this helps them firm up and maintain their shape.
- Make Frosting: In a small bowl, mix the softened cream cheese, powdered sugar, and vanilla extract together until smooth and creamy, perfect for piping.
- Frost Cookie Cups: Using a piping bag or a spoon, fill or top each cooled cookie cup with the cream cheese frosting to your desired amount and style.
Notes
- Make sure butter and cream cheese are softened to room temperature to ensure smooth mixing and creamy frosting.
- Don’t overbake the cookie cups; they should be soft in the center to maintain a chewy, tender texture.
- You can substitute red food coloring with natural alternatives like beet juice powder if preferred.
- Store finished cookie cups in an airtight container in the refrigerator for up to 3 days to keep the frosting fresh.
- Allow cookie cups to cool completely before frosting to prevent melting or sliding of frosting.


