“`html
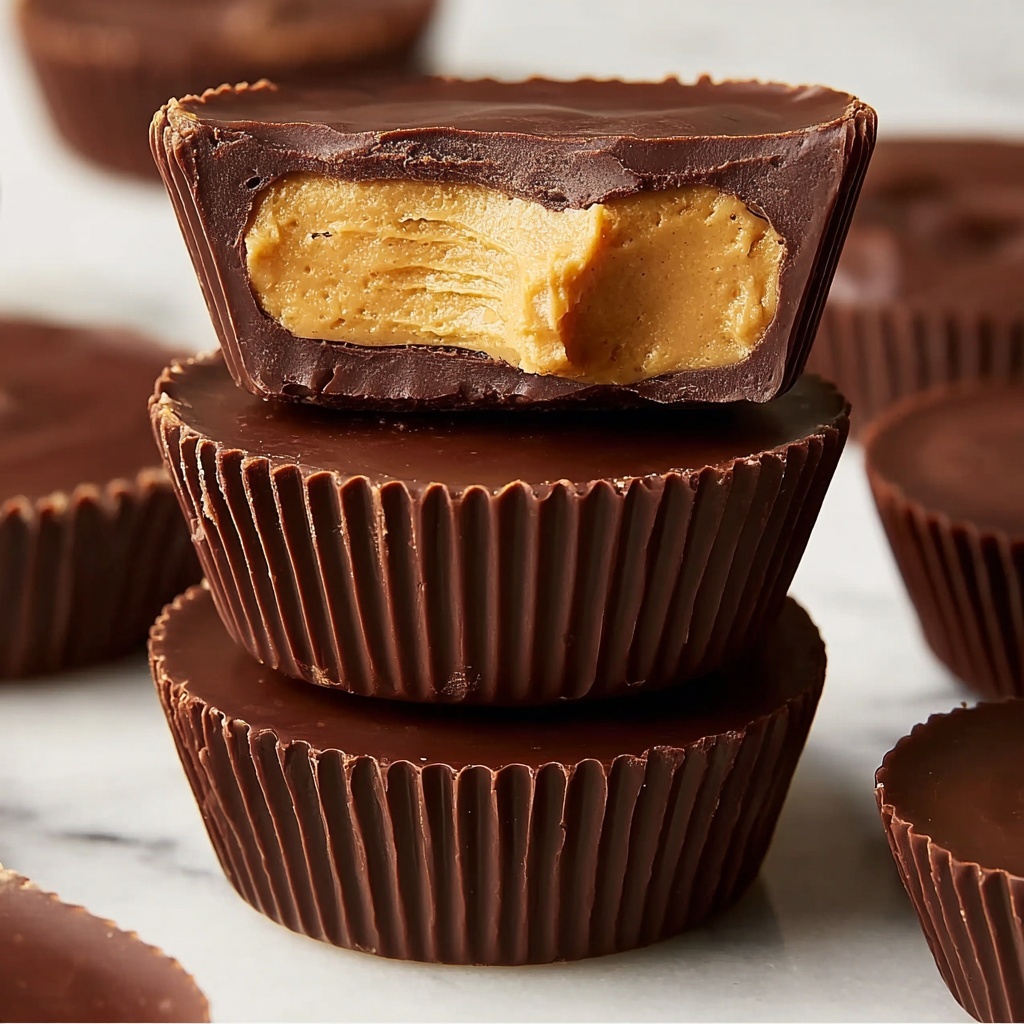
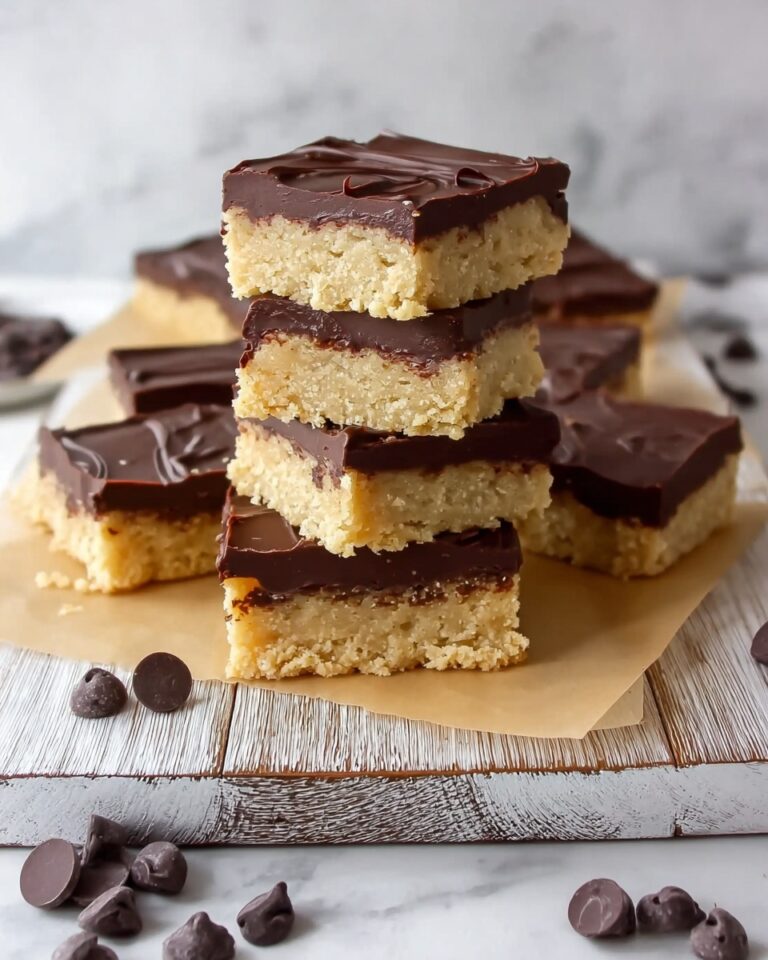
Let me tell you about a little treat that feels like an indulgence but fuels your body too—the Protein Peanut Butter Cups Recipe. These delicious bites combine rich semi-sweet chocolate with a creamy peanut butter filling boosted by protein powder, making them a perfect guilt-free snack. The mix of salty and sweet, with that satisfying texture from smooth peanut butter and a firm chocolate shell, is absolutely irresistible. Whether you want a post-workout pick-me-up or a cozy dessert, this recipe offers something special that’s not only easy to make but also genuinely nourishing.
Ingredients You’ll Need
These ingredients are simple yet essential, each bringing a special quality to your Protein Peanut Butter Cups Recipe. From the luscious melt of semi-sweet chocolate to the wholesome punch of natural peanut butter, everything works together to create a snack that’s both flavorful and packed with protein.
- Semi-sweet chocolate chips (12 oz): The stars of the show, providing that smooth, rich chocolate flavor we all crave.
- Coconut oil (1 teaspoon, solid): Helps melt the chocolate smoothly and sets the perfect texture for the cups.
- Vanilla extract (1/4 teaspoon): Adds a subtle depth and warmth to the chocolate layer.
- Natural creamy peanut butter (1/4 cup): Choose one with just peanuts and salt for pure, creamy nutty goodness.
- Pure maple syrup (2 tablespoons): A natural sweetener that balances the saltiness of the peanut butter without overpowering.
- Vanilla protein powder (1/3 cup): Elevates these cups from a treat to a protein-powered snack perfect for energy boosts.
- Salt (1/4 teaspoon): A pinch to enhance and bring out all the other flavors beautifully.
How to Make Protein Peanut Butter Cups Recipe
Step 1: Prepare the Muffin Tin
Start by lining your muffin tin with parchment paper muffin liners. This little step is a game changer because it keeps your peanut butter cups from sticking and ensures they pop right out with ease when they’re ready to eat.
Step 2: Melt the Chocolate
Place the semi-sweet chocolate chips and coconut oil in a microwave-safe bowl. Heat in 30-second bursts, stirring thoroughly between intervals, until the chocolate is silky smooth. Stir in the vanilla extract while the chocolate is warm to infuse that lovely aroma throughout your cups.
Step 3: Create Chocolate Base Layers
Pour a heaping teaspoon of your melted chocolate into each lined muffin cup. Using the back of a spoon, spread the chocolate evenly to the edges forming a flat, sturdy base. This layer is crucial—it holds the peanut butter filling perfectly.
Step 4: Chill the Chocolate
Pop the muffin tin into the refrigerator to firm up the chocolate base. This step sets the foundation so your peanut butter filling won’t mix with the chocolate below, giving you those classic layered cups.
Step 5: Make the Peanut Butter Filling
Microwave the peanut butter for 15 to 20 seconds until it’s luscious and runny. Stir in the protein powder, salt, and maple syrup until smooth and creamy. This mixture will be the decadent, protein-packed center of your treats.
Step 6: Assemble Peanut Butter Discs
Divide the peanut butter mixture evenly into 12 portions and shape each into a small disc slightly smaller than the muffin liner. Forming them by hand gives you perfect thickness and ensures every cup has that rich, creamy heart.
Step 7: Add Filling to Cups
Take your chilled muffin tin out of the refrigerator and gently place a peanut butter disc in the center of each chocolate base. This sets up the next delicious layer.
Step 8: Add Remaining Chocolate
If your chocolate has thickened, quickly microwave it again for 15–20 seconds to loosen it back up. Spoon this melted chocolate over each peanut butter disc, spreading smoothly to the edges to seal in the filling like a chocolate hug.
Step 9: Chill Until Set
Return the muffin tin to the refrigerator for at least one hour. This lets everything firm up, transforming your cups into perfectly set, bite-sized delights ready for snacking.
Step 10: Serve and Store
Enjoy your Protein Peanut Butter Cups Recipe straight away, or store leftovers in an airtight container in the fridge or freezer so you always have a protein-packed treat on hand.
How to Serve Protein Peanut Butter Cups Recipe
Garnishes
Sprinkle a pinch of flaky sea salt atop each cup right after drizzling the final chocolate layer for a little burst of contrast. Or lightly dust with cacao powder or crushed roasted peanuts for extra texture and flair. These small touches make your homemade cups look and taste truly special.
Side Dishes
Pair these cups with a fresh fruit salad or a tall glass of cold milk (dairy or plant-based) to balance out the richness. They also do wonders alongside a hot cup of coffee or tea for a cozy afternoon break.
Creative Ways to Present
For gift-giving or parties, line a pretty box or cupcake stand with parchment paper and arrange your peanut butter cups with mini decorative picks. You can even use colorful cupcake liners to match the occasion, turning these little bites into a show-stopping centerpiece.
Make Ahead and Storage
Storing Leftovers
Keep any leftover cups in an airtight container in the refrigerator. They will stay fresh for up to a week, allowing you to grab a protein-packed snack whenever you want without any fuss.
Freezing
If you want to keep them longer, freeze your peanut butter cups by placing them on a tray until solid, then transferring them to a freezer-safe container. They can last up to three months frozen, perfect for prepping in advance or stocking up.
Reheating
These cups are best enjoyed cold or at room temperature because reheating melts the chocolate. If you’d like, leave them out for 10 minutes to soften slightly or pop them in your mouth straight from the fridge for a refreshing snap.
FAQs
Can I use a different type of protein powder?
Absolutely! While vanilla protein powder works beautifully here to complement the flavors, you can choose your favorite type, whether whey, plant-based, or collagen, just keep the flavor mild to let the peanut butter shine.
Is it necessary to use coconut oil in melting the chocolate?
Coconut oil helps the chocolate melt smoothly and gives the cups a nice shine and snap once set. However, if you don’t have it, you can try without it but be mindful the texture might be a little less glossy or firm.
Can I make these cups nut-free?
This specific recipe centers on peanut butter, which is a nut ingredient, so it’s not suitable for nut allergies. But you could experiment with sunflower seed butter or soy nut butter as alternatives, keeping an eye on flavor and texture adjustments.
How long does it take to make these peanut butter cups?
The hands-on time is about 20 minutes, but with chilling in between steps for best results, total time comes to roughly an hour and 20 minutes. The wait is definitely worth the delicious outcome!
Can these cups be made vegan?
To make the Protein Peanut Butter Cups Recipe vegan, ensure you select vegan semi-sweet chocolate chips and a plant-based protein powder. The rest of the ingredients like maple syrup and peanut butter are naturally vegan.
Final Thoughts
If you’re craving something that feels indulgent but actually does good for you, give this Protein Peanut Butter Cups Recipe a try. It’s an easy way to enjoy a snack that satisfies your sweet tooth while fueling your body with protein and wholesome ingredients. I promise once you make them, they’ll quickly become one of your favorite treats to whip up and share.
“`
Print
Protein Peanut Butter Cups Recipe
- Prep Time: 15 minutes
- Cook Time: 10 minutes (melting and microwaving)
- Total Time: 1 hour 20 minutes (includes chilling time)
- Yield: 12 peanut butter cups
- Category: Dessert
- Method: No-Cook
- Cuisine: American
- Diet: Low Fat
Description
These Protein Peanut Butter Cups are a delicious and healthier twist on a classic treat, combining creamy peanut butter, rich semi-sweet chocolate, maple syrup, and vanilla protein powder for added nutrition. Perfect as a high-protein snack or dessert, these cups are easy to make at home using simple ingredients and minimal equipment.
Ingredients
Chocolate Layer
- 12 oz semi-sweet chocolate chips
- 1 teaspoon solid coconut oil
- 1/4 teaspoon vanilla extract
Peanut Butter Filling
- 1/4 cup natural creamy peanut butter (peanuts + salt only)
- 2 tablespoons pure maple syrup
- 1/3 cup vanilla protein powder
- 1/4 teaspoon salt
Instructions
- Prepare the Muffin Tin: Line a muffin tin with parchment paper muffin liners to prevent sticking and allow easy removal of the peanut butter cups later.
- Melt the Chocolate: In a microwave-safe bowl, combine chocolate chips and coconut oil. Microwave in 30-second intervals, stirring after each, until chocolate is completely melted and smooth. Stir in vanilla extract once melted.
- Create Chocolate Base Layers: Spoon about 1 heaping teaspoon of melted chocolate into each muffin liner. Spread to the edges forming a flat, even layer. Repeat for all 12 cups.
- Chill the Chocolate Base: Place the muffin tin in the refrigerator to let the chocolate base set and solidify before adding the filling.
- Make the Peanut Butter Filling: Microwave the peanut butter in a small bowl for 15–20 seconds until runny. Stir in vanilla protein powder, salt, and maple syrup until fully combined and creamy.
- Assemble Peanut Butter Discs: Divide the peanut butter mixture into 12 equal portions. Shape each portion into a disc slightly smaller than the muffin liner for layering.
- Add Filling to Cups: Remove the muffin tin from the refrigerator and place one peanut butter disc on top of each set chocolate base.
- Add Remaining Chocolate: If the melted chocolate has thickened, microwave again for 15–20 seconds to loosen. Drizzle the remaining chocolate over each peanut butter disc, spreading evenly to the edges to seal the filling.
- Chill Until Set: Return the muffin tin to the refrigerator for at least 1 hour or until peanut butter cups are completely firm and set.
- Serve and Store: Enjoy immediately or store leftover cups in an airtight container in the refrigerator or freezer for later snacking.
Notes
- Use parchment paper muffin liners for the best release of peanut butter cups.
- Ensure the chocolate base is fully set before adding peanut butter to prevent mixing layers.
- Adjust sweetness by varying the amount of maple syrup to taste.
- Protein powder adds nutrition but can affect texture; mix thoroughly for smooth filling.
- Store peanut butter cups in the fridge or freezer to maintain firmness, especially in warm environments.


