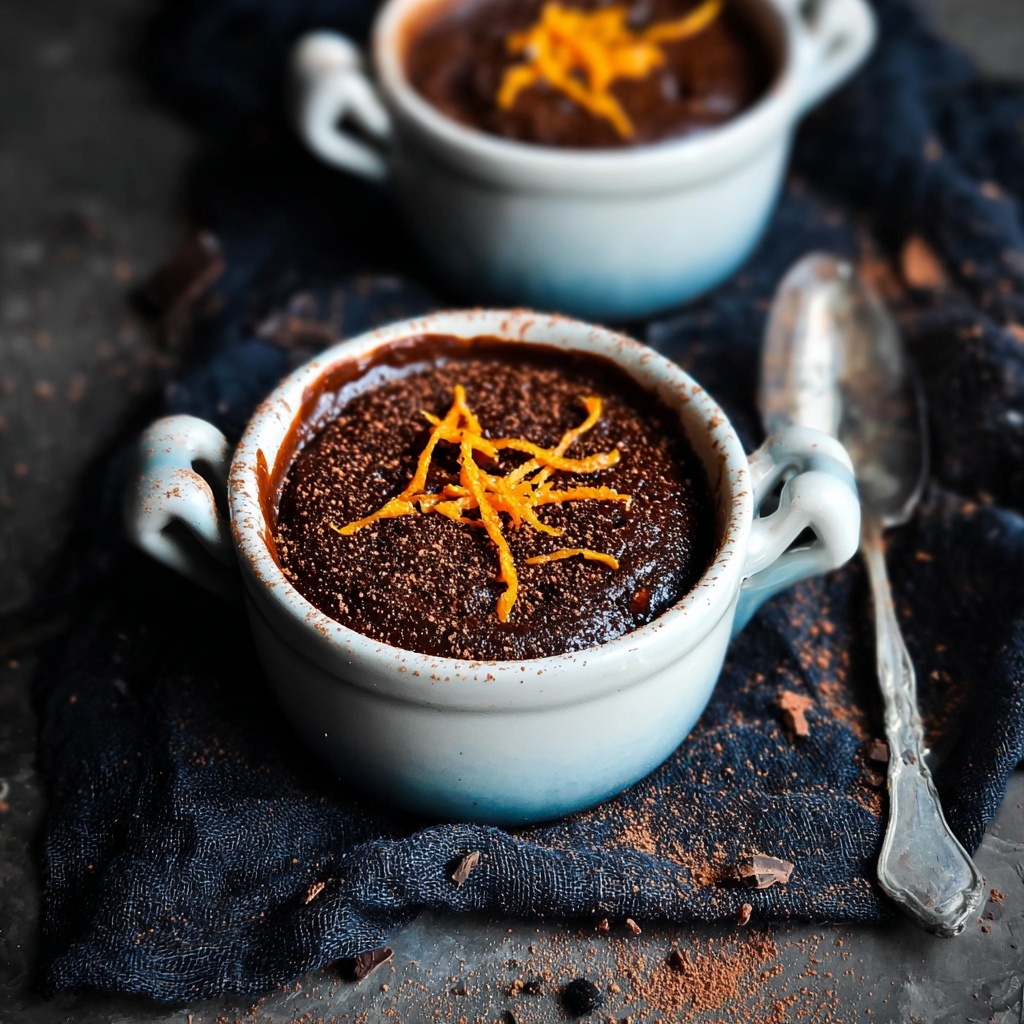
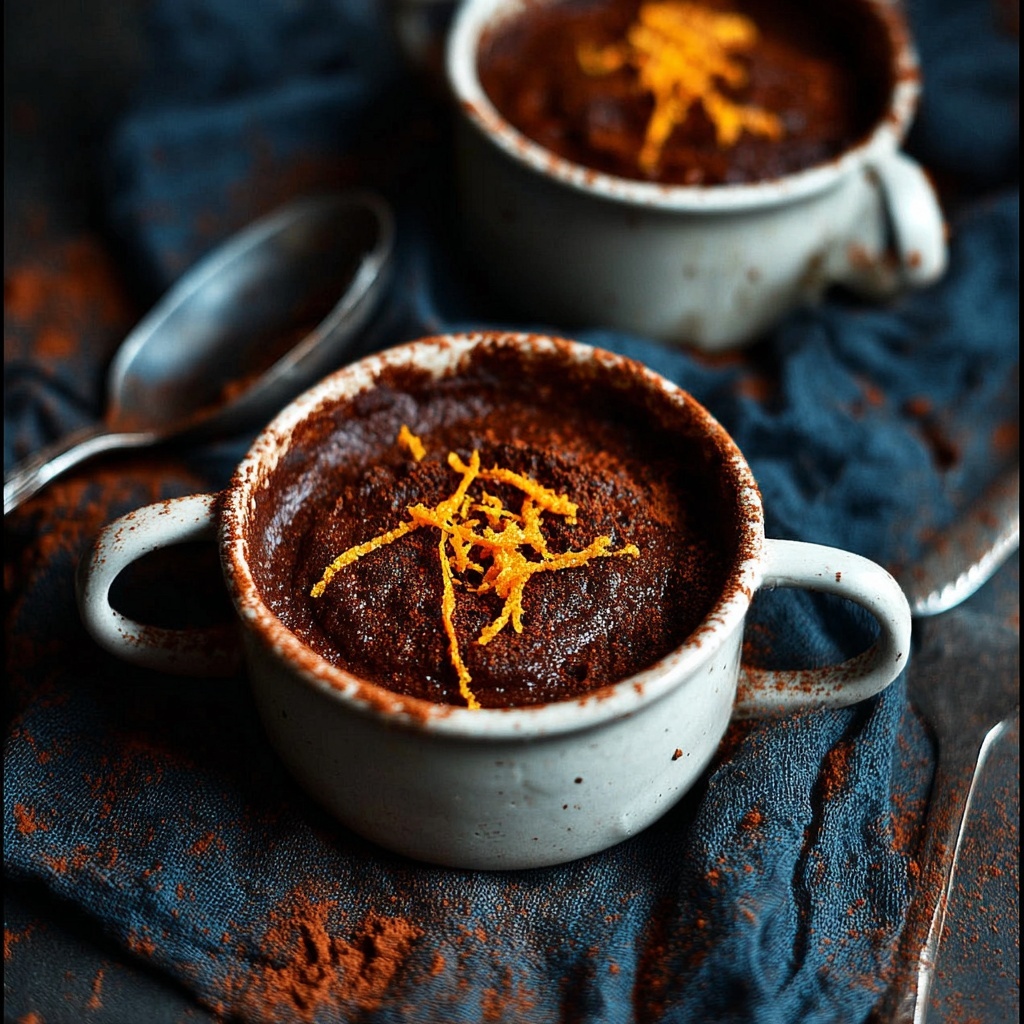
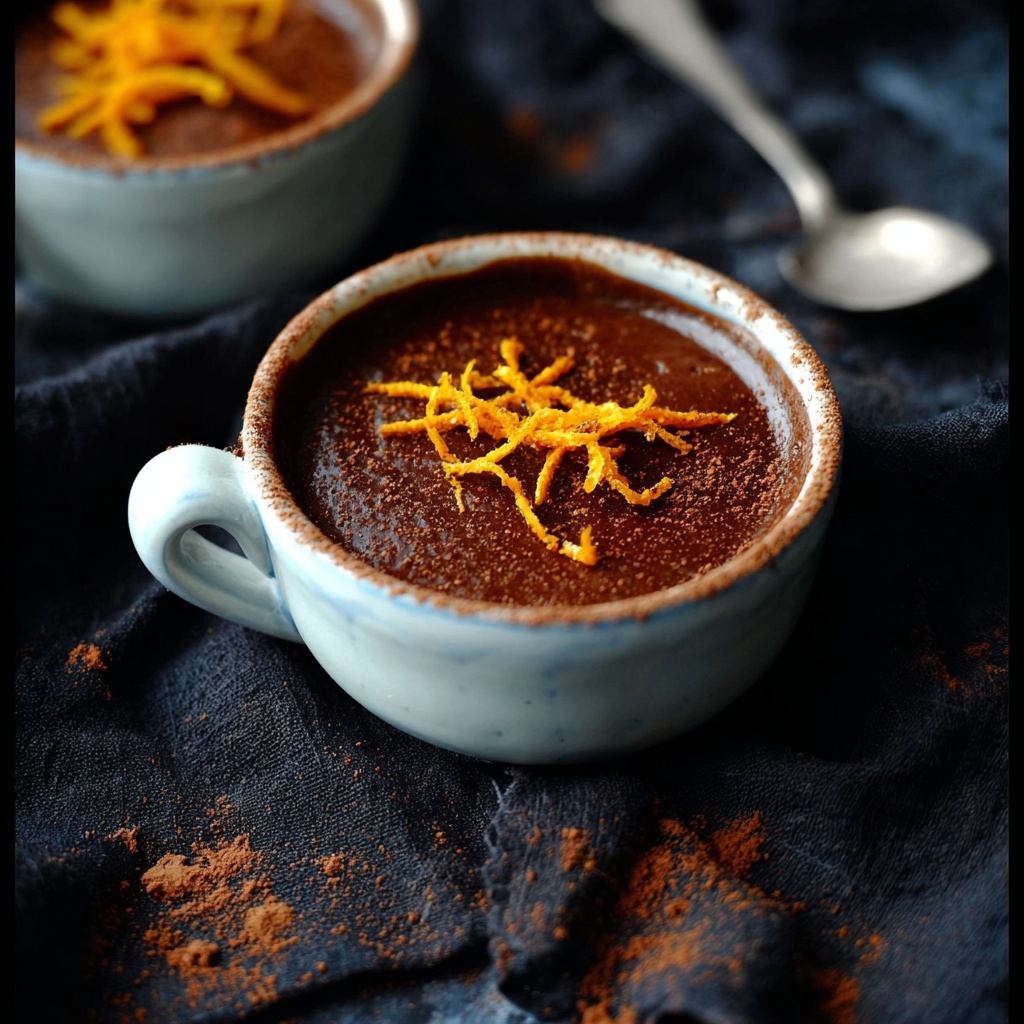
If you have a soft spot for creamy, velvety desserts that feel like a warm hug in every bite, then you are in for a treat with this Chocolate Pudding Recipe. It blends just the right amount of rich cocoa flavor with a smooth texture that’s incredibly satisfying. Whether you’re aiming for a simple late-night snack or a comforting finale to a special dinner, this homemade pudding is both nostalgic and fresh. It’s easy to make, yet it tastes like it took hours of loving attention—plus, it’s the kind of dish that invites you to slow down and enjoy each luscious spoonful.
Ingredients You’ll Need
Gathering the ingredients for this Chocolate Pudding Recipe is wonderfully straightforward, yet each item plays a crucial role in bringing out its luscious texture and classic chocolate taste. You’ll find that the simplicity of these staples yields something truly memorable.
- Granulated sugar: Provides sweetness that balances the cocoa’s natural bitterness perfectly.
- Unsweetened cocoa powder: The heart of the pudding’s deep chocolate flavor; choose a quality cocoa for best results.
- Cornstarch: Acts as a thickening agent, giving pudding its creamy, pudding-like consistency without any lumps.
- Salt: Enhances all the flavors and prevents the dessert from tasting flat.
- Whole milk: The base liquid that delivers richness and creaminess, essential for that smooth mouthfeel.
- Unsalted butter: Adds silky smoothness and richness, rounding out the final texture beautifully.
- Vanilla extract: Brings a warm, aromatic depth that complements the chocolate perfectly.
How to Make Chocolate Pudding Recipe
Step 1: Combine Dry Ingredients
Begin by whisking together the granulated sugar, cocoa powder, cornstarch, and salt in a medium saucepan. This step ensures all the dry ingredients are evenly mixed, which is key for a smooth pudding without any lumps or uneven flavor pockets.
Step 2: Gradually Add Milk
Slowly whisk in the whole milk a little at a time, making sure the mixture stays smooth. Gradual incorporation is crucial here to prevent clumps and start the pudding base off nicely.
Step 3: Heat and Thicken
Place the saucepan over medium heat, stirring constantly to keep things moving. After about 8 to 10 minutes, you’ll notice the pudding thickens and just begins to bubble. Continue stirring for another minute to ensure it thickens fully, developing that signature creamy texture.
Step 4: Add Butter and Vanilla
Remove the saucepan from heat, then stir in the butter and vanilla extract. The butter melts into the warm pudding, adding a luscious silkiness, while the vanilla adds a fragrant warmth that deepens the flavor complexity.
Step 5: Chill the Pudding
Pour the pudding into your chosen serving bowls. To avoid a skin forming on top, press plastic wrap directly onto the surface of each bowl before refrigerating. Let the pudding chill for at least two hours until it’s fully set and refreshingly cool.
How to Serve Chocolate Pudding Recipe
Garnishes
The beauty of this Chocolate Pudding Recipe is how wonderfully it pairs with a variety of toppings. A dollop of whipped cream adds a light contrast, while chocolate shavings provide a bit of texture and extra indulgence. For a touch of freshness, try adding sliced strawberries or a sprinkle of toasted nuts.
Side Dishes
Chocolate pudding shines as a dessert on its own but also pairs elegantly with crunchy biscotti, buttery shortbread cookies, or even a simple buttered toast for dipping. These extras add a delightful crunch to balance the pudding’s creamy softness.
Creative Ways to Present
For a special occasion, serve your chocolate pudding in vintage glass dessert cups or mason jars. Layer it with crushed cookies or fruit compote for a stunning parfait effect. You can even pipe it into mini tart shells for bite-sized delights that wow guests with both flavor and presentation.
Make Ahead and Storage
Storing Leftovers
This Chocolate Pudding Recipe stores beautifully in the refrigerator for up to three days. Keep the plastic wrap pressed onto the surface or transfer it to an airtight container to maintain its smooth texture and prevent skin formation.
Freezing
Freezing pudding often changes its creamy texture, so it’s not generally recommended for this dessert. However, if you must freeze it, do so in airtight containers and expect a slightly grainier texture upon thawing. Best enjoyed fresh and chilled.
Reheating
Since this pudding tastes best cold, reheating isn’t necessary. If you prefer it warm, gently reheat small portions on the stove over low heat, stirring constantly. Be cautious as overheating can cause the pudding to separate.
FAQs
Can I use skim milk instead of whole milk?
While you can substitute skim milk, the pudding won’t be as rich or creamy. Whole milk gives the pudding that luscious, velvety texture that makes this recipe truly special.
Can I make this pudding dairy-free?
Yes! Swap the whole milk and butter for unsweetened almond or oat milk and a dairy-free margarine or coconut oil. The texture might differ slightly, but it will still be delicious.
How do I prevent lumps in the pudding?
Whisking constantly during the entire cooking process and adding the milk gradually helps ensure a smooth pudding without lumps. Also, mixing cornstarch with the dry ingredients first distributes it evenly before adding liquid.
Can I add espresso or coffee to enhance the chocolate flavor?
Absolutely! Adding a teaspoon of espresso powder or strong brewed coffee while heating intensifies the chocolate notes and adds complexity without overpowering the dessert.
How long does the pudding last in the refrigerator?
The pudding stays fresh and delicious for up to three days when properly covered. After this, it may begin to lose its smooth texture and fresh flavor.
Final Thoughts
Sharing this Chocolate Pudding Recipe with you has been such a joy because it’s truly one of those desserts that feels like a little celebration in a bowl. Easy to make, utterly comforting, and always a crowd-pleaser, it’s the perfect project whether you’re a busy weekday cook or planning a weekend treat. I encourage you to try it, play around with garnishes, and most importantly, savor every spoonful!
Print
Chocolate Pudding Recipe
- Prep Time: 10 minutes
- Cook Time: 10 minutes
- Total Time: 2 hours 20 minutes
- Yield: 4 servings
- Category: Dessert
- Method: Stovetop
- Cuisine: American
- Diet: Vegetarian
Description
This classic homemade Chocolate Pudding is creamy, rich, and deeply chocolatey. Made with simple pantry ingredients, it’s a quick and easy stovetop dessert that yields smooth, luscious pudding with a velvety texture. Perfect served chilled with optional toppings like whipped cream or chocolate shavings, it’s a nostalgic favorite for any chocolate lover.
Ingredients
Dry Ingredients
- 1/2 cup granulated sugar
- 1/4 cup unsweetened cocoa powder
- 3 tablespoons cornstarch
- 1/4 teaspoon salt
Wet Ingredients
- 2 3/4 cups whole milk
- 2 tablespoons unsalted butter
- 1 teaspoon vanilla extract
Instructions
- Combine Dry Ingredients: In a medium saucepan, whisk together the sugar, cocoa powder, cornstarch, and salt to evenly distribute all dry ingredients.
- Add Milk: Gradually whisk in the whole milk until the mixture is smooth with no lumps, ensuring an even texture.
- Cook Mixture: Place the saucepan over medium heat and continuously whisk to prevent lumps or scorching as the pudding thickens. Cook for about 8 to 10 minutes until it bubbles and thickens.
- Finish Cooking: After bubbling, continue cooking and whisking for an additional 1 minute to fully thicken the pudding to a creamy consistency.
- Add Butter and Vanilla: Remove from heat and stir in the unsalted butter and vanilla extract until melted and the pudding is smooth and glossy.
- Chill Pudding: Pour the pudding into individual serving bowls and press plastic wrap directly onto the surface to prevent a skin from forming. Refrigerate for at least 2 hours or until fully chilled and set before serving.
Notes
- For a richer, creamier pudding, substitute 1/2 cup of the whole milk with heavy cream.
- Top with whipped cream or chocolate shavings for added indulgence before serving.
- Pressing plastic wrap directly on the pudding surface prevents an unappetizing skin from forming during chilling.
- Whisk constantly while cooking to prevent lumps and ensure smooth texture.
