
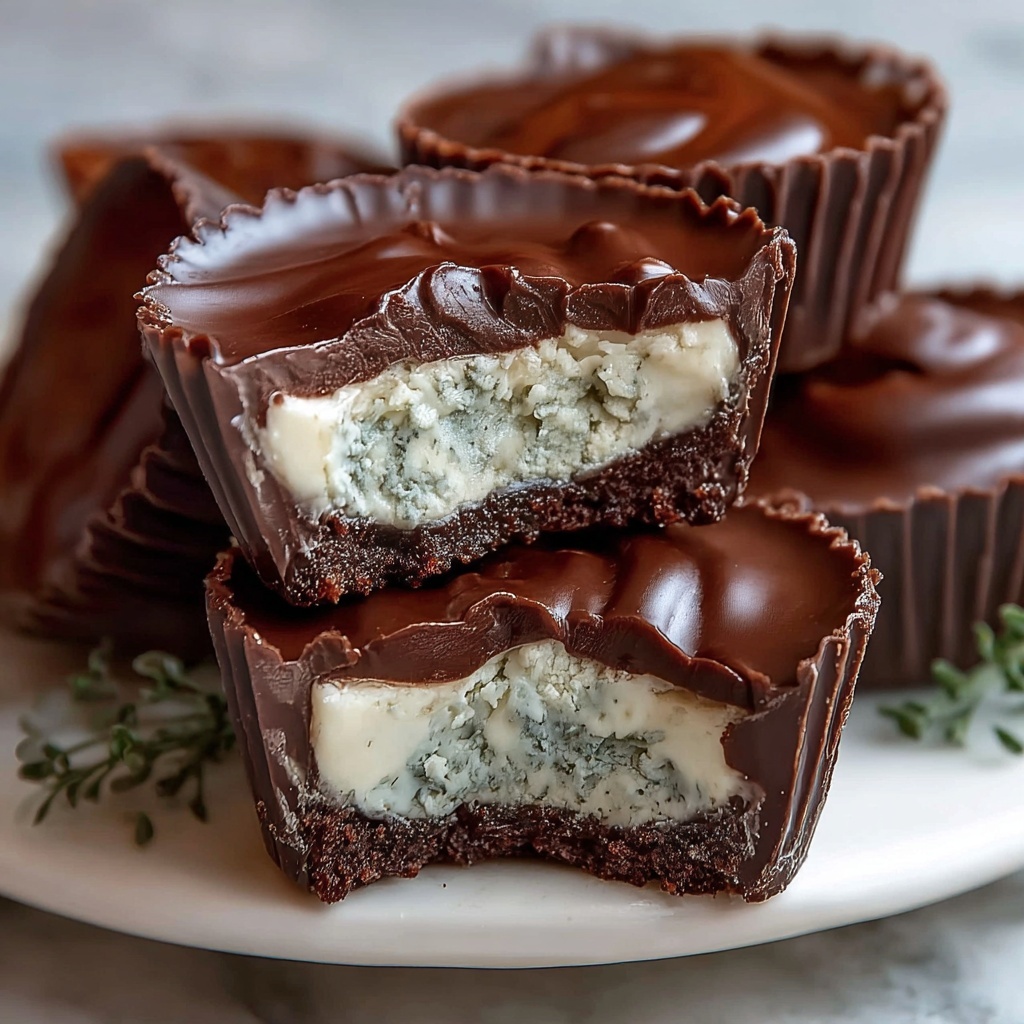
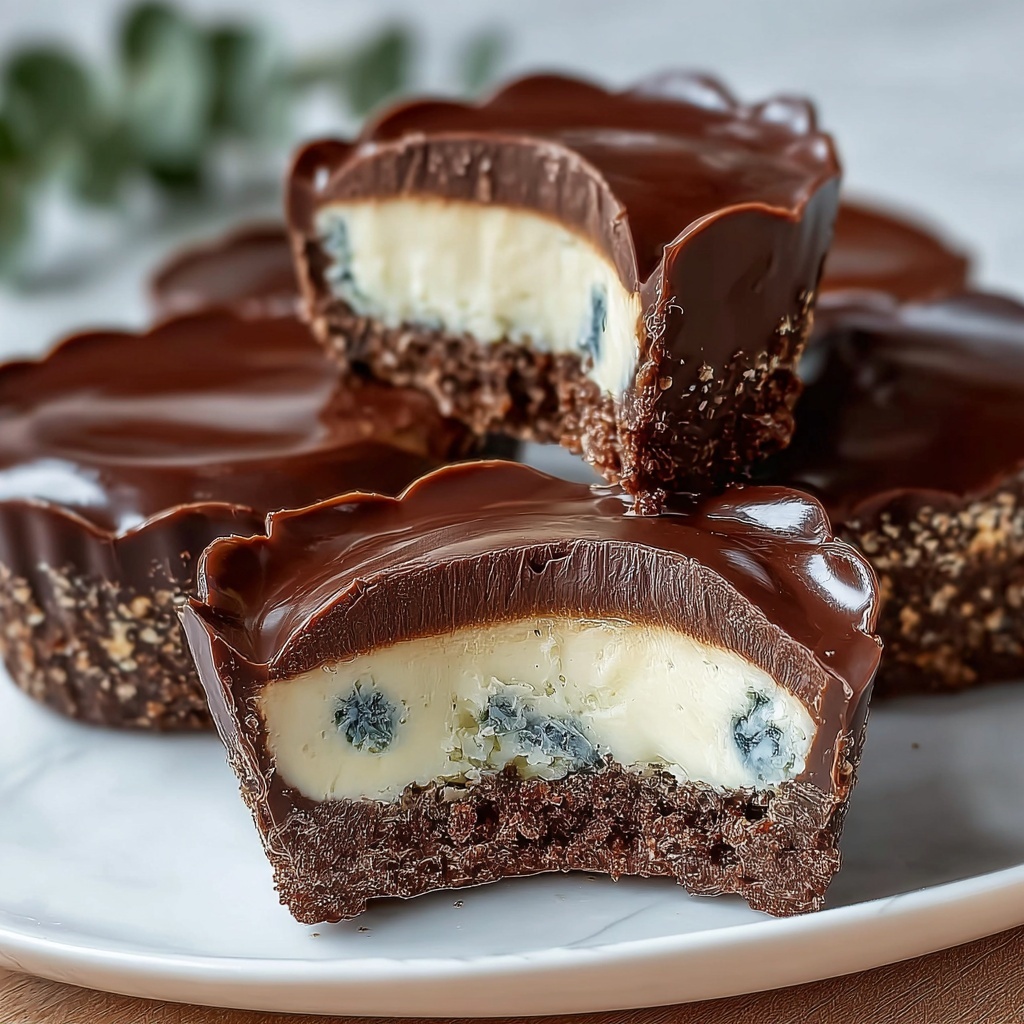
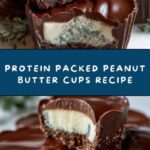
If you are on the hunt for a treat that combines indulgence with nutrition, this Protein Packed Peanut Butter Cups Recipe is exactly what your snack lineup needs. Imagine the rich, velvety taste of dark chocolate playing perfectly with creamy, protein-enriched peanut butter and a tangy hint of Greek yogurt, all nestled in one bite-sized delight. These peanut butter cups are not only a fantastic fix for your sweet cravings but also a smart way to sneak in extra protein without compromising on flavor. Whether you’re looking for a post-workout boost, a satisfying snack, or a guilt-free dessert, these cups check all the boxes with their lush texture and balanced sweetness.
Ingredients You’ll Need
This Protein Packed Peanut Butter Cups Recipe shines because of its simple yet thoughtfully chosen ingredients. Each component contributes to the taste, texture, and nutritional profile, making the final cups irresistible and wholesome.
- 7 oz dark chocolate (70% cocoa or higher): Provides a rich, slightly bitter base that complements the sweet peanut butter and adds antioxidants.
- 1 tablespoon coconut oil: Helps melt and smooth the chocolate while adding a subtle tropical aroma.
- ½ cup natural peanut butter: Offers creamy texture and classic nutty flavor that forms the heart of the filling.
- 1 tablespoon honey or maple syrup: Adds natural sweetness to balance the chocolate’s bitterness and enrich the peanut butter layer.
- 1 scoop (about 1 oz) vanilla or unflavored whey protein powder: Boosts the protein content without altering the taste significantly.
- ¾ cup thick Greek yogurt (full-fat or 2%): Brings a creamy tang that lightens the filling and provides probiotics.
- 1 tablespoon honey or maple syrup: Sweeter to mellow the yogurt’s tartness gently.
- 1 teaspoon vanilla extract: Enhances the overall flavor with warm, comforting notes.
- Pinch of salt: Elevates the sweetness and chocolate flavors, rounding out each layer perfectly.
How to Make Protein Packed Peanut Butter Cups Recipe
Step 1: Prepare Muffin Tin
Start by lining a 12-cup mini muffin tin with paper liners to make removal easy and keep your peanut butter cups perfectly shaped.
Step 2: Melt Chocolate
Melt the dark chocolate along with coconut oil together in a microwave-safe bowl. Utilizing 30-second intervals, stir gently between melts until the chocolate is smooth and glossy, which is key for that luscious texture in every bite.
Step 3: Layer Chocolate Base
Spoon about 1 teaspoon of the melted chocolate into the bottom of each liner. Use the back of the spoon to gently spread the chocolate up the sides a little, creating a sturdy shell for the filling. Pop the tin into the freezer for 10 minutes so this layer can set firm.
Step 4: Prepare Peanut Butter Mixture
Mix the natural peanut butter, whey protein powder, and honey together in a small bowl. Whisk until the mixture is completely smooth and creamy—this is the protein-packed heart of your cups.
Step 5: Prepare Greek Yogurt Filling
In a separate bowl, combine the thick Greek yogurt with honey, vanilla extract, and a pinch of salt. Stir until luxuriously creamy and well blended to add a tangy contrast to the peanut butter layer.
Step 6: Add Peanut Butter Layer
Take your muffin tin from the freezer and add about 1 teaspoon of the peanut butter mixture over the chocolate base in each cup. Gently press down to flatten, creating a smooth, firm layer.
Step 7: Add Greek Yogurt Layer
Top off each peanut butter layer with about 1 teaspoon of the Greek yogurt mixture. Flatten this layer gently, making sure it’s smooth for the final chocolate seal.
Step 8: Seal with Chocolate
Cover each cup completely with the remaining melted chocolate, sealing the edges and top to lock in all those flavors and textures. This final coat not only makes them look stunning but keeps everything intact.
Step 9: Final Chill
Place the entire tray back into the freezer for at least one hour. This step is essential for firming up the cups so they hold their shape when you take them out to enjoy.
Step 10: Store and Serve
Once firm, transfer the cups to the refrigerator to keep chilled until ready to enjoy. They are best served cold for maximum texture contrast and taste.
How to Serve Protein Packed Peanut Butter Cups Recipe
Garnishes
Add a sprinkle of flaky sea salt or crushed roasted peanuts on top of each cup before chilling for an extra touch of crunch and a sophisticated flavor pop that complements the sweet and savory layers beautifully.
Side Dishes
This Protein Packed Peanut Butter Cups Recipe is so rich and satisfying, it pairs wonderfully with a fresh fruit salad or a small bowl of mixed berries. The natural tartness helps cut through the richness and balances the plate.
Creative Ways to Present
Serve these cups on a decorative platter lined with parchment paper and garnish around them with those fresh berries or edible flowers for a stunning presentation. For an easy grab-and-go option, arrange them in mini cupcake holders tied with a ribbon for gifts or party favors.
Make Ahead and Storage
Storing Leftovers
Keep any leftover peanut butter cups stored in an airtight container in the refrigerator. They’ll stay fresh and firm for up to one week, perfect for quick snacks throughout the week.
Freezing
If you want to keep them longer or prepare in advance, these cups freeze beautifully. Wrap them tightly in plastic wrap or place in a freezer-safe container, and they can last up to three months without losing their texture or flavor.
Reheating
These are best enjoyed chilled or frozen. If you prefer them slightly soft, let them thaw at room temperature for 10–15 minutes before enjoying. Avoid microwaving as the layers can separate and texture will change unfavorably.
FAQs
Can I use peanut butter alternatives in this Protein Packed Peanut Butter Cups Recipe?
Absolutely! Almond butter, cashew butter, or sunflower seed butter all work beautifully and bring their own unique flavors. Just choose creamy versions for the best texture.
Is whey protein powder necessary or can I omit it?
The whey protein is what makes these cups “protein packed,” but you can leave it out if you prefer. The cups will still taste amazing but have less protein content.
What kind of dark chocolate should I use?
Go for dark chocolate with at least 70% cocoa for a nice balance of bitterness and sweetness. Avoid chocolates with added milk or excessive sugar to keep the flavor deep and the snack healthier.
Can I make these cups vegan?
Yes, swap out the Greek yogurt for a thick coconut yogurt and replace the honey with maple syrup. Make sure your protein powder is plant-based for a fully vegan version.
How long do the peanut butter cups keep their freshness?
Stored in the refrigerator, these cups stay fresh and delicious for up to one week. For longer storage, freeze them and enjoy within three months.
Final Thoughts
This Protein Packed Peanut Butter Cups Recipe is one of those special treats that genuinely satisfies both your sweet tooth and your nutritional goals. Every bite delivers a luscious blend of flavors and textures that feel indulgent yet wholesome. I wholeheartedly encourage you to give these a try, whether you need a post-workout pick-me-up, a sweet snack, or a clever dessert. They’ll quickly become a favorite in your kitchen, just as they are in mine!
Print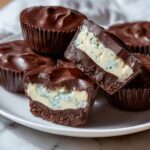
Protein Packed Peanut Butter Cups Recipe
- Prep Time: 20 minutes
- Cook Time: 10 minutes (chocolate melting and layering) plus 1 hour chilling time
- Total Time: 1 hour 30 minutes
- Yield: 12 mini peanut butter cups
- Category: Dessert, Snack
- Method: No-Cook
- Cuisine: American
- Diet: Gluten Free
Description
These Protein Packed Peanut Butter Cups are a delicious and healthy treat combining rich dark chocolate, creamy peanut butter, and Greek yogurt, fortified with whey protein powder for an extra nutritional boost. Perfect for a satisfying snack or dessert, they offer a delightful balance of flavors and textures while providing protein and healthy fats.
Ingredients
Chocolate Layer
- 7 oz dark chocolate (70% cocoa or higher), chopped
- 1 tablespoon coconut oil
Peanut Butter Layer
- ½ cup natural peanut butter
- 1 tablespoon honey or maple syrup
- 1 scoop (about 1 oz) vanilla or unflavored whey protein powder
Greek Yogurt Layer
- ¾ cup thick Greek yogurt (full-fat or 2%)
- 1 tablespoon honey or maple syrup
- 1 teaspoon vanilla extract
- Pinch of salt
Instructions
- Prepare Muffin Tin: Line a 12-cup mini muffin tin with paper liners to prevent sticking and make it easy to remove the peanut butter cups.
- Melt Chocolate: Combine the chopped dark chocolate and coconut oil in a microwave-safe bowl. Heat in 30-second intervals, stirring in between, until the mixture is completely melted and smooth.
- Layer Chocolate Base: Spoon about 1 teaspoon of the melted chocolate into the bottom of each paper liner. Use the back of the spoon to spread the chocolate slightly up the sides. Place the muffin tin in the freezer for 10 minutes to set the chocolate base.
- Prepare Peanut Butter Mixture: In a small bowl, stir together the natural peanut butter, whey protein powder, and honey until the mixture is smooth and uniform.
- Prepare Greek Yogurt Filling: In another bowl, mix the thick Greek yogurt with honey, vanilla extract, and a pinch of salt until creamy and thoroughly combined.
- Add Peanut Butter Layer: Remove the muffin tin from the freezer. Spoon about 1 teaspoon of the peanut butter mixture over the set chocolate base in each cup and gently flatten the layer.
- Add Greek Yogurt Layer: Carefully spoon about 1 teaspoon of the Greek yogurt mixture on top of the peanut butter layer in each cup. Flatten gently to create an even layer.
- Seal with Chocolate: Cover each cup completely with the remaining melted chocolate to seal in the layers. Make sure the tops are fully coated.
- Final Chill: Place the tray back in the freezer and chill for at least 1 hour or until the peanut butter cups are firm and set.
- Store and Serve: Store the peanut butter cups in the refrigerator to keep them chilled. Enjoy them cold as a protein-rich snack or dessert.
Notes
- Use natural peanut butter without added sugar or oil for a healthier option.
- Dark chocolate with at least 70% cocoa provides a rich taste and less sugar.
- Greek yogurt can be full-fat or 2% depending on your preference; avoid flavored varieties to keep sugar content low.
- Ensure each layer is gently flattened for neat layering and better texture.
- Keep the cups refrigerated or frozen until ready to serve to maintain firmness.
