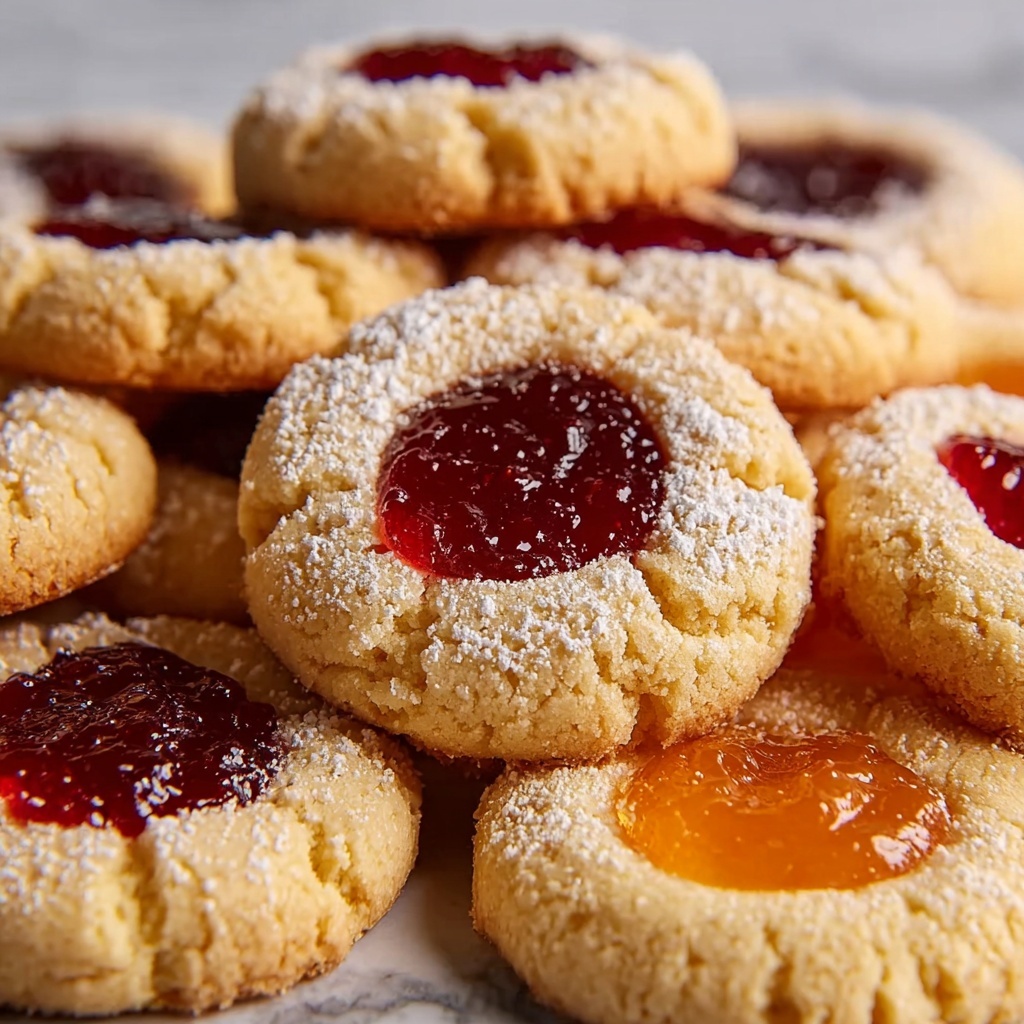
If you’ve ever wanted to bake a cookie that’s as charming to look at as it is delicious to eat, then this Thumbprint Cookies with Jam Filling Recipe is the one you need to try. These delightful treats bring together a tender, buttery cookie base with a burst of sweet and tangy jam right in the center, creating a perfect balance of flavors and textures that will have everyone coming back for seconds. Whether it’s for teatime, a festive gathering, or a sweet snack, these cookies are simple to whip up and a guaranteed crowd-pleaser.
Ingredients You’ll Need
The magic of this Thumbprint Cookies with Jam Filling Recipe lies in its simple, pantry-friendly ingredients. Each component plays an important role in the outcome: from the creamy butter that ensures a melt-in-your-mouth texture to the punch of fruit jam that adds color and vibrant flavor.
- 1 cup unsalted butter, softened: The richness and softness in every bite come from well-softened butter, key for that tender crumb.
- 1/2 cup granulated sugar: Adds just enough sweetness and helps create a light, fluffy dough.
- 1 large egg yolk: Brings richness and binds the dough perfectly without weighing it down.
- 1 teaspoon vanilla extract: Enhances the cookie’s flavor with a warm, aromatic depth.
- 2 cups all-purpose flour: The structural backbone that holds everything together in the dough.
- 1/2 teaspoon salt: Balances sweetness and enhances other flavors.
- 1/4 teaspoon baking powder: Gives a subtle lift to the cookies, keeping them soft yet firm enough for those iconic thumbprint dents.
- 1/4 cup fruit jam or preserves: Choose your favorite—raspberry, strawberry, or apricot—to fill the cookies with a lovely burst of fruity flavor.
- Optional: powdered sugar for dusting: A pretty finishing touch that adds a little extra sweetness and sparkle.
How to Make Thumbprint Cookies with Jam Filling Recipe
Step 1: Prepare Your Oven and Baking Sheet
Begin by preheating your oven to 350°F (175°C). Line a baking sheet with parchment paper or a silicone baking mat. This step ensures your cookies won’t stick and makes cleanup a breeze, setting you up for baking success right from the start.
Step 2: Cream Butter and Sugar
In a large bowl, cream together the softened butter and granulated sugar until the mixture is light and fluffy, which usually takes about 3 minutes of steady mixing. This is where the air gets incorporated to give your cookies that wonderful light texture.
Step 3: Add the Egg Yolk and Vanilla
Beat in the egg yolk and vanilla extract until fully combined. These ingredients bring creaminess and a depth of flavor that will elevate your cookies beyond the ordinary.
Step 4: Mix Dry Ingredients
In a separate bowl, whisk together the flour, salt, and baking powder. This step ensures your baking powder is evenly distributed, giving a consistent texture throughout the dough.
Step 5: Combine Wet and Dry
Gradually add the dry ingredients to the butter mixture, stirring until just combined. The dough will be soft but hold its shape when pressed, so be careful not to overmix—it’s the key to tender cookies.
Step 6: Shape the Cookies
Roll the dough into 1-inch balls and place them on the prepared baking sheet about 2 inches apart. The spacing allows room for the cookies to spread slightly as they bake without merging into each other.
Step 7: Create the Thumbprints
Using your thumb or the back of a spoon, gently make an indentation right in the center of each cookie ball. This classic step forms the “thumbprint” and is where all the delicious jam will nestle.
Step 8: Fill with Jam
Fill each indentation with about 1/2 teaspoon of your chosen fruit jam or preserves. Don’t be shy here—it’s the sweet heart of the cookie and what makes this Thumbprint Cookies with Jam Filling Recipe so irresistible.
Step 9: Bake to Perfection
Bake your cookies for 12 to 15 minutes or until the edges turn a light golden color. The smell wafting from the oven at this point is pure temptation!
Step 10: Cool and Optional Dusting
Once baked, remove the cookies and allow them to cool on the baking sheet for about 5 minutes before transferring to a wire rack to cool completely. If you want to add an elegant touch, dust the cooled cookies lightly with powdered sugar.
How to Serve Thumbprint Cookies with Jam Filling Recipe
Garnishes
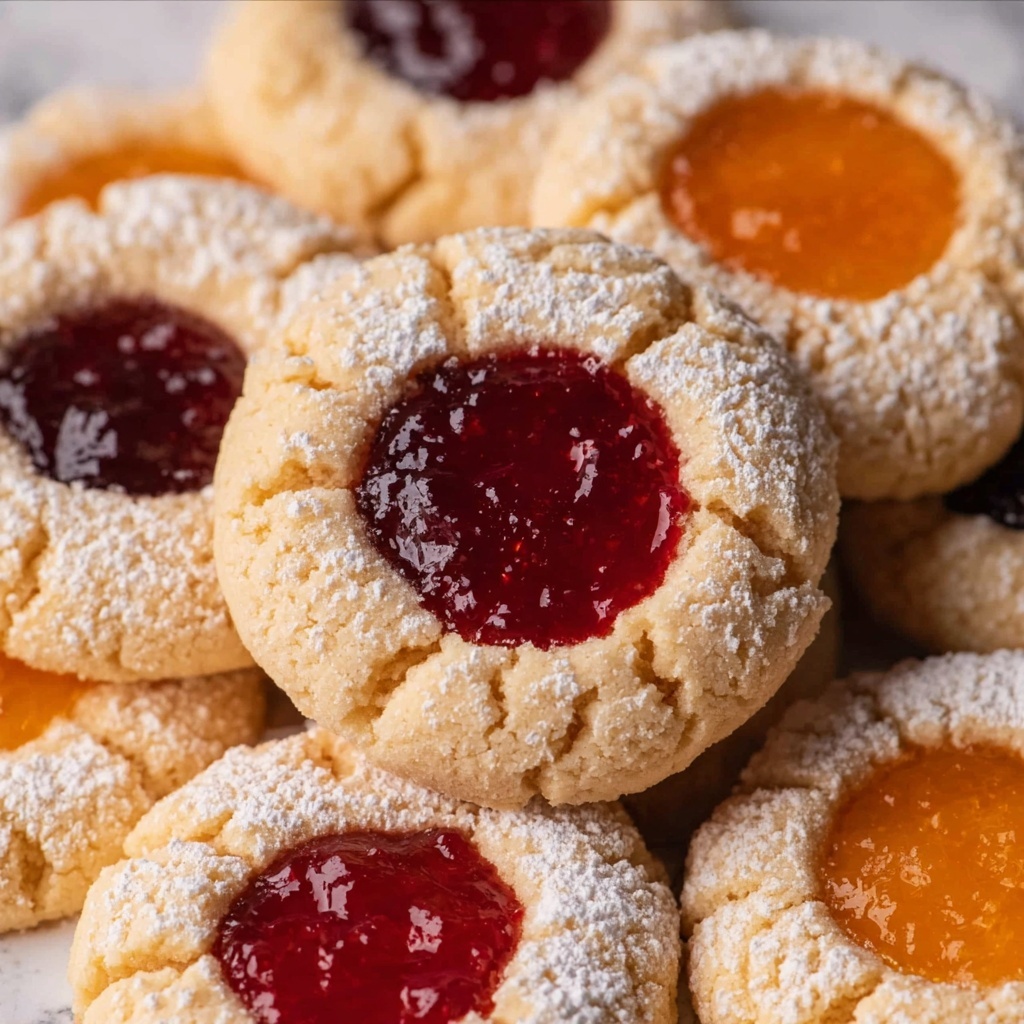
These cookies are already stunning, but a delicate dusting of powdered sugar or a tiny edible flower on top of the jam can make them look like they came from a gourmet bakery. Fresh berries alongside would also add a refreshing contrast.
Side Dishes
Serve these cookies with a cup of tea or coffee to complement their sweetness. They also pair wonderfully with a glass of cold milk or even a light sparkling wine for celebratory occasions.
Creative Ways to Present
Arrange Thumbprint Cookies with Jam Filling Recipe on a delicate tiered serving tray for holiday parties or gift them packed in a pretty tin tied with a ribbon for a heartfelt homemade present. You can also alternate jams of different flavors to create a colorful assortment that’s as fun to look at as to eat.
Make Ahead and Storage
Storing Leftovers
Once cooled, store leftover cookies in an airtight container at room temperature. They will stay fresh and delightful for up to a week, perfect for nibbling over several days without sacrificing taste or texture.
Freezing
You can freeze baked Thumbprint Cookies for up to three months. Place them in a single layer on a baking sheet to freeze, then transfer to an airtight container or freezer bag. When you’re ready to enjoy, thaw them at room temperature for a few hours—easy and convenient!
Reheating
If you want that freshly baked warmth, pop the thawed cookies in a 300°F (150°C) oven for about 5 minutes. This gentle warmth revives that soft buttery texture and makes the jam just a little more luscious.
FAQs
Can I use different types of jam for this recipe?
Absolutely! Raspberry, strawberry, apricot, or even marmalade all work beautifully. Feel free to experiment with your favorite flavors or even try layering a bit of nut butter under the jam for a twist.
Does the dough need chilling before baking?
In this Thumbprint Cookies with Jam Filling Recipe, chilling the dough isn’t necessary since the dough is sturdy enough to hold its shape. But if your kitchen is particularly warm, a short chill period can make rolling easier.
Can I make these cookies gluten-free?
Yes, by substituting the all-purpose flour with a gluten-free baking blend that matches your dietary needs, you can still have delicious thumbprint cookies without gluten.
How do I prevent the jam from bubbling over?
Use just a small amount of jam—about 1/2 teaspoon—to fill each indentation. Overfilling can cause the jam to overflow while baking.
Are these cookies suitable for freezing before baking?
Yes! You can prepare and form the dough balls with jam indentations but do not fill with jam before freezing. Once you’re ready to bake, add the jam and bake as directed.
Final Thoughts
There is something incredibly joyful about making and sharing these Thumbprint Cookies with Jam Filling Recipe. They’re beautifully simple yet impressively tasty, making them a perfect go-to for any occasion that calls for a sweet touch. I can’t wait for you to bake a batch and share these charming bites filled with jam—you’re going to love having this recipe in your baking repertoire!
Print
Thumbprint Cookies with Jam Filling Recipe
- Prep Time: 15 minutes
- Cook Time: 15 minutes
- Total Time: 30 minutes
- Yield: 24 cookies
- Category: Dessert
- Method: Baking
- Cuisine: American
Description
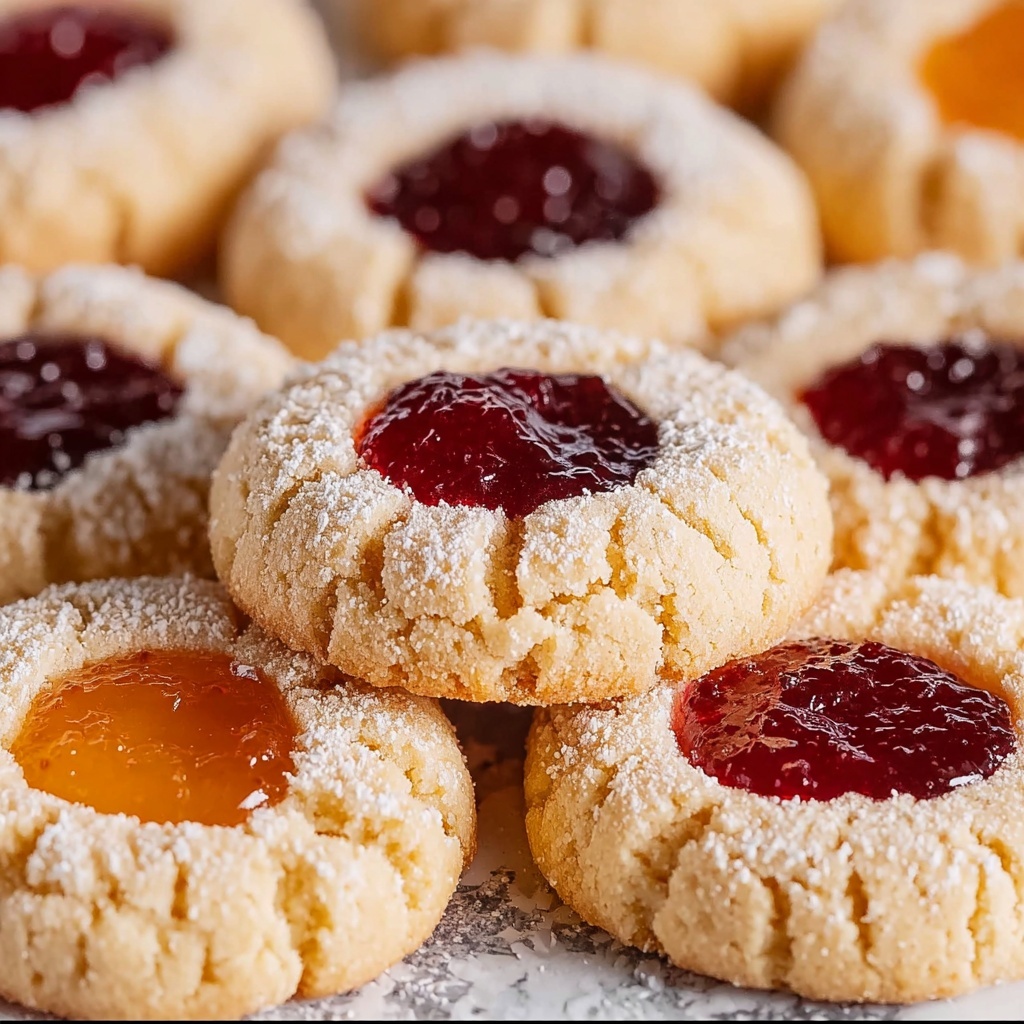
Delightfully buttery and tender thumbprint cookies filled with your choice of sweet fruit jam, perfect for sharing or gifting. These classic cookies offer a soft texture with a melt-in-your-mouth crumb and a burst of fruity flavor in every bite.
Ingredients
Cookie Dough
- 1 cup unsalted butter, softened
- 1/2 cup granulated sugar
- 1 large egg yolk
- 1 teaspoon vanilla extract
- 2 cups all-purpose flour
- 1/2 teaspoon salt
- 1/4 teaspoon baking powder
Filling
- 1/4 cup fruit jam or preserves (such as raspberry, strawberry, or apricot)
Optional
- Powdered sugar for dusting
Instructions
- Preheat the oven: Preheat your oven to 350°F (175°C) and line a baking sheet with parchment paper or a silicone baking mat to prevent sticking.
- Cream butter and sugar: In a large bowl, cream together the softened butter and granulated sugar until the mixture is light and fluffy, which should take about 3 minutes using an electric mixer.
- Add egg yolk and vanilla: Beat in the egg yolk and vanilla extract into the creamed butter mixture until fully combined and smooth.
- Combine dry ingredients: In a separate bowl, whisk together the all-purpose flour, salt, and baking powder to evenly distribute the leavening agents and salt.
- Mix dough: Gradually add the dry ingredient mixture into the wet ingredients, mixing just until combined. The dough will be soft but firm enough to hold its shape when pressed.
- Shape cookies: Roll the dough into 1-inch balls and arrange them spaced about 2 inches apart on the prepared baking sheet to allow for spreading.
- Create thumbprints: Using your thumb or the back of a spoon, gently press an indentation into the center of each dough ball to create space for the jam filling.
- Fill with jam: Fill each indentation with about 1/2 teaspoon of your chosen fruit jam or preserves, spreading gently but leaving the jam slightly confined to the indentation.
- Bake: Bake in the preheated oven for 12-15 minutes or until the edges of the cookies turn a light golden color, indicating doneness.
- Cool: Remove the baking sheet from the oven and allow the cookies to cool on the sheet for 5 minutes to set before transferring them to a wire rack to cool completely.
- Optional dusting: Once completely cooled, dust the cookies lightly with powdered sugar for an elegant finishing touch.
Notes
- Ensure butter is softened to room temperature for easier creaming and better cookie texture.
- Use fresh fruit preserves for the best flavor and consistency.
- Do not overmix the dough once the flour is added to maintain a tender cookie texture.
- Store cookies in an airtight container at room temperature for up to one week.
- These cookies freeze well; freeze baked cookies in a sealed container for up to 3 months.

