
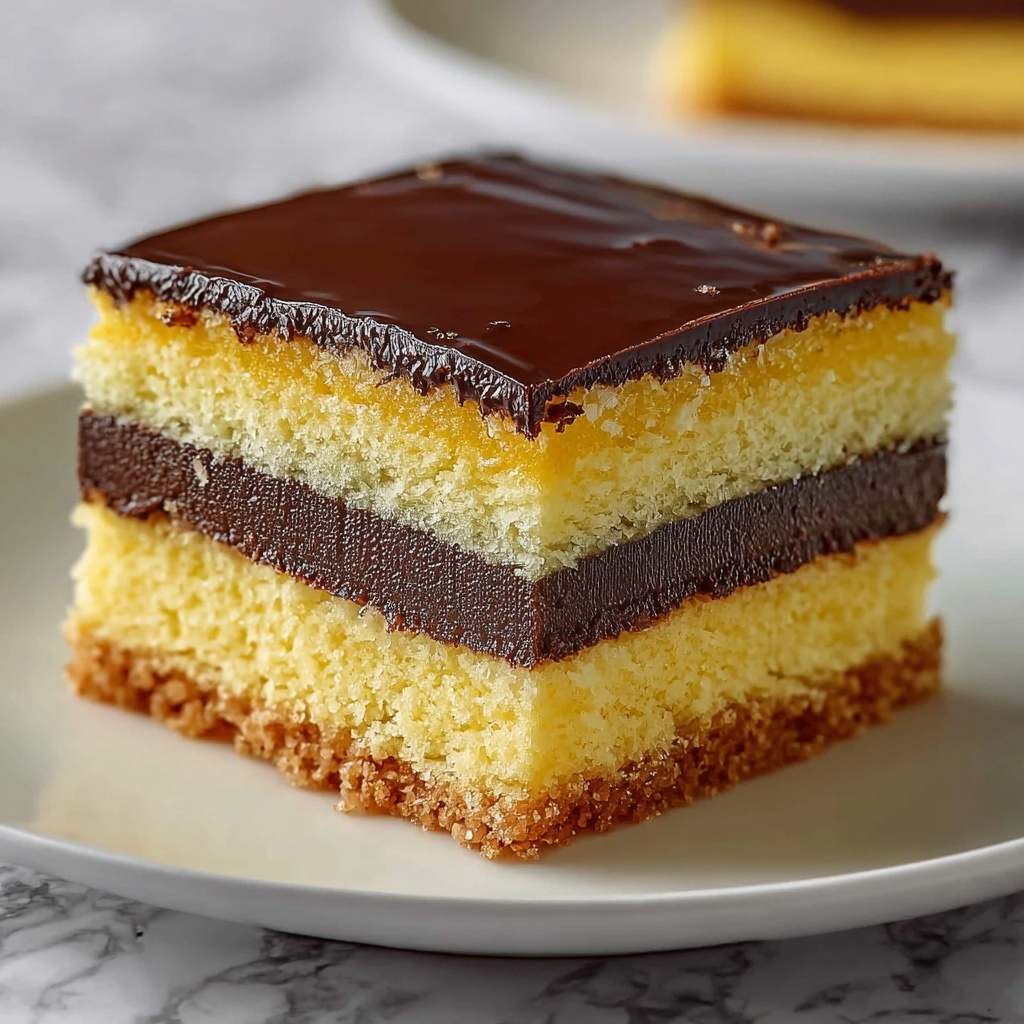
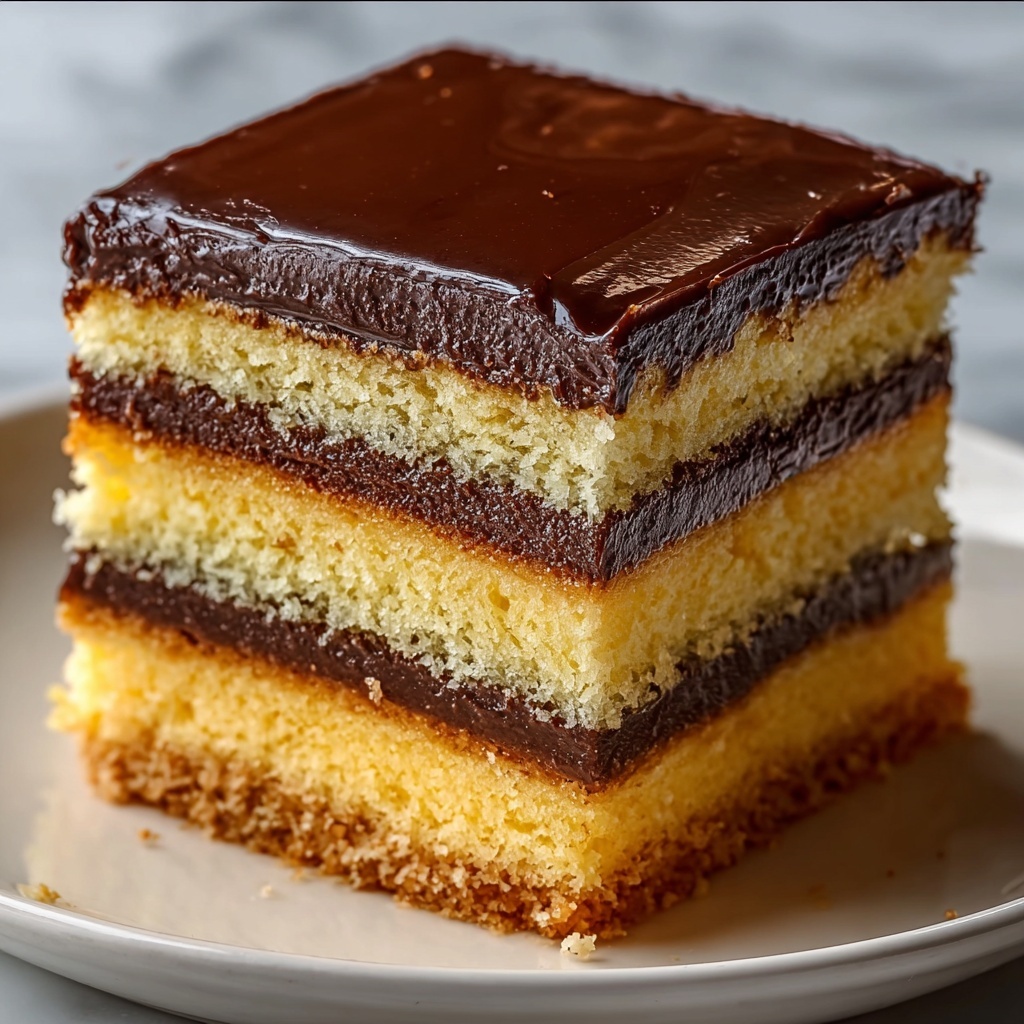
If you have a soft spot for iconic desserts that bring together simple ingredients to create something truly unforgettable, then you are going to love this Classic Boston Cream Pie Recipe. Despite its name, this delightful treat is actually a cake with tender layers filled with luscious pastry cream and topped with a smooth, glossy chocolate glaze. Every bite is a perfect harmony of fluffy sponge, creamy custard, and rich chocolate that has made the Boston Cream Pie a timeless favorite for generations. This recipe breaks down the process in a way that’s easy to follow, ensuring you can make this beloved dessert right in your own kitchen and share it with friends and family.
Ingredients You’ll Need
One of the best things about this Classic Boston Cream Pie Recipe is that it relies on simple, everyday ingredients that you likely already have on hand. Each component, from the all-purpose flour to the eggs and butter, plays a crucial role in achieving that light, fluffy cake texture, while the sugar sweetens everything just perfectly. The secret is how these familiar ingredients combine to create something so elegantly delicious.
- 1 cup all-purpose flour: The backbone of the cake providing structure without weighing it down.
- 1 1/2 teaspoons baking powder: Adds just the right lift for a tender crumb.
- 1/2 teaspoon salt: Enhances all the flavors and balances sweetness.
- 1/2 cup unsalted butter, softened: Adds richness and tenderness to the cake.
- 1 cup granulated sugar: Sweetens the cake and helps create a light texture when beaten with butter.
- 2 large eggs: Bind everything together and add moisture.
How to Make Classic Boston Cream Pie Recipe
Step 1: Preparing Your Pans and Oven
Begin by preheating your oven to a moderate 350°F (175°C). It’s important to grease and flour two 9-inch round cake pans thoroughly—this ensures your cake layers come out cleanly and retain their perfect shape, ready to be stacked with that irresistible pastry cream.
Step 2: Mixing the Dry Ingredients
Whisk together your all-purpose flour, baking powder, and salt in a medium bowl. This helps distribute the leavening agents evenly, so your cake rises just right and has a uniformly tender crumb.
Step 3: Creaming Butter and Sugar
In a large bowl, beat the softened unsalted butter and granulated sugar together until the mixture is light and fluffy. This step is key to incorporating air into the batter, which will result in the airy texture you expect in a classic Boston cream pie.
Step 4: Adding the Eggs
One at a time, beat in the eggs, making sure each is fully incorporated before adding the next. This careful mixing helps create a smooth, cohesive batter that bakes evenly.
Step 5: Combining Wet and Dry Ingredients
Gradually add your dry ingredients to the wet mixture, folding gently just until combined. Overmixing can cause the cake to be tough, so stop as soon as there are no streaks of flour.
Step 6: Baking the Cake Layers
Divide the batter evenly between your two prepared pans and smooth the tops with a spatula. Bake for 20 to 25 minutes or until a toothpick inserted into the center comes out clean. This ensures the cake is baked through but remains moist and tender.
Step 7: Cooling and Assembling
Let the cakes cool in their pans for about 10 minutes, then transfer them to a wire rack to cool completely. Once cool, carefully spread a generous layer of luscious pastry cream or custard between the two layers before topping the assembled cake with the classic chocolate glaze. Chill before serving to let the flavors meld beautifully.
How to Serve Classic Boston Cream Pie Recipe
Garnishes
A simple dusting of powdered sugar outside the chocolate glaze or a few fresh berries on the side can add a touch of color and brightness. Whipped cream piped elegantly around the base or on top can also elevate the presentation, making your Classic Boston Cream Pie Recipe look as stunning as it tastes.
Side Dishes
Serve your Boston Cream Pie alongside a scoop of vanilla ice cream or a light fruit salad to complement the richness of the chocolate and custard. A cup of freshly brewed coffee or tea is the ultimate pairing to balance the dessert’s sweetness.
Creative Ways to Present
For a fun twist, try making mini Boston Cream pies using cupcake tins or create individual dessert jars layered with cake, custard, and chocolate ganache. These delightful presentations make the Classic Boston Cream Pie Recipe perfect for parties and special occasions.
Make Ahead and Storage
Storing Leftovers
Keep your Boston Cream Pie covered tightly with plastic wrap or in an airtight container in the refrigerator. The cake stays fresh for up to 3 days, and overnight chilling actually helps the flavors mature and the custard set perfectly.
Freezing
While the assembled pie doesn’t freeze well due to the custard and glaze, you can freeze the cake layers separately. Wrap them tightly in plastic wrap and foil, then freeze for up to 2 months. Thaw completely before assembling for best results.
Reheating
This dessert is best enjoyed chilled, but if you prefer it slightly warmer, let slices sit at room temperature for 15-20 minutes before serving. Avoid microwaving as it can melt the glaze and affect the texture of the custard.
FAQs
What is Boston Cream Pie?
Despite the name, Boston Cream Pie is actually a layered sponge cake filled with pastry cream and topped with chocolate glaze. It’s a classic American dessert known for its creamy, chocolaty goodness.
Can I use store-bought custard for this recipe?
Absolutely! While homemade pastry cream offers the best flavor and texture, quality store-bought custard or pastry cream can be a convenient shortcut without sacrificing too much taste.
How do I make the chocolate glaze shiny and smooth?
Using good-quality chocolate and gently heating it with a bit of cream or butter creates a glossy ganache that sets perfectly on top of the cake. Avoid overheating to keep the texture silky.
Can I make this recipe gluten-free?
Yes, by substituting all-purpose flour with a gluten-free blend suitable for baking. Keep in mind that texture may vary slightly, but the overall flavor will remain delicious.
How far ahead can I prepare the Classic Boston Cream Pie Recipe?
You can bake the cake layers a day ahead and store them wrapped tightly. Assemble with custard and glaze on the day you plan to serve for the freshest taste and best texture.
Final Thoughts
Making this Classic Boston Cream Pie Recipe is truly a rewarding experience that fills your kitchen with sweet aromas and ends with a dessert everyone will adore. Whether you’re baking for a special occasion or simply treating yourself, this timeless cake is sure to become a cherished favorite. I can’t wait for you to try it and enjoy every luscious bite!
Print
Classic Boston Cream Pie Recipe
- Prep Time: 15 minutes
- Cook Time: 25 minutes
- Total Time: 45 minutes
- Yield: 8 servings
- Category: Dessert
- Method: Baking
- Cuisine: American
Description
This Classic Boston Cream Pie features two tender, buttery cake layers filled with creamy pastry custard and topped with a rich chocolate glaze. It’s a timeless dessert that’s perfect for any occasion, combining soft cake, velvety filling, and glossy chocolate in every bite.
Ingredients
Cake
- 1 cup all-purpose flour
- 1 1/2 teaspoons baking powder
- 1/2 teaspoon salt
- 1/2 cup unsalted butter, softened
- 1 cup granulated sugar
- 2 large eggs
Filling
- Pastry cream or custard (amount as needed to fill between layers, approximately 1 to 1 1/2 cups)
Glaze
- Rich chocolate glaze (amount as needed to cover the top, approx. 1/2 cup)
Instructions
- Preheat and prepare pans: Preheat your oven to 350°F (175°C). Grease and flour two 9-inch round cake pans to prevent sticking.
- Mix dry ingredients: In a medium bowl, whisk together the all-purpose flour, baking powder, and salt. Set aside for later use.
- Cream butter and sugar: In a large bowl, beat the softened unsalted butter and granulated sugar together until the mixture is light and fluffy, which will help create a tender cake texture.
- Add eggs: Incorporate the eggs one at a time into the butter and sugar mixture, beating well after each addition to fully combine and aerate the batter.
- Combine dry and wet: Gradually add the dry ingredients to the wet ingredients, mixing gently and just until combined to avoid overmixing and tough cake.
- Fill pans and smooth: Pour the batter evenly between the two prepared cake pans and smooth the tops with a spatula for even baking.
- Bake the cakes: Bake for 20-25 minutes, or until a toothpick inserted in the center comes out clean, indicating the cakes are fully baked.
- Cool cakes: Allow the cakes to cool in the pans for 10 minutes. Then, carefully transfer them to a wire rack to cool completely, preventing sogginess.
- Assemble and fill: Place one cake layer on a serving plate and spread a generous layer of pastry cream or custard evenly on top to create the luscious filling.
- Top with chocolate glaze: Place the second cake layer on top of the custard. Finish by spreading a rich chocolate glaze over the top layer. Chill before serving to set the glaze and enhance flavors.
Notes
- Ensure the butter is softened at room temperature for easier creaming and better texture.
- Do not overmix the batter once dry ingredients are added to keep the cake tender.
- You can prepare pastry cream and chocolate glaze ahead of time for convenience.
- Chilling the assembled cake helps the glaze set and flavors to meld beautifully.
- Use a serrated knife to cut the cake cleanly without damaging the layers.


