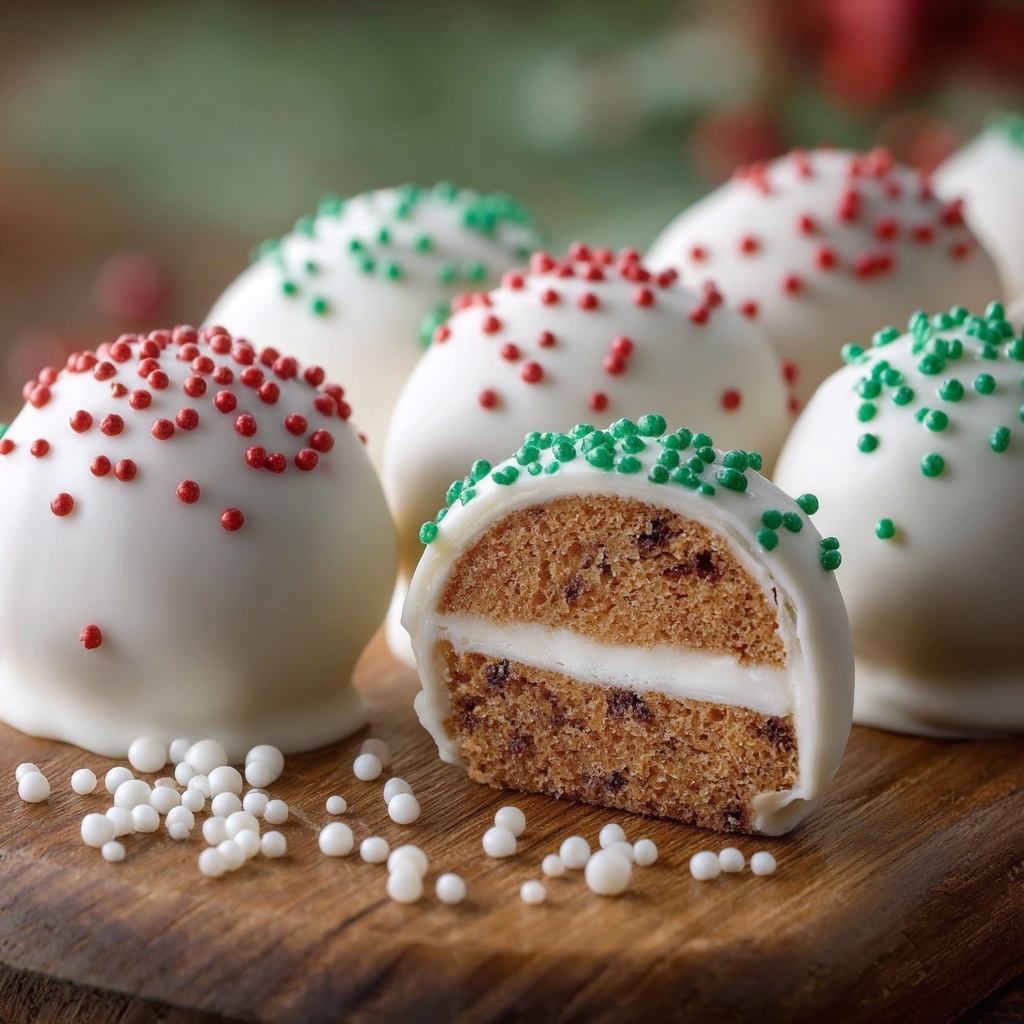
If you’re looking for a fun and festive treat that captures the holiday spirit in a bite-sized delight, the Little Debbie Christmas Cake Balls Recipe is exactly what you need. These adorable and oh-so-tasty cake balls combine the nostalgic flavors of Little Debbie Christmas Tree Cakes with the creamy richness of cream cheese and the smooth sweetness of white candy coating. Perfect for holiday parties, gift-giving, or cozy nights by the fire, these cake balls are as charming as they are delicious. The festive red and green sanding sugar adds that perfect pop of color and sparkle, making each bite as joyful to look at as it is to eat!
Ingredients You’ll Need
This recipe calls for a handful of simple ingredients, each playing a crucial role in creating the perfect balance of flavor, texture, and festive cheer. You’ll be amazed at how these few basics come together to form such a dazzling dessert.
- Vanilla Little Debbie Christmas Tree Cakes: These are the star of the show, lending their iconic holiday flavor and moist texture to your cake balls.
- Cream cheese (room temperature): It adds creamy richness and acts as the perfect binder to hold the crumbled cake together.
- White candy melts: This smooth coating provides a crisp shell that contrasts beautifully with the soft interior.
- Red candy melts (optional): Perfect for drizzling a bright festive accent on top of your candy coating.
- Red and green colored sanding sugar: Adds sparkle and festive color, making your cake balls impossible to resist.
How to Make Little Debbie Christmas Cake Balls Recipe
Step 1: Crumble the Cakes
Begin the process by taking your two 5-count boxes of vanilla Little Debbie Christmas Tree Cakes and crumbling them into fine, even pieces in a large mixing bowl. Getting a uniform crumble is key here—it ensures every bite will have a consistent texture and flavor.
Step 2: Mix with Cream Cheese
Next, add the package of cream cheese (make sure it’s at room temperature for easier mixing) to your crumbled cakes. Stir everything together thoroughly until you achieve a dough-like consistency that’s soft enough to shape but firm enough to hold form.
Step 3: Form the Balls
Scoop out portions of your cake and cream cheese mixture, rolling each into a small round ball about one inch in diameter. Don’t worry about making them perfect—they’re meant to be homemade and charmingly imperfect! Place each ball on a baking sheet lined with parchment paper to prevent sticking.
Step 4: Chill
Pop your tray of cake balls into the refrigerator for 30 minutes. This step is essential because chilling firms them up nicely, preventing them from falling apart during the dipping process and helping the candy coating adhere smoothly.
Step 5: Melt the Candy Coating
While your balls chill, melt the white candy melts following the package instructions until you have a silky, smooth coating ready for dipping. A little patience here ensures a flawless candy shell that will harden just right.
Step 6: Dip the Cake Balls
Once chilled, remove the balls and carefully dip each one into the melted white candy, using a fork or dipping tool to fully coat them. Gently tap off any excess and return them to your parchment-lined baking sheet.
Step 7: Decorate
For that extra festive touch, drizzle the melted red candy melts over the white coating, creating beautiful streaks of color. While the candy is still wet, sprinkle red and green sanding sugar on top. This step adds texture, sparkle, and a joyful holiday look.
Step 8: Set and Serve
Allow your cake balls to set completely at room temperature or in the fridge before serving. Once the candy coating is firm, your Little Debbie Christmas Cake Balls are ready to bring festive magic to your holiday table!
How to Serve Little Debbie Christmas Cake Balls Recipe
Garnishes
Besides the classic sanding sugar, consider adding miniature edible holiday sprinkles or tiny candy cane pieces for extra crunch and decoration. Fresh mint leaves can also work surprisingly well as a garnish to give a subtle contrast in flavor and freshness.
Side Dishes
These cake balls stand perfectly on their own, but for a festive spread, pair them with a warm cup of spiced hot cocoa, eggnog, or even a rich coffee. They also make a whimsical companion to a holiday cheese platter, balancing sweet notes with savory bites.
Creative Ways to Present
Try arranging your cake balls on a tiered dessert stand or displaying them in mini cupcake liners for a polished look. You could also serve them in a festive glass jar tied with a ribbon—an adorable edible gift or party favor idea that friends and family will adore.
Make Ahead and Storage
Storing Leftovers
Keep any leftover Little Debbie Christmas Cake Balls in an airtight container in the refrigerator for up to one week. This keeps them fresh and prevents the candy coating from sweating or melting.
Freezing
To freeze, place the cake balls in a single layer on a baking sheet and freeze until solid. Then transfer them to a freezer-safe bag or container. They will keep well frozen for up to two months. Thaw in the refrigerator before serving to maintain their perfect texture.
Reheating
These cake balls are best enjoyed cold or at room temperature. If you’d like to soften the inside slightly, simply let them sit out for 10 to 15 minutes before eating—no microwave needed, which can melt the candy shell.
FAQs
Can I use other flavors of Little Debbie cakes?
Absolutely! While the classic vanilla Christmas Tree Cakes are a hit, you can experiment with chocolate or other festive varieties to create different flavor combinations in your cake balls.
What if I don’t have candy melts? Can I use chocolate?
Yes, you can substitute white candy melts with white chocolate chips or melting chocolate. Just be sure to melt them gently to avoid scorching and achieve a smooth coating.
How can I make the cake balls less sweet?
If you prefer less sweetness, try using a reduced-fat cream cheese or experimenting with darker chocolate coatings. Balancing the sweetness can also be done by tweaking the amount of sanding sugar on top.
Do the cake balls need to be refrigerated before dipping?
Refrigerating the cake balls before dipping is essential because it firms them up, preventing them from falling apart when coated and helping the candy shell set beautifully.
Can I make these cake balls ahead of time for a party?
Definitely! The Little Debbie Christmas Cake Balls Recipe is perfect for making ahead. You can prepare them a few days in advance and store them in the fridge, or even freeze them if you want to get an early start on holiday prep.
Final Thoughts
There’s something incredibly joyful about making Little Debbie Christmas Cake Balls Recipe during the holidays—it’s a recipe that’s simple, whimsical, and guaranteed to bring smiles. Whether you’re sharing these festive bites with family or gifting them to friends, they’re sure to make the season sweeter. So go ahead and dive into this deliciously easy recipe—you’ll love how these charming cake balls brighten up any holiday occasion!
Print
Little Debbie Christmas Cake Balls Recipe
- Prep Time: 15 minutes
- Cook Time: 0 minutes
- Total Time: 45 minutes
- Yield: 24 servings
- Category: Dessert
- Method: No-Cook
- Cuisine: American
Description
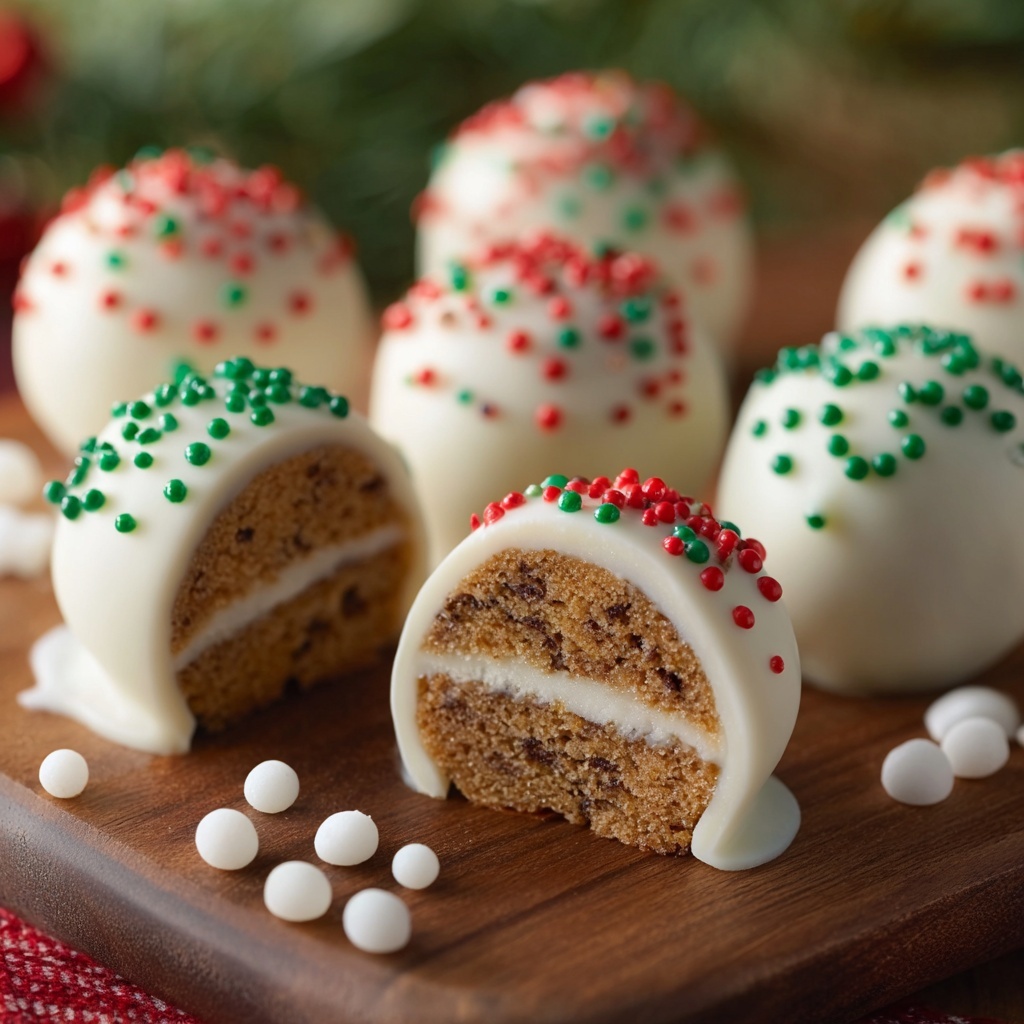
These festive Little Debbie Christmas Cake Balls are a delightful no-bake treat combining crumbled vanilla Christmas Tree Cakes with creamy cream cheese, coated in smooth white candy melts and decorated with colorful sanding sugar. Perfect for holiday parties or as a sweet seasonal snack, they are easy to make and sure to impress with their festive look and delicious flavor.
Ingredients
Base
- Two 5-count boxes of vanilla Little Debbie Christmas Tree Cakes, crumbled
- 1 (8 oz) package cream cheese, room temperature
Coating and Decoration
- 1 (16 oz) package white candy melts
- ¼ cup red candy melts, melted (optional)
- Red and green colored sanding sugar
Instructions
- Crumble the Cakes: In a large bowl, crumble the Little Debbie Christmas Tree Cakes into fine pieces to prepare the base mixture.
- Mix with Cream Cheese: Add the room temperature cream cheese to the crumbled cakes and mix thoroughly until you achieve a uniform, dough-like consistency.
- Form the Balls: Scoop out portions of the mixture and roll them into small balls, approximately 1 inch in diameter, then place them on a baking sheet lined with parchment paper.
- Chill: Refrigerate the cake balls for 30 minutes to allow them to firm up, making them easier to coat.
- Melt the Candy Coating: While chilling, melt the white candy melts according to the package instructions, stirring until smooth and ready for dipping.
- Dip the Cake Balls: Remove the chilled cake balls and dip each one into the melted white candy coating, ensuring they are fully covered. Allow any excess coating to drip off.
- Decorate: Place the coated balls back on the parchment-lined baking sheet. For a festive touch, drizzle melted red candy melts over the top and sprinkle with red and green sanding sugar to add color and sparkle.
- Set and Serve: Allow the candy coating to set completely at room temperature or briefly in the refrigerator before serving and enjoying your festive cake balls.
Notes
- Make sure the cream cheese is at room temperature to ensure easy mixing and smooth texture.
- Use parchment paper to prevent sticking and to make cleanup easier.
- The red candy melts drizzle is optional but adds a nice festive look and extra flavor.
- Store the assembled cake balls in an airtight container in the refrigerator for up to 3 days.
- For easier melting, use a microwave-safe bowl and melt candy melts in 30-second intervals, stirring in between.

