“`html
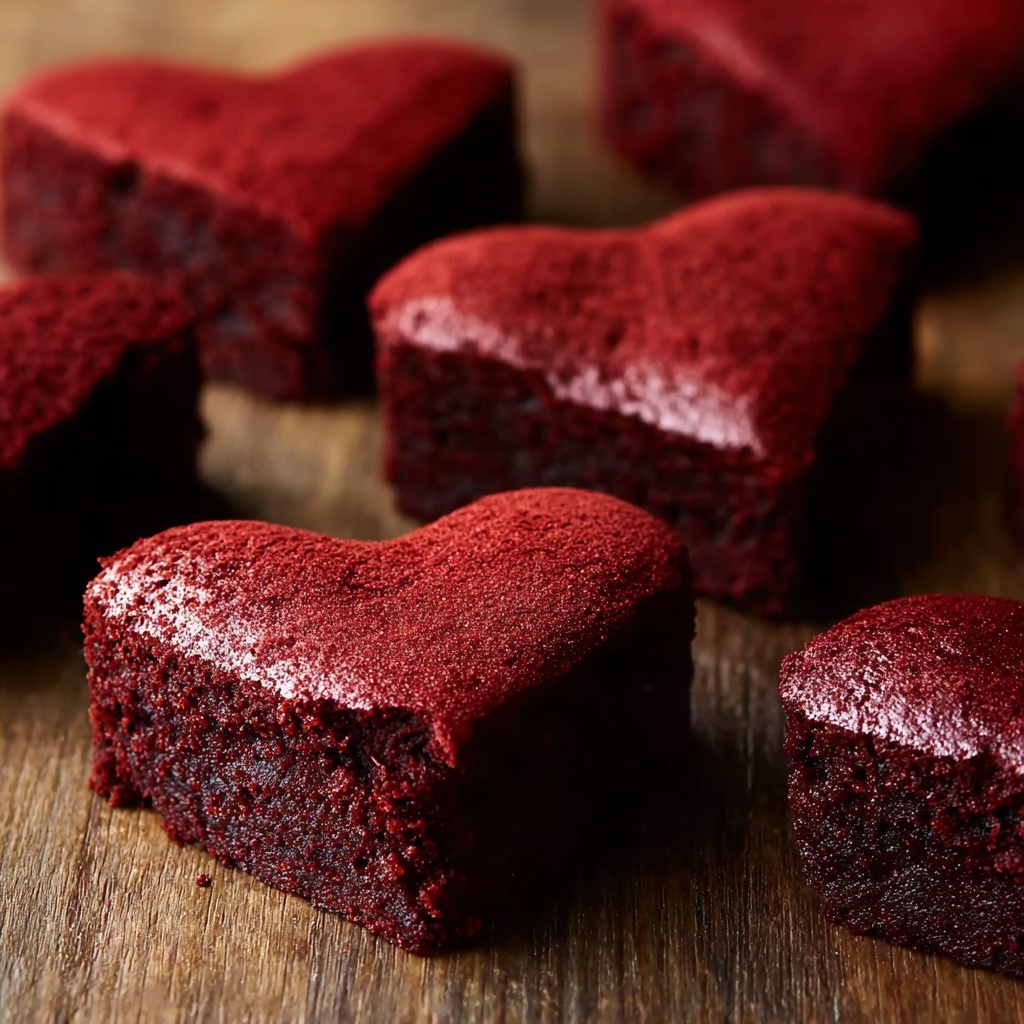
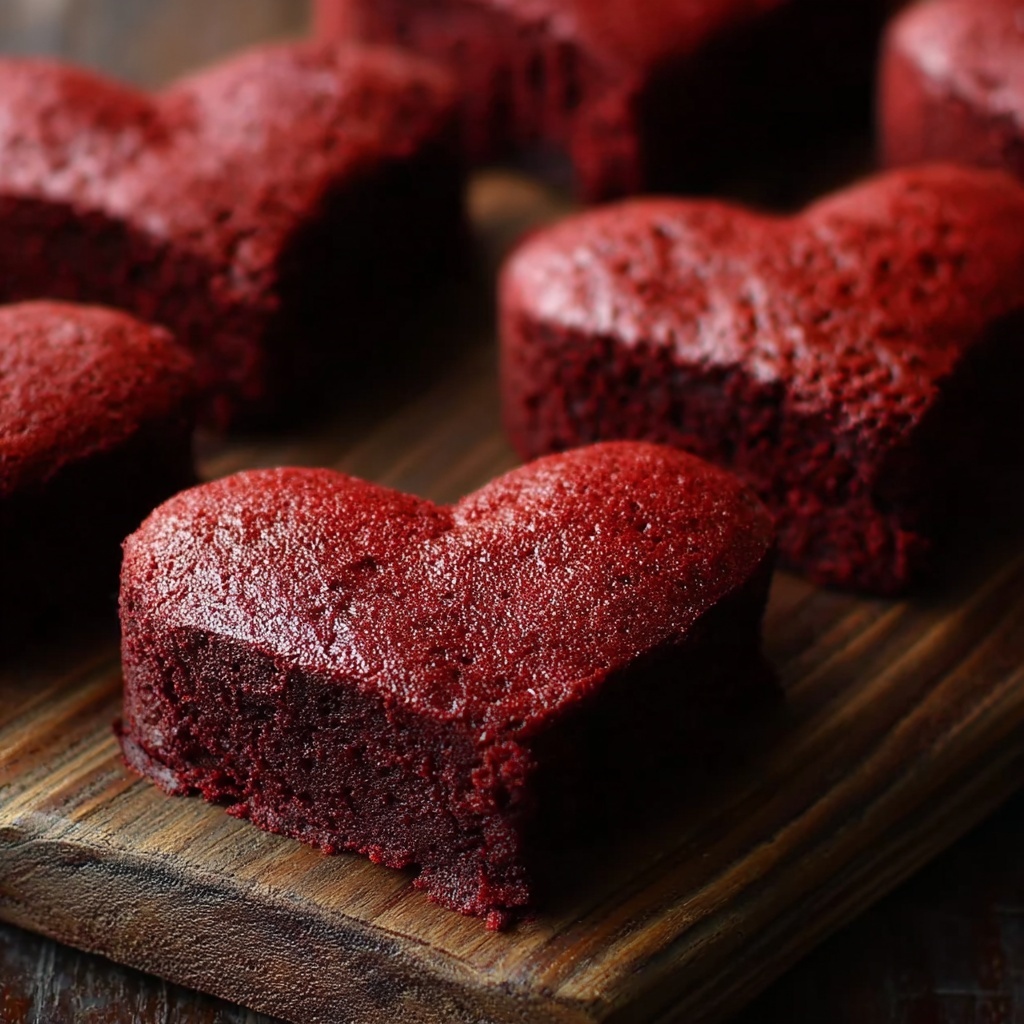
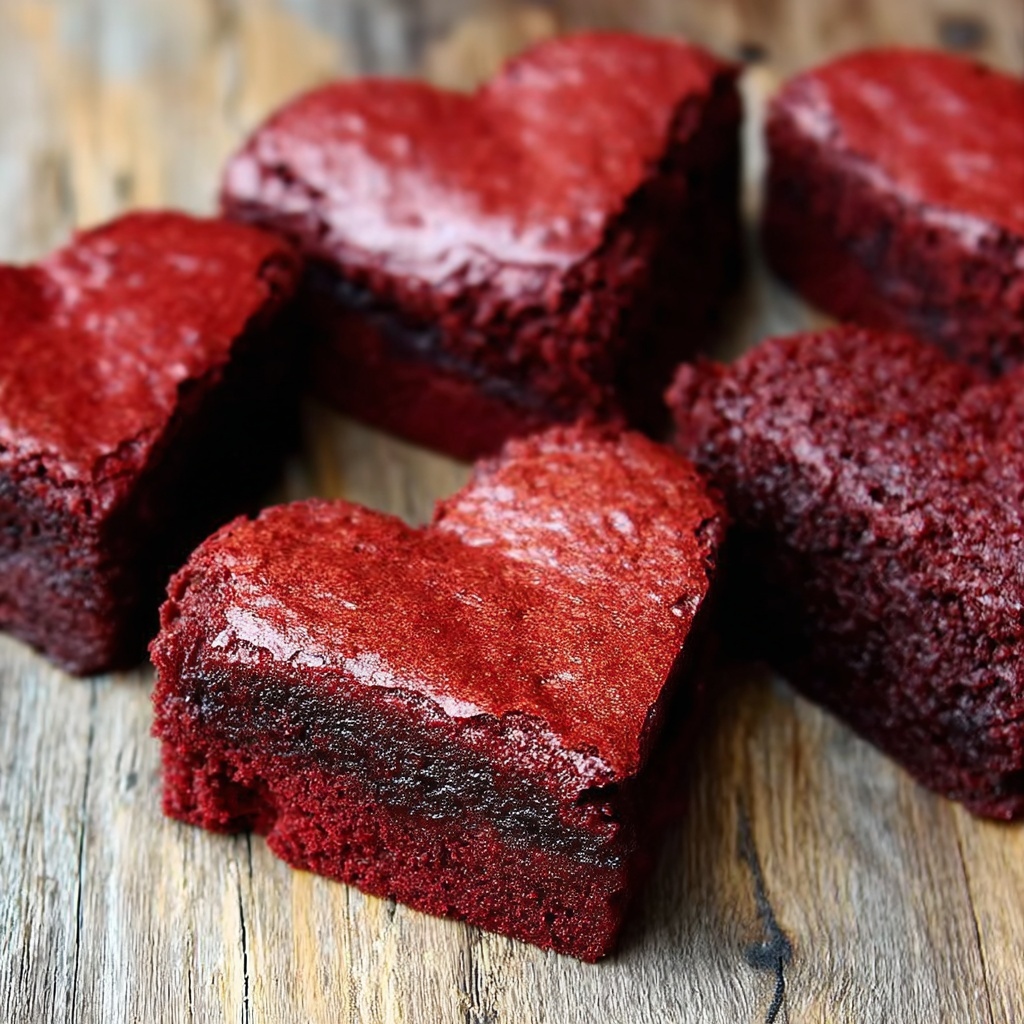
There is something irresistibly charming about these Valentine Heart-Shaped Red Velvet Brownies Recipe that makes them the perfect treat for celebrating love and sweetness all in one bite. With their rich red hue, moist and tender crumb, and the luscious cream cheese frosting that crowns each heart, these brownies are more than just dessert—they are a heartfelt gift you can bake yourself. Whether for a cozy night in or a fun celebration, this recipe will have you swooning over every bite while impressing your loved ones with its loveliness and flavor.
Ingredients You’ll Need
The magic of these Valentine Heart-Shaped Red Velvet Brownies Recipe lies in a handful of simple, yet thoughtfully chosen ingredients. Each one plays a vital role, from the smooth melted butter adding richness, to the splash of vinegar helping the texture stay delightfully tender, and of course, the bright red food coloring giving these brownies their festive and unmistakable look.
- Unsalted butter (1/2 cup, melted): Adds creamy richness and moist texture, essential for that melt-in-your-mouth experience.
- Granulated sugar (1 cup): Sweetens the batter perfectly while contributing to a tender crumb.
- Large eggs (2): Bind the batter and lend structure to keep the brownies fudgy yet firm.
- Vanilla extract (2 tsp): Enhances the overall flavor, giving the batter a warm and inviting aroma.
- Cocoa powder (1 tbsp): Adds subtle chocolate notes that balance the red velvet’s sweetness.
- All-purpose flour (1 1/2 cups): The backbone ingredient that creates the perfect structure without heaviness.
- Baking powder (1/2 tsp): Helps the brownies rise just enough for a tender crumb without being cakey.
- Salt (1/4 tsp): Amplifies all other flavors, bringing delicious balance.
- Red food coloring (1 tbsp): Gives that iconic red velvet appearance and makes these treats pop with color.
- Buttermilk (1/2 cup): Adds moisture and a lovely tang that complements the sweetness.
- White vinegar (1/2 tsp): Reacts with buttermilk to tenderize the crumb and brighten flavors.
- Cream cheese (8 oz, softened): The star of the frosting that adds creamy richness and a hint of tang.
- Unsalted butter (1/4 cup, softened): Makes the frosting silky smooth and spreadable.
- Powdered sugar (2 cups): Sweetens the frosting and ensures a soft, fluffy texture.
- Vanilla extract (1 tsp): Adds depth of flavor to the frosting.
- Pinch of salt: Balances sweetness and enhances the cream cheese frosting.
How to Make Valentine Heart-Shaped Red Velvet Brownies Recipe
Step 1: Prepare Your Baking Tools and Oven
Start by preheating your oven to 350 degrees Fahrenheit (175 degrees Celsius). Grease and line an 8×8-inch baking pan with parchment paper, making sure to leave enough overhang for easy removal later. If you have a heart-shaped mold, give it a light greasing and dust of flour instead to ensure each heart-shaped brownie releases perfectly without sticking.
Step 2: Whisk Together the Wet Ingredients
In a large mixing bowl, whisk the melted butter and granulated sugar together until silky smooth. This step ensures your brownies have a nice moist base. Then, add the eggs one at a time along with the vanilla extract, whisking well to combine. Each addition creates a batter that will bake into tender, luscious brownies.
Step 3: Combine Dry Ingredients and Add to Wet Mix
Next, sift together the cocoa powder, all-purpose flour, baking powder, and salt. Gradually add this to the wet mixture, stirring carefully but thoroughly. Once combined, stir in the buttermilk, red food coloring, and white vinegar. These final ingredients not only add moisture and vibrant color but the vinegar’s reaction with the buttermilk helps create that tender red velvet texture you’re after.
Step 4: Bake Until Just Right
Pour the smooth batter evenly into your prepared pan or heart-shaped mold. Bake for 25 to 30 minutes or until a toothpick inserted into the center comes out with a few moist crumbs clinging to it. This ensures the brownies stay perfectly fudgy inside while fully cooked on the outside. Let them cool completely before moving on to decorating.
Step 5: Prepare the Cream Cheese Frosting
While your brownies cool, whip up the frosting by beating the softened cream cheese and butter together until smooth and creamy. Slowly add powdered sugar followed by vanilla extract and a pinch of salt. Beat until the frosting is light, airy, and ready to add that gorgeous finishing touch to your brownies.
Step 6: Cut and Frost the Brownies
Once cooled, use a heart-shaped cookie cutter to cut your brownies into charming hearts. Spread or pipe the cream cheese frosting on each piece. The creamy frosting contrasts beautifully with the fudgy red velvet base, creating an irresistible treat perfect for sharing love and sweetness.
How to Serve Valentine Heart-Shaped Red Velvet Brownies Recipe
Garnishes
To take your Valentine Heart-Shaped Red Velvet Brownies Recipe to the next level, consider sprinkling a handful of red or pink heart-shaped sprinkles, edible glitter, or crushed candy canes on top of the frosting. Fresh berries, like raspberries or strawberries, can add a burst of natural flavor and a pop of freshness that complements the richness.
Side Dishes
These brownies pair wonderfully with a simple cup of coffee or a rich hot chocolate, creating a warm and cozy moment. For an extra indulgent treat, serve alongside a scoop of vanilla or strawberry ice cream. The creaminess of the ice cream and the warm spices from the brownie make every bite a dream come true.
Creative Ways to Present
Consider arranging your heart-shaped brownies on a beautiful platter lined with rose petals for a romantic touch. You might also stack them in tiers or box them up in cute gift boxes tied with pretty ribbons. If you want to wow guests, pipe swirls of frosting on top with a star tip and add a tiny fresh mint leaf or a chocolate curl.
Make Ahead and Storage
Storing Leftovers
Leftover Valentine Heart-Shaped Red Velvet Brownies Recipe can be stored in an airtight container at room temperature for up to three days. Keep them out of direct sunlight to maintain freshness. If you want to keep them longer, refrigeration is best to preserve the cream cheese frosting.
Freezing
For longer storage, freeze the unfrosted brownies in a sealed container or wrapped tightly in plastic wrap and foil for up to three months. After thawing, frost them fresh for the best flavor and texture. If already frosted, freeze in a single layer and thaw carefully to avoid sogginess.
Reheating
If you like your brownies slightly warm, gently reheat them in the microwave for 10 to 15 seconds, but be careful not to overheat and melt the frosting. Warming intensifies the flavors and gives you a cozy treat anytime.
FAQs
Can I use regular milk instead of buttermilk?
Absolutely! If you don’t have buttermilk on hand, simply add a teaspoon of lemon juice or white vinegar to regular milk and let it sit for 5 minutes to sour. This homemade substitute works beautifully to achieve that tender texture in the brownies.
Can I make these brownies vegan or dairy-free?
While this specific Valentine Heart-Shaped Red Velvet Brownies Recipe relies on butter, eggs, and cream cheese, you can experiment with vegan substitutes like plant-based butter, flax eggs, and dairy-free cream cheese alternatives. Just keep in mind the texture and flavor might vary slightly from the original recipe.
Why is there cocoa powder in a red velvet brownie?
The cocoa powder adds just a hint of chocolate flavor that balances the rich sweetness and tang of the red velvet combination. It’s a subtle but essential ingredient that makes the flavor complex and comforting rather than overly sweet.
How do I prevent the brownies from sticking to the pan?
Using parchment paper with some overhang or thoroughly greasing and flouring the pan or mold ensures your brownies come out cleanly without tearing. This step is especially important when cutting out heart shapes to keep them looking neat and beautiful.
Can I make these brownies without a heart-shaped mold?
Definitely! Bake the batter in a regular square pan, allow it to cool, and then use a heart-shaped cookie cutter to cut out individual brownies. This technique is simple and gives those cute heart-shaped treats even if you don’t own a special mold.
Final Thoughts
If you’re looking to wow your loved ones with a charming, delicious dessert, the Valentine Heart-Shaped Red Velvet Brownies Recipe will not disappoint. It’s a fun and rewarding baking project that fills your kitchen with warmth and turns simple ingredients into a heartfelt gesture of sweetness. Give it a try, and watch smiles bloom as everyone enjoys these lovely treats!
“`
Print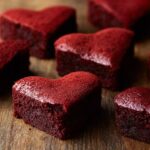
Valentine Heart-Shaped Red Velvet Brownies Recipe
- Prep Time: 15 minutes
- Cook Time: 30 minutes
- Total Time: 45 minutes
- Yield: 9-12 heart-shaped brownies, depending on size
- Category: Dessert
- Method: Baking
- Cuisine: American
- Diet: Vegetarian
Description
Celebrate love with these delightful Valentine Heart-Shaped Red Velvet Brownies. This recipe combines the rich, moist texture of classic red velvet brownies with a creamy, smooth cream cheese frosting, all cut into charming heart shapes perfect for any romantic occasion. Easy to prepare and beautifully presented, these treats are sure to impress and satisfy your sweet tooth.
Ingredients
Brownie Batter
- 1/2 cup unsalted butter, melted
- 1 cup granulated sugar
- 2 large eggs
- 2 tsp vanilla extract
- 1 tbsp cocoa powder
- 1 1/2 cups all-purpose flour
- 1/2 tsp baking powder
- 1/4 tsp salt
- 1 tbsp red food coloring
- 1/2 cup buttermilk (or milk)
- 1/2 tsp white vinegar
Cream Cheese Frosting
- 8 oz cream cheese, softened
- 1/4 cup unsalted butter, softened
- 2 cups powdered sugar
- 1 tsp vanilla extract
- Pinch of salt
Instructions
- Preheat and Prepare Pan: Preheat your oven to 350°F (175°C). Grease and line an 8×8-inch baking pan with parchment paper, allowing some overhang for easy removal. If you’re using a heart-shaped mold, grease and flour it instead.
- Make the Batter: In a large mixing bowl, whisk together the melted butter and sugar until smooth. Add the eggs and vanilla extract, and whisk until combined. Stir in the cocoa powder, flour, baking powder, and salt. Mix in the buttermilk, red food coloring, and vinegar. Stir until the batter is smooth and well combined.
- Bake the Brownies: Pour the brownie batter into the prepared pan or heart-shaped mold. Spread the batter evenly, and bake for 25-30 minutes, or until a toothpick inserted into the center comes out mostly clean with a few moist crumbs. Allow the brownies to cool completely in the pan before removing them.
- Prepare the Frosting: While the brownies are cooling, beat the softened cream cheese and butter together until smooth and creamy. Gradually add the powdered sugar, vanilla extract, and salt, and beat until fluffy and light.
- Cut and Decorate: Once the brownies have cooled, use a heart-shaped cookie cutter to cut them into heart shapes. Spread a layer of cream cheese frosting on top of each heart-shaped brownie, or pipe frosting on top for a decorative finish.
- Serve and Enjoy: Serve the Valentine’s Heart-Shaped Red Velvet Brownies as a delightful treat for your loved ones. Enjoy them with a cup of coffee or tea!
Notes
- For the best texture, ensure butter is fully melted and slightly cooled before mixing with sugar.
- Allow the brownies to cool completely before frosting to prevent the frosting from melting.
- If you don’t have buttermilk, add 1/2 tsp lemon juice or vinegar to 1/2 cup milk as a substitute.
- Use gel red food coloring for more vibrant color without affecting batter consistency.
- Store leftovers in an airtight container refrigerated for up to 3 days.


