
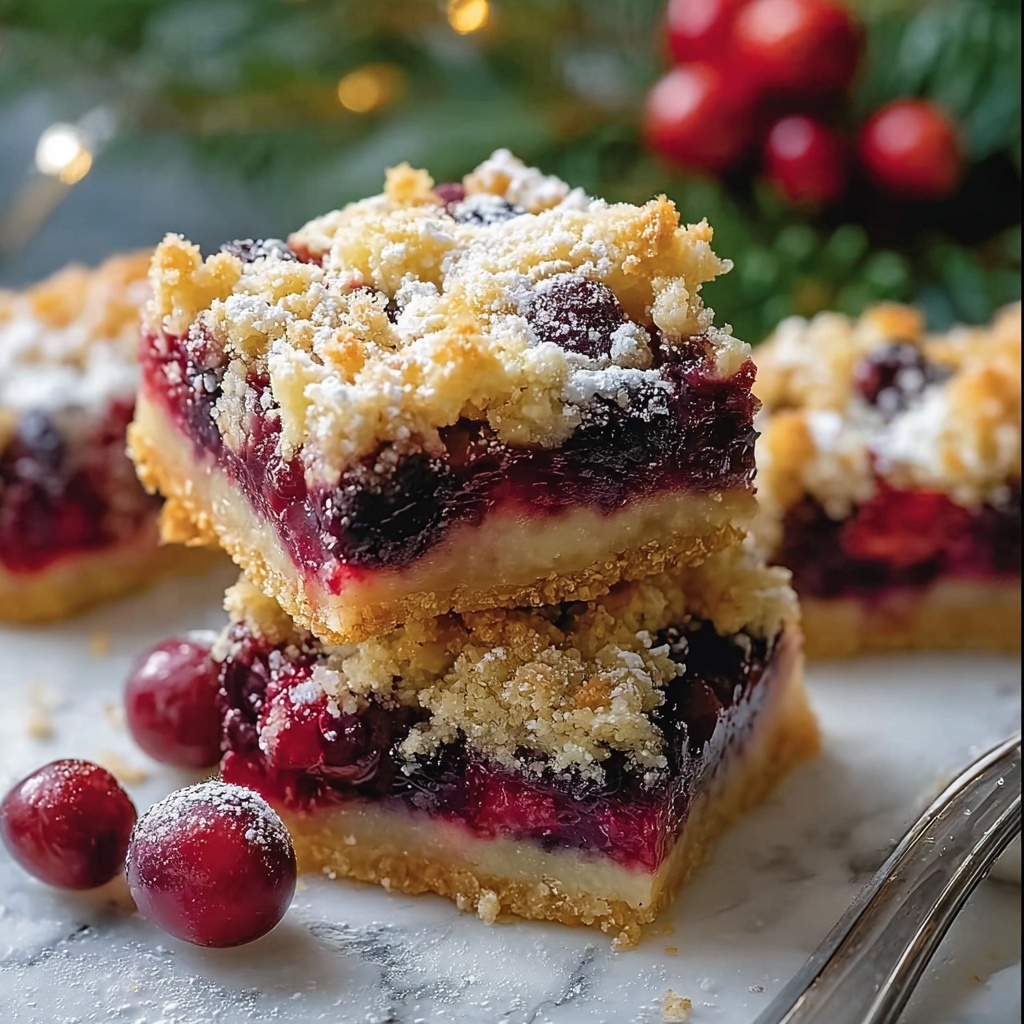
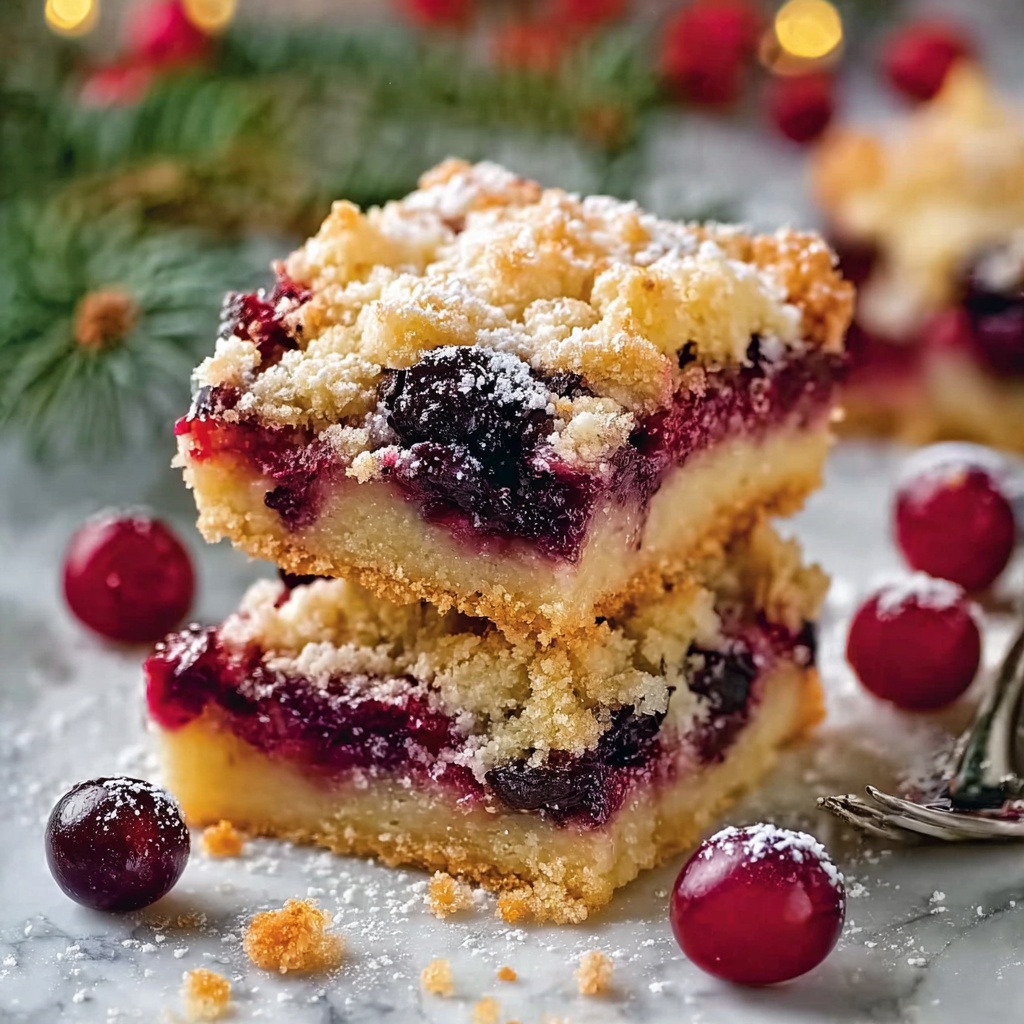
If you’re looking for a festive dessert that perfectly balances sweet and tart flavors with a delightfully tender crumb, the Christmas Cherry Bars Recipe is your new holiday go-to. Bursting with luscious cherry pie filling nestled between layers of buttery dough and topped with a smooth, sweet glaze, these bars capture the spirit of the season in every bite. Whether you’re bringing them to a holiday gathering or enjoying them cozy at home, this recipe is sure to become a beloved tradition that everyone will rave about.
Ingredients You’ll Need
Simple, pantry-friendly ingredients come together in this Christmas Cherry Bars Recipe, creating a harmonious blend of flavors and textures. Each item plays a key role, from the rich butter that brings moistness to the dough, to the cherry pie filling that adds a burst of color and tangy sweetness.
- 1 cup butter, softened: Provides a tender, rich base for the dough that ensures a perfect crumb.
- 2 cups sugar: Adds the ideal sweetness to balance the tart cherries and enrich the dough.
- 1 teaspoon salt: Enhances all the flavors and keeps the sweetness from being overpowering.
- 4 large eggs, room temperature: Bind the ingredients together and add structure to the bars.
- 1 teaspoon vanilla extract: Brings warmth and depth to the dough’s flavor profile.
- 1/4 teaspoon almond extract: Compliments the cherry filling with a subtle nutty aroma.
- 3 cups all-purpose flour: The foundation of the dough, providing just the right texture.
- 2 cans (21 oz each) cherry pie filling: The star ingredient, delivering juicy, festive fruity goodness.
- 1 cup confectioners’ sugar: Forms the base of the sweet glaze that finishes off the bars beautifully.
- 1/2 teaspoon vanilla extract: Added to the glaze for extra flavor dimension.
- 1/2 teaspoon almond extract: Enhances the glaze with a hint of nutty sweetness.
- 2–3 tablespoons whole milk: Makes the glaze perfectly smooth and drizzle-able.
How to Make Christmas Cherry Bars Recipe
Step 1: Prep the Oven and Pan
Begin by preheating your oven to 350°F (175°C). Next, take a 15×10-inch sheet pan and give it a good spray with baking spray. This simple step ensures your bars won’t stick and will come out perfectly shaped.
Step 2: Cream Butter, Sugar, and Salt
In a large mixing bowl, cream together the softened butter, sugar, and salt until the mixture looks light and fluffy. This process incorporates air, making the dough soft and the final bars delightfully tender.
Step 3: Add Eggs and Extracts
Mix in the eggs one at a time, beating well after each addition to achieve an even texture. Stir in the vanilla and almond extracts to infuse the dough with their warm, inviting flavors.
Step 4: Combine Flour into Dough
Gradually add the all-purpose flour to the wet ingredients, mixing carefully until the dough comes together. This creates a sturdy but tender base that will hold the cherry filling nicely.
Step 5: Press Dough Into Pan
Take three cups of the dough and press it evenly into the bottom of your prepared sheet pan. This forms the bottom crust, which will bake into a golden, buttery foundation for your bars.
Step 6: Layer with Cherry Pie Filling
Spread both cans of cherry pie filling evenly over the pressed dough layer. The bright red cherries create a festive look and add a juicy burst of sweetness in every bite.
Step 7: Top with Remaining Dough
Drop spoonfuls of the remaining dough over the cherry filling layer. This rustic topping will bake into tender, golden pockets that perfectly complement the cherries.
Step 8: Bake Until Golden Brown
Bake your bars for 35 to 40 minutes, or until the top is beautifully golden brown. Then, let them cool completely in the pan so the filling can set and the bars hold their shape when sliced.
Step 9: Prepare the Glaze
While the bars cool, whisk together the confectioners’ sugar, vanilla extract, almond extract, and whole milk in a small bowl until smooth. This glaze adds a lovely shine and a sweet finishing touch.
Step 10: Drizzle and Serve
Drizzle the glaze over the cooled bars, letting it set before cutting into squares. Each piece is a perfect balance of buttery crust, juicy cherry filling, and sweet glaze—a festive treat that’s as beautiful as it is delicious.
How to Serve Christmas Cherry Bars Recipe
Garnishes
For an extra-special touch, sprinkle a few chopped roasted almonds or a light dusting of powdered sugar on top of the glazed bars. This adds texture and an elegant look that’s perfect for holiday guests.
Side Dishes
These cherry bars pair wonderfully with a scoop of vanilla ice cream or a dollop of whipped cream, transforming them into a decadent holiday dessert. A cup of hot cocoa or spiced tea also complements their sweet-tart flavor beautifully.
Creative Ways to Present
Consider arranging the bars on a festive platter lined with fresh evergreen sprigs or cranberries for a holiday display. Cutting them into bite-sized pieces on a decorative tray makes them great party finger foods, sure to disappear fast.
Make Ahead and Storage
Storing Leftovers
Leftover Christmas Cherry Bars can be stored in an airtight container at room temperature for up to three days. This keeps them soft and delicious, making them easy to enjoy at your leisure without losing any flavor or texture.
Freezing
If you want to extend their life, wrap individual bars tightly in plastic wrap and place them in a freezer-safe container or bag. Frozen bars can last up to two months and can be thawed at room temperature when you’re ready for a festive treat.
Reheating
To refresh the texture, warm the bars in a preheated oven at 300°F (150°C) for about 10 minutes. This helps revive their buttery crust and makes the cherry filling delightfully warm and gooey again.
FAQs
Can I use fresh cherries instead of canned pie filling?
Absolutely! Fresh cherries can provide a wonderful flavor, but you’ll want to cook them down with some sugar and a bit of cornstarch to create a similar filling consistency for this recipe.
Is there a gluten-free version of this Christmas Cherry Bars Recipe?
Yes, you can substitute the all-purpose flour with a gluten-free baking blend, making sure to choose one that includes xanthan gum to keep the dough’s structure intact.
Can I make these bars ahead of time for a holiday party?
Definitely! These bars keep well, and the glaze can be added just before serving to keep them looking fresh and inviting.
What’s the best way to cut the bars without them crumbling?
Once the glaze has set, use a sharp knife warmed under hot water and wiped dry for clean, smooth cuts that keep the bars intact.
Can I substitute the almond extract if I don’t have it on hand?
You can omit the almond extract or replace it with a bit more vanilla extract. The bars will still be delicious, though the almond adds a lovely depth that’s worth trying.
Final Thoughts
This Christmas Cherry Bars Recipe is more than just a dessert; it’s a festive celebration on a plate. With its beautiful layers, rich flavors, and easy preparation, it’s an absolute pleasure to make and share. I can’t wait for you to try it yourself and bring a little extra holiday magic to your table!
Print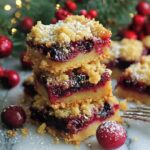
Christmas Cherry Bars Recipe
- Prep Time: 20 minutes
- Cook Time: 35-40 minutes
- Total Time: 55-60 minutes
- Yield: 24 bars
- Category: Dessert
- Method: Baking
- Cuisine: American
Description
These festive Christmas Cherry Bars feature a buttery, tender crust layered with sweet cherry pie filling and topped with a delicate almond-vanilla glaze. Perfectly portioned into 24 squares, they make a delightful holiday treat that’s easy to prepare and sure to please a crowd.
Ingredients
For the Dough:
- 1 cup butter, softened
- 2 cups sugar
- 1 teaspoon salt
- 4 large eggs, room temperature
- 1 teaspoon vanilla extract
- 1/4 teaspoon almond extract
- 3 cups all-purpose flour
For the Filling:
- 2 cans (21 oz each) cherry pie filling
For the Glaze:
- 1 cup confectioners’ sugar
- 1/2 teaspoon vanilla extract
- 1/2 teaspoon almond extract
- 2–3 tablespoons whole milk
Instructions
- Preheat Oven and Prepare Pan: Preheat your oven to 350°F (175°C) and spray a 15×10-inch sheet pan with baking spray to prevent sticking.
- Cream Butter, Sugar, and Salt: In a large bowl, cream together the softened butter, sugar, and salt using an electric mixer until the mixture is light and fluffy, which should take about 3-5 minutes.
- Add Eggs and Extracts: Add the eggs one at a time, beating well after each addition to ensure they are fully incorporated. Stir in the vanilla and almond extracts for flavor.
- Mix in Flour: Gradually add the all-purpose flour to the wet ingredients, mixing until a dough forms. Avoid overmixing to keep the texture tender.
- Form the Base Layer: Press 3 cups of the dough evenly into the bottom of the prepared sheet pan, using your fingers or the back of a spoon to create a uniform layer.
- Spread Cherry Filling: Evenly spread both cans of cherry pie filling over the dough base, making sure to cover the entire surface.
- Top with Remaining Dough: Drop spoonfuls of the remaining dough over the cherry filling layer, distributing them evenly but leaving some cherry visible.
- Bake Bars: Bake in the preheated oven for 35-40 minutes, or until the top is golden brown and the cherry filling is bubbling at the edges.
- Prepare Glaze: While the bars cool completely in the pan, whisk together the confectioners’ sugar, vanilla extract, almond extract, and whole milk in a small bowl until smooth and slightly pourable.
- Glaze and Serve: Drizzle the glaze evenly over the cooled bars. Allow the glaze to set before cutting into 24 squares and serving.
Notes
- For best results, use room temperature eggs to ensure a smooth batter.
- Do not overmix the dough when adding flour to keep the bars tender.
- If cherry pie filling is too thick, you may warm it slightly to make spreading easier.
- The glaze sets best on completely cooled bars to prevent it from melting.
- These bars can be stored in an airtight container at room temperature for up to 3 days or refrigerated for up to a week.

