
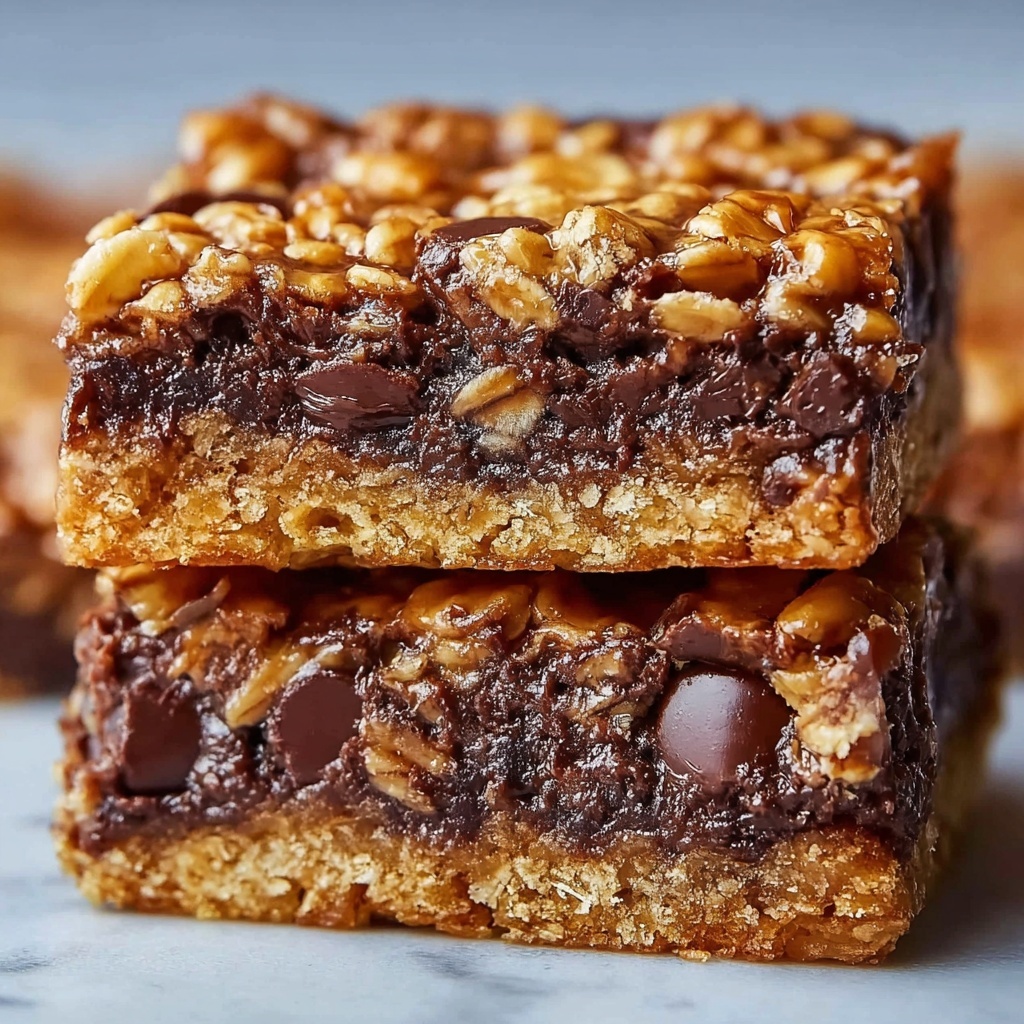
If you’ve been searching for a delightful treat that perfectly balances crunch and chocolatey goodness, then this Homemade Crunch Bars Recipe will quickly become one of your favorites. These bars combine the light, crispy texture of puffed rice with rich layers of melted semisweet and milk chocolate, creating an irresistible snack that’s easy to whip up yet feels like a special indulgence. Whether you’re after a quick dessert, a shareable party snack, or a sweet gift, these bars hit every mark with their simple ingredients and satisfying bite.
Ingredients You’ll Need
Getting started with this Homemade Crunch Bars Recipe is a breeze, thanks to a handful of straightforward ingredients that each play a vital role. From adding texture to bringing out deep flavor notes, every element is chosen to create that perfect bar.
- 4 cups crispy rice cereal: The foundation of crunch and lightness, providing body without heaviness.
- 2 cups semisweet chocolate chips: Adds a rich cocoa flavor that’s not too sweet, balancing the milk chocolate.
- 1 cup milk chocolate chips: Brings creamy sweetness and smoothness to melt everything together.
- 1/4 cup unsalted butter: Enhances the texture and flavor, making the bars rich and luscious.
- 1/4 cup peanut butter (optional): For those who want an extra layer of nuttiness and silkiness mixed in.
- 1 teaspoon vanilla extract (optional): Subtly deepens the chocolate flavor and adds aromatic warmth.
How to Make Homemade Crunch Bars Recipe
Step 1: Prepare Your Pan
Begin by lining an 8×8 or 9×9-inch baking pan with parchment paper or giving it a light grease. This simple prep ensures your bars will release easily after chilling, making clean cuts a breeze.
Step 2: Set the Base
Measure out your crispy rice cereal and pour it into a large mixing bowl. This will be the crunchy texture that carries all the luscious melted chocolate flavors perfectly.
Step 3: Melt the Chocolate and Butter
In a medium saucepan over low heat, melt the butter together with the semisweet and milk chocolate chips. Stir often, gently coaxing everything to a smooth, glossy mixture without scorching the chocolate.
Step 4: Add Extra Flavor
If you’re using peanut butter and vanilla extract, now is the perfect time to incorporate them. Stir these in until the mixture is perfectly combined, adding depth and creaminess that’ll take your bars to the next level.
Step 5: Combine Chocolate and Cereal
Pour your melted, dreamy chocolate mixture over the crispy rice cereal in the big bowl. Fold gently but thoroughly, making sure every flake is evenly coated in luscious chocolaty goodness.
Step 6: Press into the Pan
Transfer the chocolate-cereal mixture into the prepared pan. Use a spatula or the back of a spoon to press it down firmly and evenly. Compacting it well is key so your bars hold together once chilled.
Step 7: Chill to Set
Pop the pan into your refrigerator for at least one hour. This chilling time lets the chocolate harden and bonds everything into those perfect, chewy yet crunchy bars we all adore.
Step 8: Slice and Enjoy
Once firmly set, lift the parchment out of the pan and slice your Homemade Crunch Bars Recipe into your preferred shapes — squares or rectangles work beautifully. Now you’re ready to savor every delightful bite!
How to Serve Homemade Crunch Bars Recipe
Garnishes
These bars shine on their own but get a fun personality boost with simple garnishes. Try a sprinkle of crushed nuts on top before chilling for added crunch or a light dusting of sea salt to contrast the sweet chocolate notes brilliantly.
Side Dishes
For a well-rounded snack experience, serve your crunch bars alongside a tall glass of cold milk or a cup of hot coffee. The creamy drinks balance the crispy, chocolatey bar and make each bite feel like a mini celebration.
Creative Ways to Present
Bring some flair to your Homemade Crunch Bars Recipe by turning them into bite-sized cubes on decorative skewers for parties or wrapping them individually in colorful parchment to give away as thoughtful, homemade gifts.
Make Ahead and Storage
Storing Leftovers
Keep your homemade bars fresh by storing them in an airtight container at room temperature for up to a week. This prevents any moisture from softening their satisfying crunch, keeping each bite just perfect.
Freezing
If you want to enjoy the bars over a longer period, freeze them in a single layer on a baking sheet first, then transfer to a zip-top freezer bag. Frozen, they hold well for up to three months and thaw quickly at room temperature.
Reheating
Generally, these bars are best enjoyed chilled or at room temperature, but if you like your chocolate a bit melty, you can microwave a serving for a few seconds. Just be careful not to overheat and lose that desirable texture.
FAQs
Can I substitute the crispy rice cereal with something else?
Absolutely! While crispy rice cereal provides the iconic crunch and light texture, puffed millet or cornflakes can be interesting alternatives. Just keep in mind they may change the final texture and flavor slightly.
Is peanut butter necessary in the recipe?
Not at all. Peanut butter is optional and adds a creamy nuttiness that elevates richness. If you’re allergic or not a fan, simply omit it and your bars will still be deliciously chocolatey and crunchy.
How long do Homemade Crunch Bars Recipe keep fresh?
When stored properly in an airtight container at room temperature, you can expect your bars to stay fresh and tasty for up to a week. Always keep them away from heat or humidity to maintain their texture.
Can I add nuts or dried fruit to these bars?
Yes, adding chopped nuts, seeds, or dried fruit can introduce wonderful surprises in every bite. Just fold your chosen add-ins in after coating the cereal with chocolate, before pressing it into the pan.
What’s the best type of chocolate to use?
Using a mix of semisweet and milk chocolate chips creates a balanced flavor of richness and sweetness. However, feel free to adjust the ratio to suit your personal preference or try dark chocolate for a more intense cocoa punch.
Final Thoughts
There’s something incredibly satisfying about making treats from scratch, and this Homemade Crunch Bars Recipe is a shining example of how effortless and rewarding that can be. With just a few simple ingredients and easy steps, you can create snack bars that feel indulgent but homemade, perfect for any occasion. I hope you enjoy every crunchy, chocolatey bite as much as I do—happy cooking!
Print
Homemade Crunch Bars Recipe
- Prep Time: 10 minutes
- Cook Time: 15 minutes
- Total Time: 1 hour 25 minutes
- Yield: 12-16 bars
- Category: Dessert
- Method: Stovetop
- Cuisine: American
Description
These homemade crunch bars are a delightful treat combining crispy rice cereal with rich, melted chocolate. Easy to prepare and perfect for a quick snack or dessert, these bars offer a satisfying crunch with smooth chocolatey sweetness, optionally enriched with peanut butter and vanilla extract for extra flavor.
Ingredients
Base
- 4 cups crispy rice cereal (such as Rice Krispies)
Chocolate Mixture
- 2 cups semisweet chocolate chips
- 1 cup milk chocolate chips
- 1/4 cup unsalted butter
- 1/4 cup peanut butter (optional for added richness)
- 1 teaspoon vanilla extract (optional for added flavor)
Instructions
- Prepare the Pan: Line an 8×8-inch or 9×9-inch baking pan with parchment paper or lightly grease it to prevent the bars from sticking.
- Measure Cereal: In a large mixing bowl, pour the crispy rice cereal and set it aside, ready to be coated.
- Melt Ingredients: In a medium saucepan over low heat, melt the butter along with the semisweet and milk chocolate chips, stirring occasionally until the mixture is fully melted and smooth.
- Add Optional Flavors: Stir in the peanut butter and vanilla extract, if using, until they are well incorporated into the chocolate mixture.
- Combine Mixture: Pour the melted chocolate mixture over the crispy rice cereal, gently folding to ensure the cereal is evenly and thoroughly coated.
- Press into Pan: Transfer the coated cereal mixture into the prepared baking pan, pressing it evenly and firmly to create a compact layer.
- Chill to Set: Place the pan in the refrigerator and chill for at least 1 hour, allowing the bars to firm up completely.
- Cut and Serve: After the bars have set, remove them from the pan using the parchment paper, then cut into squares or rectangles.
- Enjoy: Serve the homemade crunch bars fresh and enjoy their crispy, chocolatey goodness.
Notes
- For a nut-free version, omit the peanut butter.
- Ensure the chocolate mixture is not overheated to prevent burning or separation.
- Pushing the mixture firmly into the pan helps the bars hold their shape better.
- Store the bars in an airtight container in the refrigerator for up to one week.


