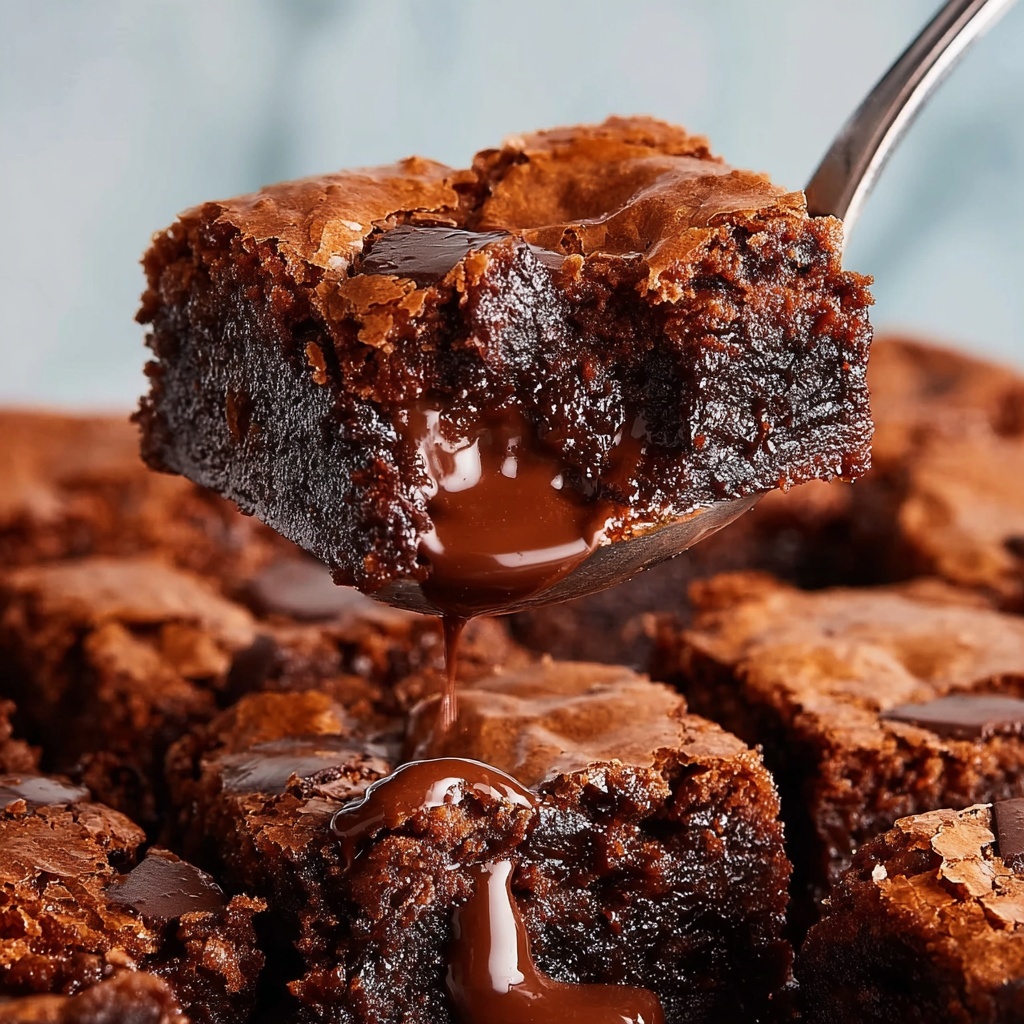
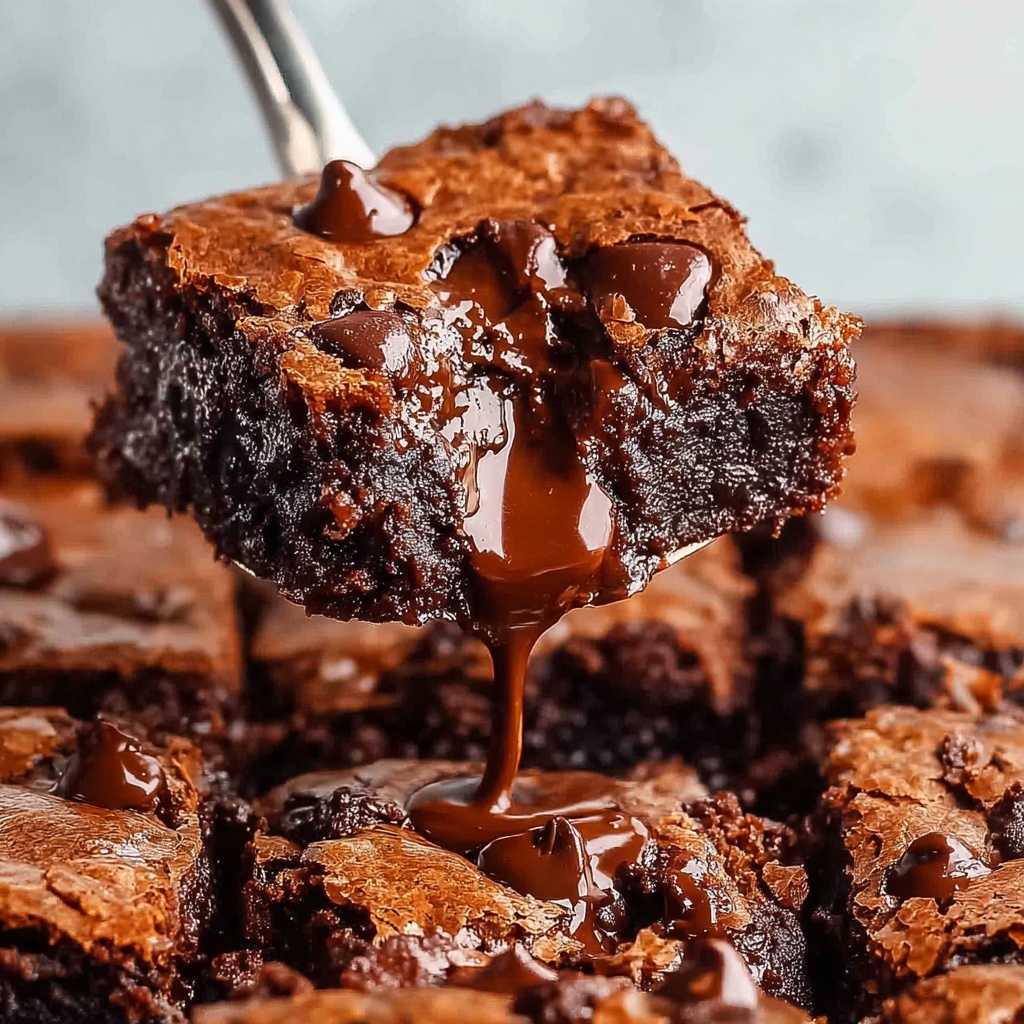
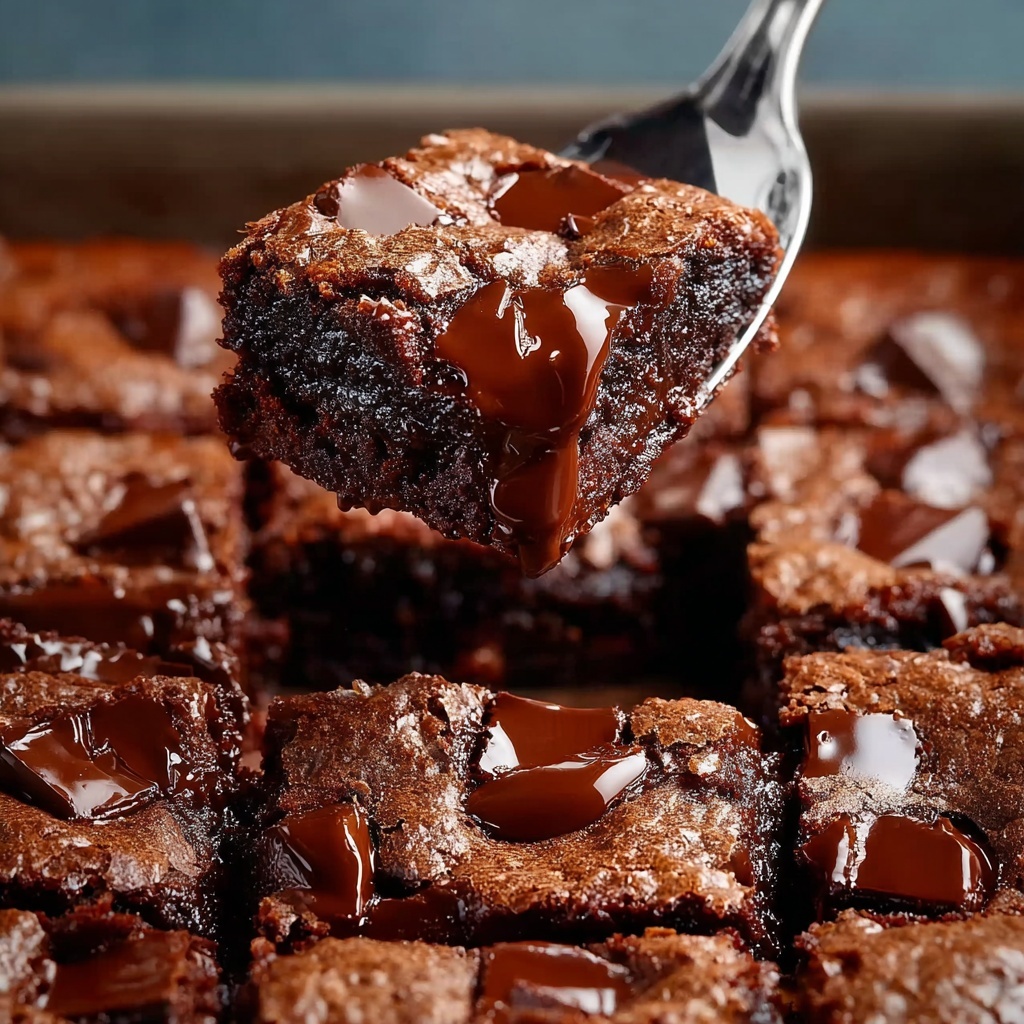
If you have a serious sweet tooth and a love for that perfect combo of rich chocolate and creamy peanut butter, then you are going to adore this Peanut Butter Chocolate Fudge Brownies Recipe. It’s a luscious treat that melts in your mouth, balancing deep cocoa flavors with the nutty warmth of peanut butter. These brownies are incredibly fudgy, delightfully tender, and so simple to whip up that they feel like a little kitchen victory every time. Whether you’re baking for a casual snack or a special occasion, this recipe will quickly become your go-to for indulgent, homemade goodness.
Ingredients You’ll Need
This Peanut Butter Chocolate Fudge Brownies Recipe uses straightforward ingredients that come together beautifully to create stunning flavor and texture. Each component plays a vital role, whether it’s enhancing richness, moisture, or that irresistible fudgy consistency.
- Peanut butter: Your star ingredient, smooth or crunchy, lending creamy, nutty depth.
- Melted coconut oil or butter: Adds moisture and richness for an ultra-fudgy finish.
- Pure maple syrup or honey: A natural sweetener that keeps things wholesome and moist.
- Vanilla extract: A flavor booster that rounds out the chocolate and peanut butter notes.
- Unsweetened cocoa powder: Provides intense chocolate flavor without bitterness.
- Salt: A dash to balance sweetness and highlight chocolate’s richness.
- Baking soda: A tiny lift to keep brownies tender but not cakey.
- Flour: Oat, white, spelt, or almond – your choice depending on dietary preferences.
- Chocolate chips (optional): Extra bursts of melty chocolate for chocolate lovers.
How to Make Peanut Butter Chocolate Fudge Brownies Recipe
Step 1: Prepare Your Baking Dish and Oven
Start by heating your oven to 350°F (175°C). Line an 8×8-inch baking pan with parchment paper. This helps the brownies slide right out when they’re perfectly baked and cooled, making slicing a breeze.
Step 2: Mix the Wet Ingredients
Grab a large bowl and whisk together the peanut butter, melted coconut oil or butter, your choice of maple syrup or honey, and the vanilla extract. Stir until everything is silky smooth and beautifully combined. This creamy mix sets the stage for the fudgy texture we’re chasing.
Step 3: Add the Cocoa Powder and Leavening Agents
Toss in the unsweetened cocoa powder, salt, and baking soda. Blend them in thoroughly to create a rich, chocolatey base. This is where the deep, chocolate flavor really takes hold and starts to come alive.
Step 4: Fold in the Flour and Chocolate Chips
Now gently fold in your choice of flour until the batter thickens. If you love extra chocolate, this is the moment to stir in the chocolate chips. They’ll melt slightly in the oven for those lovely melty pockets we all crave.
Step 5: Spread the Batter and Add a Peanut Butter Swirl (Optional)
Evenly spread the batter into your prepared pan. For the classic peanut butter chocolate collaboration, swirl a spoonful of peanut butter on top before baking. It adds a gorgeous marbled effect and extra pockets of peanut butter delight.
Step 6: Bake to Perfection
Bake for about 20 minutes if you want ultra-fudgy brownies, or up to 25 minutes if you prefer a firmer slice. Keep an eye on them—the edges will start to pull away slightly, and the top will look set but still soft.
Step 7: Cool and Slice with Care
Let your brownies cool completely before slicing. For the cleanest cuts, pop the pan in the fridge first and wipe your knife between each slice. This step helps maintain that picture-perfect brownie shape and prevents crumbling.
How to Serve Peanut Butter Chocolate Fudge Brownies Recipe
Garnishes
A light dusting of powdered sugar or a drizzle of melted chocolate adds a touch of elegance and sweetness on top of these fudgy squares. For an extra pop, sprinkle some chopped peanuts or a pinch of flaky sea salt to highlight the peanut butter flavors.
Side Dishes
Serve your brownies alongside fresh berries or a scoop of vanilla ice cream to balance the richness with some brightness and creaminess. A cup of strong coffee or a chilled glass of milk also hits the spot every time.
Creative Ways to Present
Try cutting the brownies into bite-sized squares and stacking them on a pretty platter for a party-ready dessert. You can even sandwich a dollop of peanut butter frosting between two brownies for a decadent twist. These brownies can shine at birthday parties, potlucks, or anytime you want to impress.
Make Ahead and Storage
Storing Leftovers
Leftover brownies can be stored in an airtight container at room temperature for up to 3 days. This keeps them soft and fudgy so you can enjoy that perfect texture every time.
Freezing
If you want to save some for later, wrap brownies individually in plastic wrap, then place them in a freezer-safe bag or container. They freeze beautifully for up to 3 months and thaw quickly when you’re ready to indulge.
Reheating
Warm leftover brownies in the microwave for 10-15 seconds or toss them in the oven at low heat to revive that freshly-baked softness. Just be careful not to overheat, or you’ll lose the fudgy magic.
FAQs
Can I use crunchy peanut butter instead of smooth?
Absolutely! Crunchy peanut butter adds a delightful texture contrast in these brownies and works just as well, giving you that nutty bite alongside the fudgy chocolate.
Is it possible to make these brownies gluten-free?
Yes! Swap the flour for almond flour or oat flour and you’ll have a gluten-free version that’s just as fudgy and delicious. Just be mindful that different flours absorb moisture differently, so the texture might vary slightly.
Can I substitute the coconut oil with regular butter?
Definitely. Butter does add a richer flavor, while coconut oil keeps the recipe dairy-free if needed. Both options create lovely, moist brownies.
How do I make sure my brownies are super fudgy, not cakey?
Stick to the baking time closely and avoid overbaking. A shorter bake (around 20 minutes) will keep brownies dense and moist. Also, don’t overmix after adding flour to maintain that fudgy texture.
Can I double this Peanut Butter Chocolate Fudge Brownies Recipe for a bigger batch?
You sure can! Just double the ingredients and use a larger pan, adjusting baking time slightly and checking doneness with a toothpick tester. Just be careful with cook times to maintain that perfect fudginess.
Final Thoughts
This Peanut Butter Chocolate Fudge Brownies Recipe is one of those rare treats that feels like a warm hug on a plate. It’s comforting, rich, and downright addictive, but also easy enough to whip up whenever the craving strikes. I urge you to give it a try—not only will you impress everyone around you, but you’ll gain a dependable favorite that satisfies every time. Happy baking and even happier eating!
Print
Peanut Butter Chocolate Fudge Brownies Recipe
- Prep Time: 10 minutes
- Cook Time: 20-25 minutes
- Total Time: 30-35 minutes
- Yield: 9 brownies
- Category: Dessert
- Method: Baking
- Cuisine: American
- Diet: Gluten Free
Description
Delight in these rich and fudgy Peanut Butter Chocolate Fudge Brownies, combining the irresistible flavors of creamy peanut butter and intense cocoa. Perfectly blended with natural sweeteners and a choice of gluten-free flours, these brownies offer a luscious treat that’s simple to prepare and bake to chocolatey perfection.
Ingredients
Wet Ingredients
- 1/2 cup peanut butter (smooth or crunchy)
- 1/4 cup melted coconut oil or butter
- 1/2 cup pure maple syrup or honey
- 1 tbsp vanilla extract
Dry Ingredients
- 1/2 cup unsweetened cocoa powder
- 1/4 tsp salt
- 1/4 tsp baking soda
- 1/4 cup flour (oat, white, spelt, or almond for gluten-free)
Optional
- 1/3 cup chocolate chips (optional)
Instructions
- Preheat Oven and Prepare Pan: Preheat your oven to 350°F (175°C). Line an 8×8-inch baking dish with parchment paper to prevent sticking and ensure easy removal of brownies.
- Combine Wet Ingredients: In a large mixing bowl, combine the peanut butter, melted coconut oil or butter, pure maple syrup or honey, and vanilla extract. Mix thoroughly until the mixture is smooth and uniform in texture.
- Add Cocoa and Leavening Agents: Stir in the unsweetened cocoa powder, salt, and baking soda into the wet mixture. Mix well until all dry ingredients are fully incorporated, forming a rich, chocolatey batter base.
- Incorporate Flour and Chocolate Chips: Slowly fold in the flour to create a thick brownie batter. If using, gently fold in the chocolate chips to add bursts of melted chocolate throughout the brownies.
- Spread Batter in Pan: Spread the batter evenly into your prepared baking dish. For a decorative touch, you can swirl an extra spoonful of peanut butter on top to create a marbled effect.
- Bake the Brownies: Bake for 20 minutes if you prefer super fudgy brownies, or extend baking up to 25 minutes for a firmer texture. Keep a close eye near the end to avoid overbaking.
- Cool and Slice: Allow the brownies to cool completely before slicing to ensure clean cuts. For the neatest slices, chill the brownies first and wipe your knife between slices.
Notes
- You can use either smooth or crunchy peanut butter; crunchy adds extra texture.
- Choose your preferred natural sweetener: maple syrup for a richer taste or honey for a floral sweetness.
- Opt for various flours to make the recipe gluten-free if needed (almond or oat flour recommended).
- Swirling additional peanut butter on top before baking adds a beautiful marbled design and bonus flavor.
- Chilling the brownies before slicing helps achieve clean edges and prevent crumbling.
- Store brownies in an airtight container at room temperature for up to 3 days or refrigerate up to a week.


