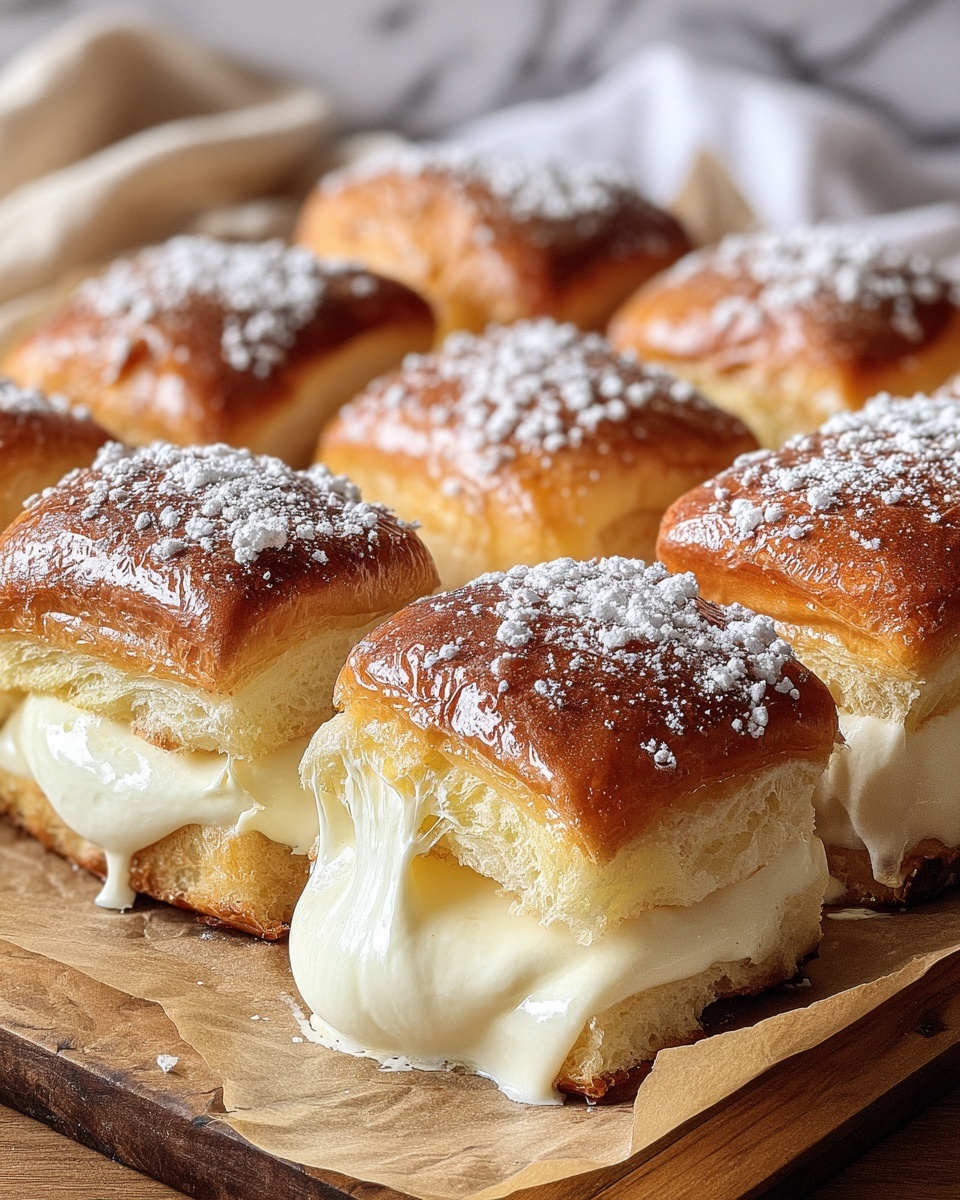
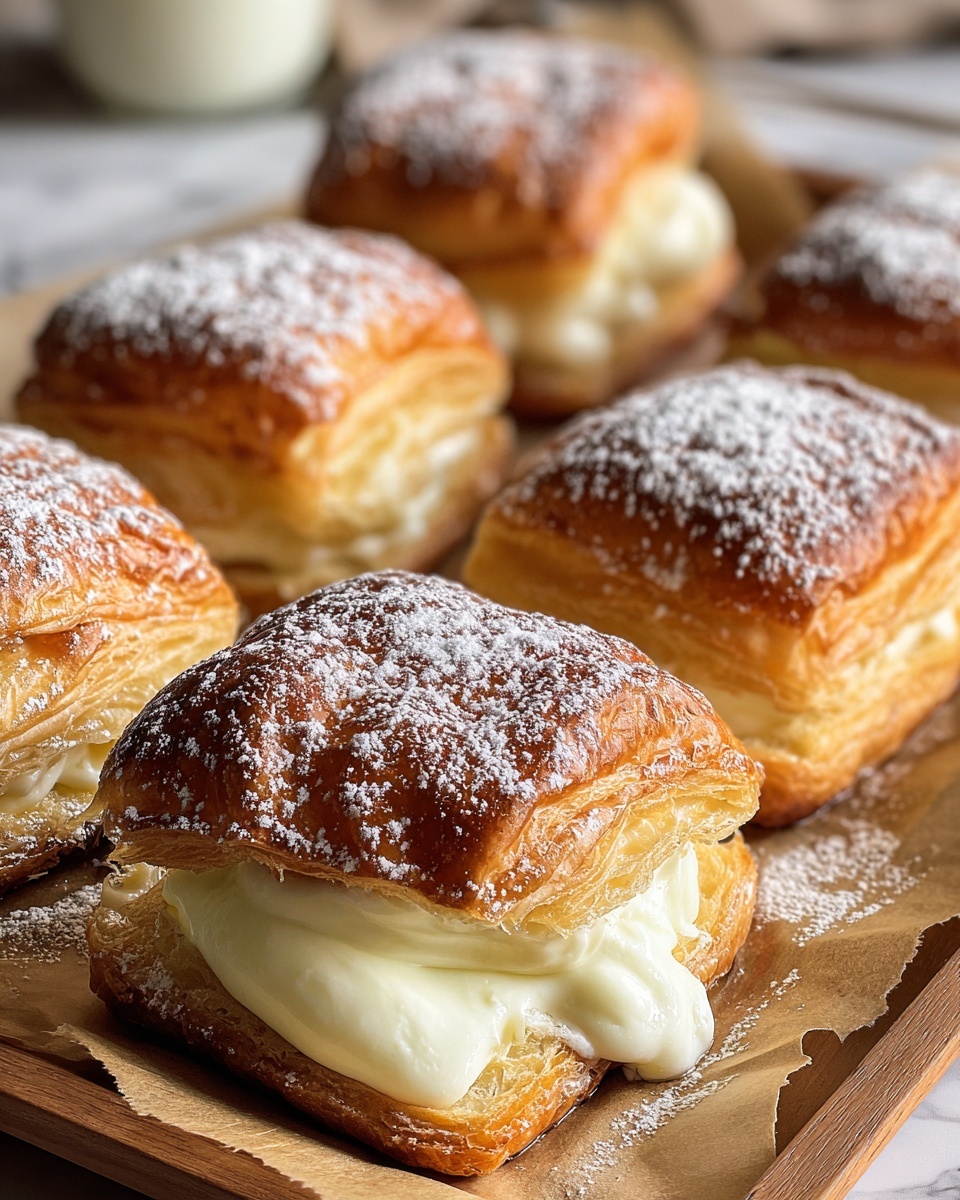
There is something utterly irresistible about the King’s Hawaiian Cheesecake Danish Recipe that makes it a standout treat for any time of day. Imagine the soft, sweet King’s Hawaiian Sweet Rolls, sliced open just enough to hold a luscious cream cheese filling, kissed with a perfect vanilla flavor, and baked until golden brown. That heavenly combination, topped with a cinnamon sugar crunch and a delicate dusting of powdered sugar, creates a dessert that feels indulgent yet delightfully approachable. This recipe strikes that perfect balance between rich and comforting, making it an absolute must-try for anyone who loves sweet pastries with a tropical twist.
Ingredients You’ll Need
Ingredients You’ll Need
Gathering these simple but carefully chosen ingredients is the first step toward creating this indulgent treat. Each one plays an essential role, whether it’s bringing creamy texture, sweetness, or that aromatic vanilla note that elevates the entire Danish to something truly special.
- King’s Hawaiian Sweet Rolls (12 count): The signature soft and sweet rolls provide the perfect base.
- Cream cheese (8 oz, softened): This gives the Danish its creamy, smooth center and tangy richness.
- Granulated sugar (1/4 cup): Sweetens the filling just right without overpowering it.
- Vanilla extract (1 teaspoon): Adds a warm, comforting note that perfectly complements the cream cheese.
- Egg yolk (1): Helps to bind the filling and gives it a slightly custardy texture.
- Butter (1/4 cup, melted): Brushed on top for a golden, flavorful crust with a lovely richness.
- Cinnamon sugar (2 tablespoons): A blend of cinnamon and sugar brings a sweet and spicy crunch to the surface.
- Powdered sugar for dusting: A final touch that adds a pretty finish and a hint of extra sweetness.
How to Make King’s Hawaiian Cheesecake Danish Recipe
Step 1: Prepare Your Oven and Baking Sheet
Start by preheating your oven to 350°F (175°C). This ensures it’s at the perfect temperature to bake the Danish to a golden, flaky finish. Grab a baking sheet and set it aside, either lined with parchment paper for easy cleanup or lightly greased to prevent sticking.
Step 2: Create the Roll Pockets
Carefully slice each King’s Hawaiian Sweet Roll in half horizontally, but be sure not to cut all the way through. The goal is to create a pocket that can cradle the rich cream cheese filling while keeping the sweet roll intact and pillowy.
Step 3: Make the Cream Cheese Filling
In a mixing bowl, combine the softened cream cheese, granulated sugar, vanilla extract, and egg yolk. Beat everything together until you achieve a smooth, creamy texture with no lumps. This velvety mixture is the heart of your Danish and what makes this recipe so heavenly.
Step 4: Fill the Rolls
Now comes the fun part: spoon the cream cheese filling evenly into each roll pocket. Don’t be shy—make sure each roll gets a generous layer that will bake into a wonderfully creamy center contrasting beautifully with the soft bread outside.
Step 5: Add the Final Touches Before Baking
Place the filled rolls on your prepared baking sheet. Then, brush each one lightly with melted butter. This adds moisture and helps the cinnamon sugar stick. Finally, sprinkle the cinnamon sugar mixture evenly over each roll, giving you that inviting sweet-spice crunch once baked.
Step 6: Bake to Perfection
Slide the baking sheet into your preheated oven and bake for 15 to 20 minutes, until the tops are golden brown and the cream cheese filling is set. The aroma at this stage will be absolutely mouthwatering, signaling that you’re just moments away from a delightful treat.
Step 7: Add a Sweet Dusting
Once the danishes have cooled slightly, dust them with powdered sugar. This final flourish adds a light sweetness and makes each pastry look as delightful as it tastes. Now, your King’s Hawaiian Cheesecake Danish Recipe is ready to enjoy!
How to Serve King’s Hawaiian Cheesecake Danish Recipe
Garnishes
A simple dusting of powdered sugar is classic, but you can also add a drizzle of honey or a light glaze made from powdered sugar and milk for extra sweetness and shine. Fresh berries or a sprig of mint can add a pop of color and freshness that makes serving even more special.
Side Dishes
This cheesecake Danish pairs beautifully with a hot cup of coffee or tea for breakfast or brunch. For a more indulgent treat, serve it alongside fresh fruit salad or a scoop of vanilla ice cream, turning it into a decadent dessert that impresses every time.
Creative Ways to Present
Try serving your King’s Hawaiian Cheesecake Danish Recipe on a rustic wooden board surrounded by little bowls of cinnamon sugar and cream cheese frosting for guests to customize. Alternatively, stack a couple of danishes and secure with a fancy toothpick to create playful mini sandwiches that are perfect for parties.
Make Ahead and Storage
Storing Leftovers
Store any leftover danishes in an airtight container at room temperature for up to two days. This keeps the bread soft and the filling fresh. If it’s warm in your kitchen, placing them in the fridge is fine, but bring them back to room temperature before serving for the best texture.
Freezing
You can freeze these danishes by wrapping each one tightly in plastic wrap and then placing them in a freezer-safe bag. They’ll keep well for up to one month. When you’re ready to enjoy, thaw them at room temperature or overnight in the fridge.
Reheating
To bring your King’s Hawaiian Cheesecake Danish Recipe back to life, warm them in a preheated 300°F oven for about 5 to 10 minutes. This method keeps the outside soft without drying the filling, making them taste freshly baked all over again.
FAQs
Can I use a different type of roll besides King’s Hawaiian Sweet Rolls?
While you could substitute other soft sweet rolls, King’s Hawaiian Sweet Rolls have a unique fluffy texture and sweet flavor that complement the cheesecake filling perfectly. Using them really elevates the taste and texture of this recipe.
Is it necessary to let the cream cheese soften before mixing?
Absolutely! Softened cream cheese blends smoothly with the sugar, vanilla, and egg yolk. If it’s too cold, the filling might become lumpy and harder to spread inside the rolls.
Can I prepare these danishes ahead of time and bake later?
Yes! Assemble the danishes and place them on a baking sheet, then cover tightly and refrigerate for up to 24 hours before baking. Let them sit at room temperature 15 minutes before baking for best results.
What should I do if I don’t have cinnamon sugar?
No worries! Simply mix 1 1/2 tablespoons granulated sugar with 1/2 tablespoon ground cinnamon to make your own fresh batch, just as the recipe calls for.
Can I add fruit to the filling?
Feel free to experiment by folding in some finely chopped berries or a spoonful of fruit preserves into the cream cheese mixture for a fruity twist. Just be careful not to add too much liquid so the filling stays firm.
Final Thoughts
There really is nothing quite like the warmth and sweetness of the King’s Hawaiian Cheesecake Danish Recipe to brighten your day. Whether you’re making it for a special brunch, a cozy afternoon treat, or just because you deserve a little indulgence, this recipe delivers a perfect balance of creamy, sweet, and cinnamon-spiced goodness. I truly hope you take the plunge and bake this delightful dessert—it’s one that’s guaranteed to become a cherished favorite!
Print
King’s Hawaiian Cheesecake Danish Recipe
- Prep Time: 10 minutes
- Cook Time: 20 minutes
- Total Time: 30 minutes
- Yield: 12 danishes
- Category: Breakfast
- Method: Baking
- Cuisine: American
Description
Delight in the sweet and creamy flavors of King’s Hawaiian Cheesecake Danish, a simple yet indulgent recipe featuring soft King’s Hawaiian Sweet Rolls filled with a smooth cream cheese mixture, brushed with butter, sprinkled with cinnamon sugar, and baked to golden perfection. Perfect for breakfast, brunch, or an afternoon treat.
Ingredients
Main Ingredients
- 1 package King’s Hawaiian Sweet Rolls (12 count)
- 8 oz cream cheese, softened
- 1/4 cup granulated sugar
- 1 teaspoon vanilla extract
- 1 egg yolk
- 1/4 cup butter, melted
- 2 tablespoons cinnamon sugar (1 1/2 tablespoons sugar mixed with 1/2 tablespoon cinnamon)
- Powdered sugar for dusting
Instructions
- Preheat Oven: Preheat your oven to 350°F (175°C) and prepare a baking sheet by lining it with parchment paper or a silicone baking mat to prevent sticking.
- Slice Rolls: Carefully slice each King’s Hawaiian Sweet Roll in half horizontally without cutting all the way through, creating a pocket to hold the filling.
- Mix Filling: In a bowl, combine the softened cream cheese, granulated sugar, vanilla extract, and egg yolk. Mix until the mixture is smooth and creamy.
- Fill Rolls: Spoon the cream cheese mixture evenly into each roll pocket, making sure to fill them generously.
- Prepare for Baking: Place the filled rolls on the prepared baking sheet. Brush the tops with melted butter, then sprinkle them evenly with cinnamon sugar for a sweet and spicy finish.
- Bake: Bake the danishes in the preheated oven for 15-20 minutes or until the tops are golden brown and the filling is set.
- Finish: Remove from the oven and let the danishes cool slightly. Dust with powdered sugar just before serving for extra sweetness and an elegant look.
Notes
- Ensure cream cheese is fully softened to achieve a smooth filling.
- Keep an eye on the baking time to prevent the danishes from browning too much.
- For extra flavor, you can add a teaspoon of lemon zest to the cream cheese mixture.
- These danishes are best enjoyed fresh but can be stored in an airtight container for up to 2 days.
